Last updated November 21, 2026
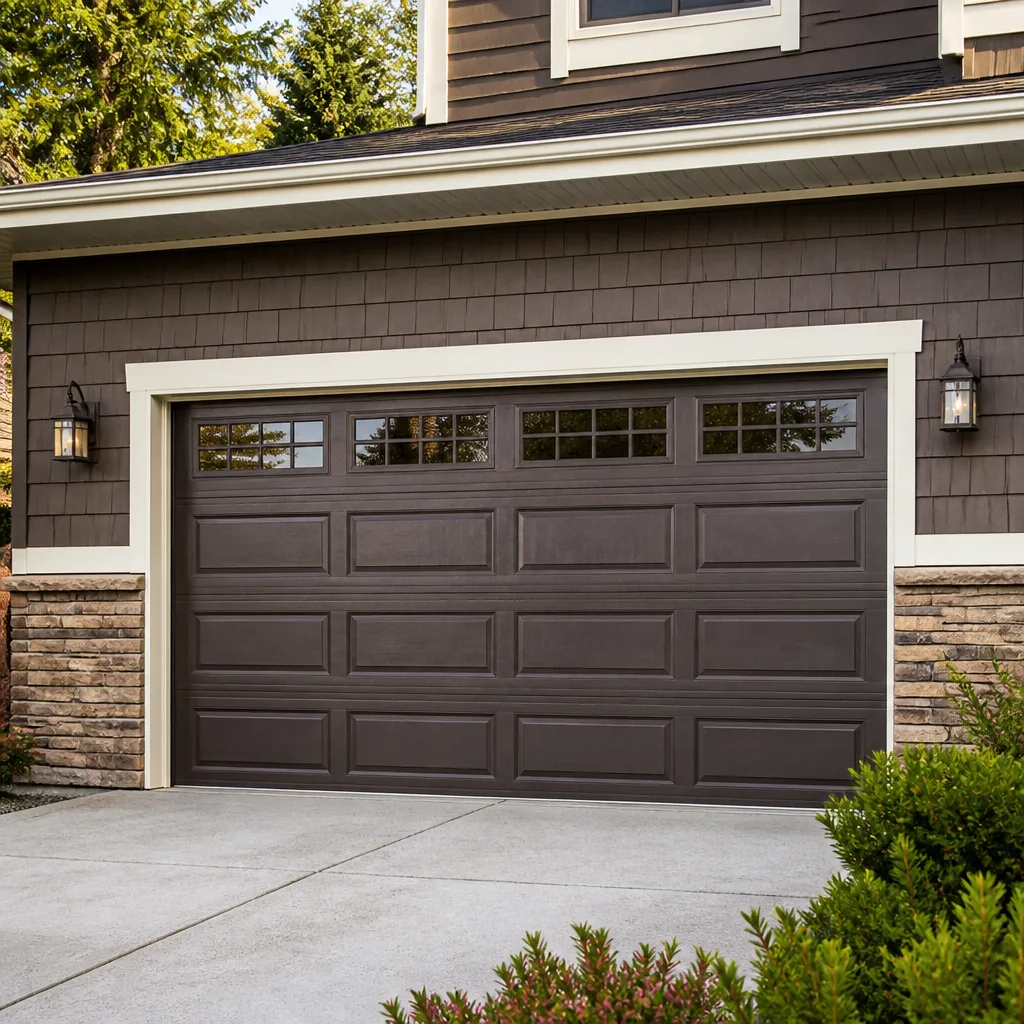 Raised-panel steel
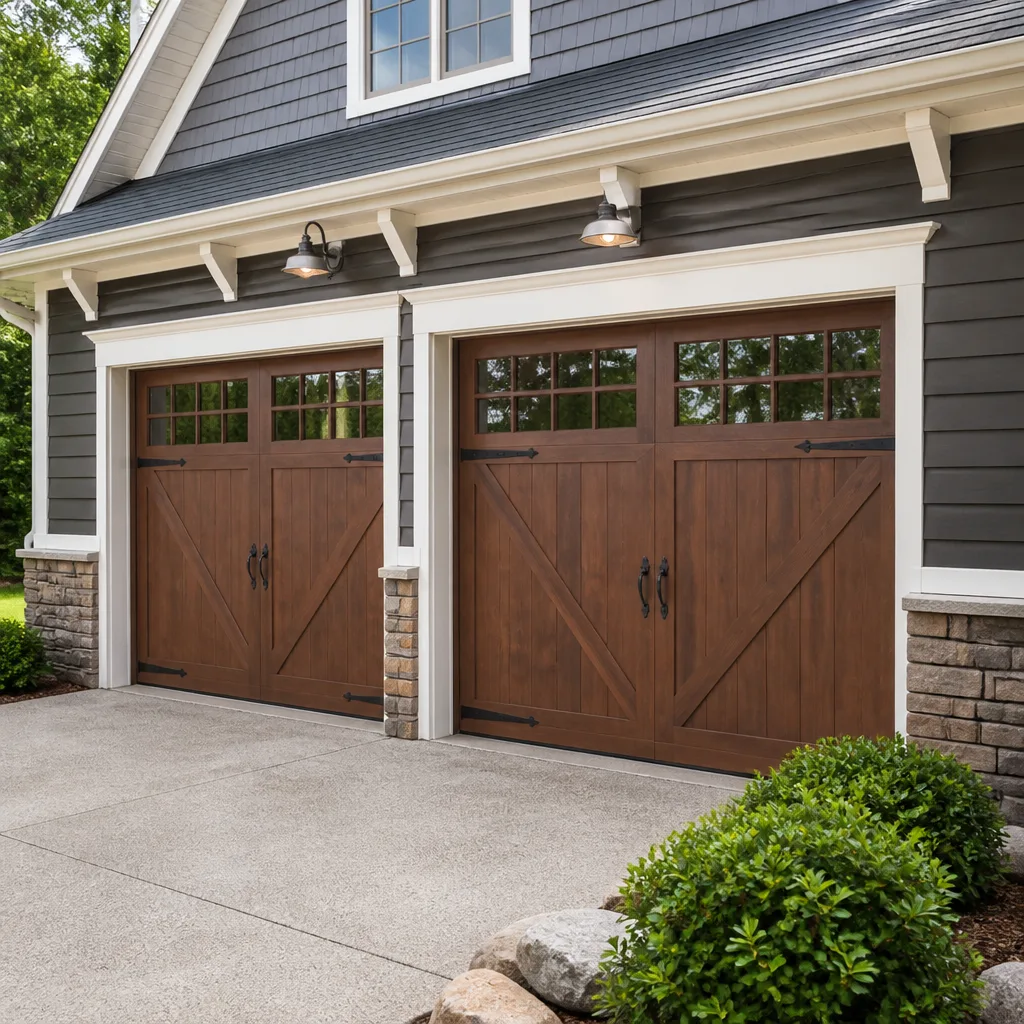 Carriage house
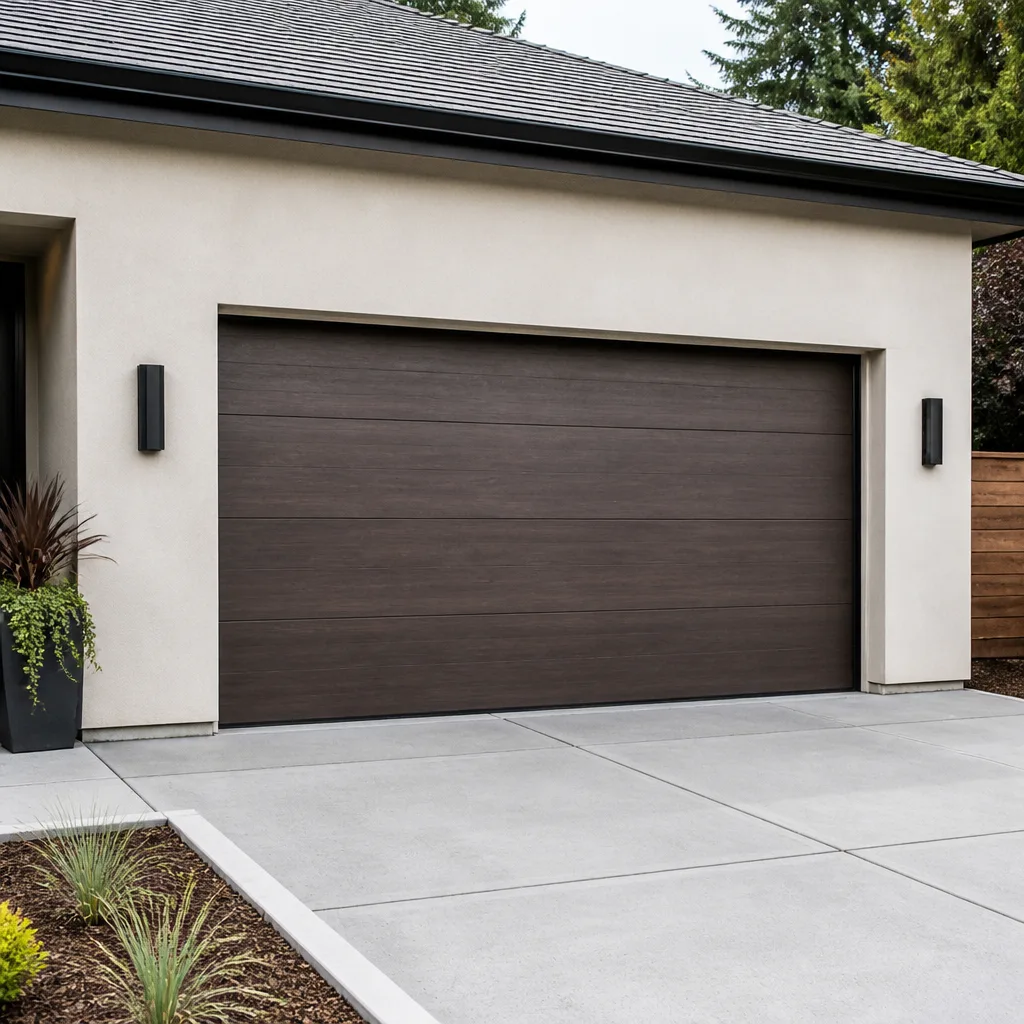 Modern flush
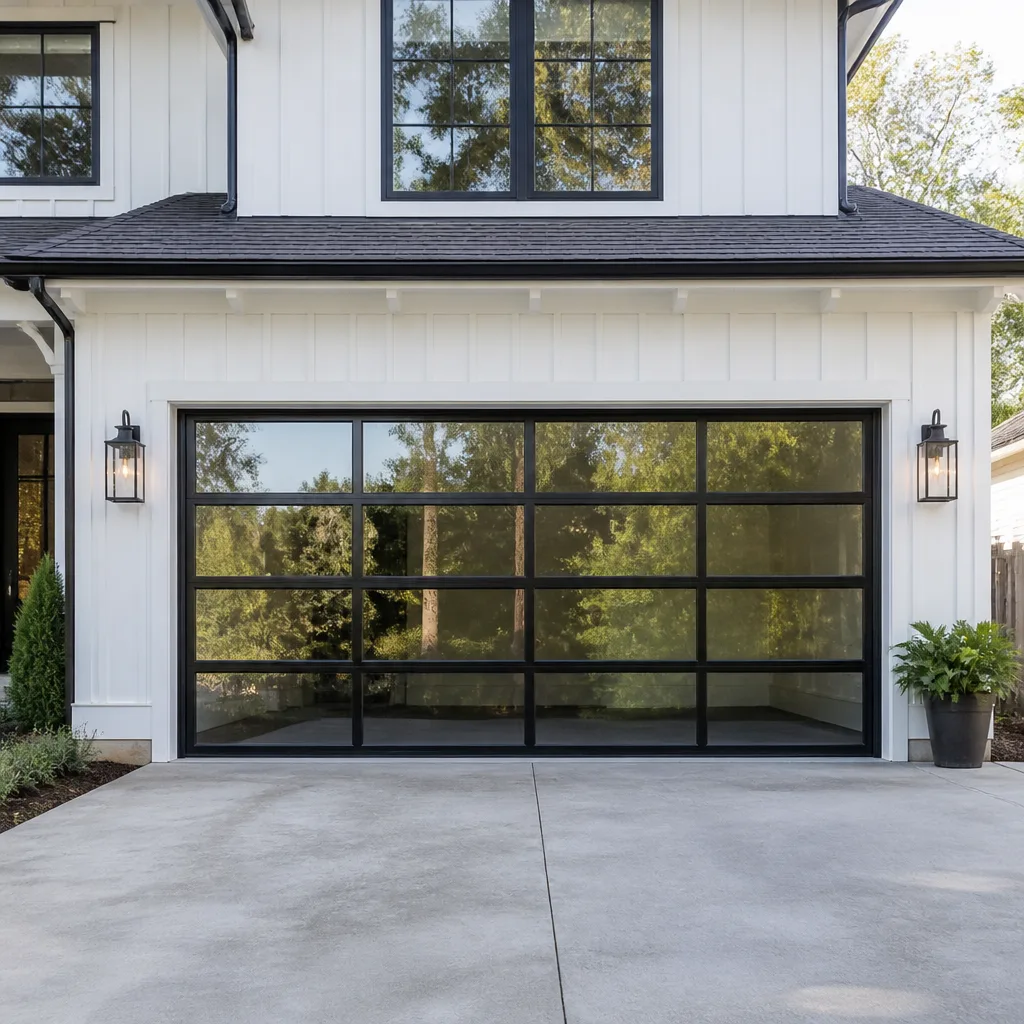 Full-view glass
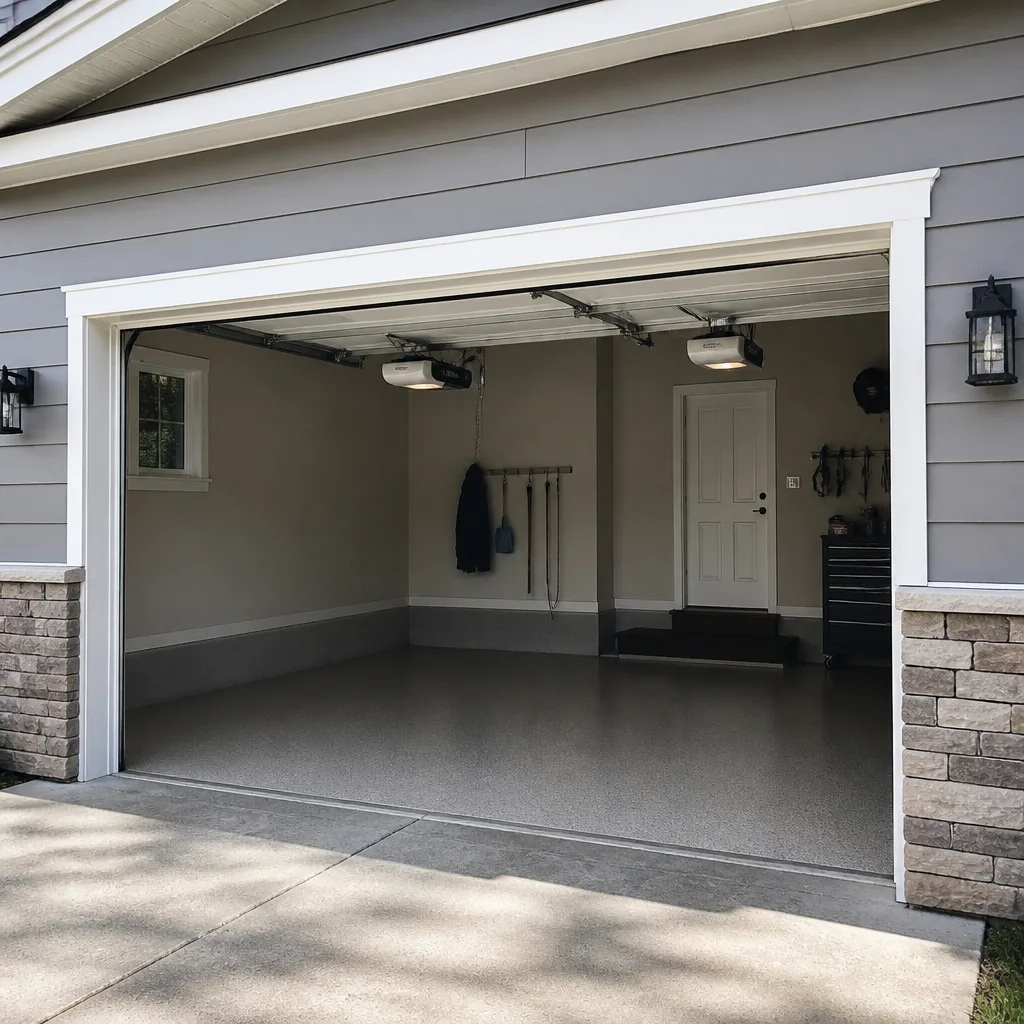 LiftMaster openers
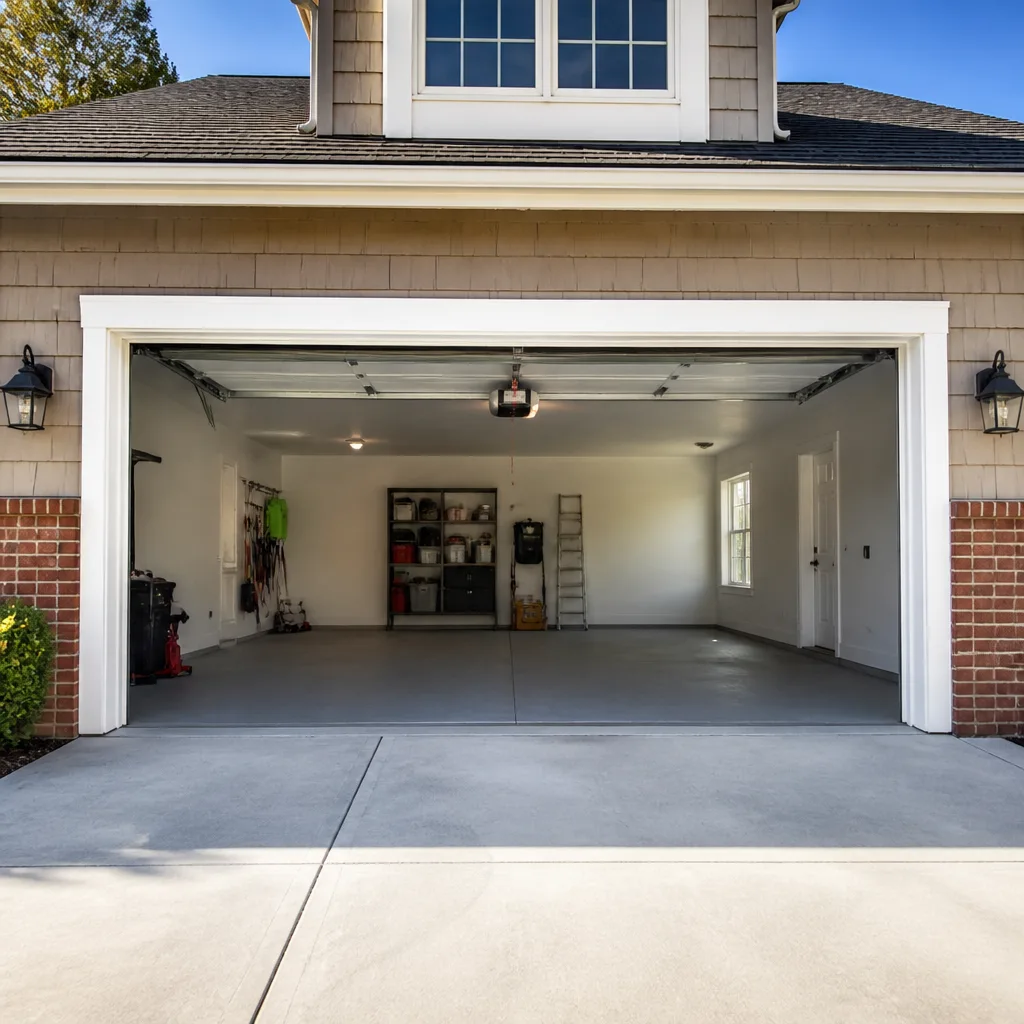 Chamberlain openers
Full 25-point door and opener safety check with every visit - springs, cables, rollers, tracks, and your LiftMaster or Chamberlain opener included
You get a price before we start. It does not change when the pro arrives.
Get your free estimateDIY vs Professional Garage Door: The Norfolk Homeowner’s Decision Guide
Most homeowners treat the DIY-versus-professional question as binary: fix the door yourself or call someone. The truth sits in the middle, and it depends entirely on which part of the door we’re talking about. A torsion spring holds enough stored energy to cause serious injury in a fraction of a second when it’s released wrong. Compare that to swapping a bottom weatherseal or lubricating rollers, which is a real Saturday afternoon job for a mechanically capable homeowner. This guide draws a precise line between the tasks you can safely take on and the ones that call for a trained technician, with the specific detail that matters in Norfolk.
Quick Answer
Some garage door work is genuinely DIY-friendly and some is not, and the split follows the component. Lubrication, weatherseal replacement, panel painting, and basic opener remote programming are safe for a competent homeowner. Torsion and extension spring work, cable replacement, and track realignment are not. Those involve stored mechanical energy and heavy parts, and they’re the jobs where professional service is the only rational choice. In Norfolk, the decision also comes down to whether corroded hardware on an older door has weakened enough that a routine fix turns into a failure.
Styles & brands we work with
- Raised-panel steel
- Carriage house
- Modern flush
- Full-view glass
- LiftMaster openers
- Chamberlain openers
Table of Contents
- The Component Breakdown: What’s DIY-Safe and What Isn’t
- Torsion Spring Physics: Why This One Part Causes Most Serious Injuries
- DIY Opener Programming and Sensor Alignment: The Competency Threshold
- How Norfolk’s Climate Changes the DIY Math
- When a DIY Fix Voids a Warranty or Creates an Insurance Problem
- Tools Every DIY-Curious Homeowner Should Own
- A Step-by-Step Decision Checklist
- Common Mistakes to Avoid
- When to Call a Professional
- Frequently Asked Questions
The Component Breakdown: What’s DIY-Safe and What Isn’t
The garage door isn’t one system. It’s a set of parts that move together, and each part carries a different risk profile. Treating them the same way is where homeowners get into trouble. Breaking the door down by component is the only honest way to answer the DIY question.
Tasks a capable homeowner can typically handle:
- Lubricating hinges, rollers, and track with a garage-door-specific lubricant
- Replacing the bottom weatherseal or the side and top seals
- Repainting or touching up a steel panel, including Clopay and Amarr doors common on Norfolk homes
- Programming a new remote or keypad on a LiftMaster, Chamberlain, Craftsman, or Genie opener
- Realigning photo-eye safety sensors after they’ve been knocked out of position
- Adjusting the opener’s travel limits if the door stops short or reverses for no obvious reason
- Cleaning and inspecting tracks for debris
Tasks that should go to a technician:
- Torsion or extension spring replacement of any kind
- Cable replacement or re-spooling
- Track realignment after impact or a bent section
- Panel replacement, especially on doors where the panel is structurally tied to the frame
- Opener motor, capacitor, or logic board failure
- Anything involving a door that has come off its track
That split isn’t about protecting a trade. It’s about where the actual danger and the actual cost of getting it wrong sit. A homeowner who replaces a weatherseal saves real money. A homeowner who tries to unload a torsion spring risks a hospital visit. Those two jobs look similar from the outside and could not be more different on the inside.
For Norfolk, the component breakdown matters more than in many markets because so many homes have older doors where the hardware has aged unevenly. If a door is 15 or 20 years old, the parts you can see may look fine while the parts under tension are ready to fail. That reality shapes every section that follows.
Torsion Spring Physics: Why This One Part Causes Most Serious Injuries
The torsion spring is the single most dangerous component on any residential garage door. It stores the mechanical energy that lifts a 150-to-300-pound door, and when that energy is released improperly, it releases fast. A homeowner who doesn’t understand the stored force can be injured in a second, which is why spring repair is a job for a trained technician with the right winding bars and the right understanding of the mechanism.
Here’s what’s actually happening. The torsion spring is mounted above the door on a shaft, and it’s wound during installation to a specific number of turns that roughly matches the door’s weight and travel. When the door closes, the spring winds; when it opens, the spring unwinds, doing the lifting. A broken torsion spring is one that has failed under that load. Replacing it means winding the new spring to the correct tension, which is the part that goes wrong when people try it at home.
Winding a torsion spring by hand with the wrong tools or the wrong number of turns can result in the spring unwinding suddenly and the winding bar swinging free. The stored energy in a typical residential torsion spring is comparable to a projectile at close range. That’s not a liability disclaimer; it’s the physical reality of a wound spring. Extension springs carry similar risk, and they also need to be replaced in matched pairs with proper safety containment.
For Norfolk homeowners, the safest path is straightforward: if the door won’t lift, won’t stay up, or the spring above the door shows a visible gap, don’t touch it. Keep the door closed if you can, and call for garage door repair. A technician will diagnose the spring and the balance of the whole door, which often uncovers a second issue the homeowner didn’t know about.
We’ve seen the consequences of a failed DIY spring attempt enough times to know the line is real. It’s the one repair where “I watched a video” is genuinely not enough. Spring replacement is a component-specific job, and the only thing that makes it safe is trained hands and correct tools.
DIY Opener Programming and Sensor Alignment: The Competency Threshold
Openers are where the DIY math is genuinely favorable for a competent homeowner. Programming a new remote, adjusting a travel limit, realigning a photo-eye, or resetting a keypad are all things most people can do with the manual in hand. The competency threshold here is less about skill and more about patience.
Here’s the sequence for a typical opener remote reset on the major brands found in Norfolk homes, including LiftMaster, Chamberlain, Craftsman, and Genie:
- Locate the learn button on the opener motor unit (usually under the light lens or on the back panel).
- Press and hold the learn button until the LED indicator lights up or blinks.
- Within about 30 seconds, press and hold the remote button you want to program.
- Release when the opener clicks or the light flashes, then test the remote.
- If it doesn’t take, repeat the sequence once. If it still doesn’t take, check the remote battery before assuming the opener is at fault.
Photo-eye alignment is similarly accessible. The sensors sit at the bottom of the door track on each side and need to face each other with a clear line of sight. If the door reverses immediately after starting to close, the photo-eye is almost always the cause. Cleaning the lenses, checking for a leaf or cobweb, and nudging the bracket back into alignment solves most of these cases.
Where opener work crosses the line is when the motor, capacitor, logic board, or gear assembly is involved. Those are internal repairs that require disassembly and specific parts. On a smart opener with a wall-mounted control panel, a failed logic board can be a diagnostic challenge even for a trained technician. That’s the point to call for garage door opener repair rather than continuing to chase the problem.
In Norfolk’s older housing stock, we often see openers from the late 1990s and early 2000s running doors they were never designed for. A homeowner can adjust the limits, but if the opener itself is undersized for the door, the fix is replacement, not a programming tweak. That diagnosis requires knowing the brand and the door weight together, which is exactly the kind of call a brand-fluent technician makes quickly.
How Norfolk’s Climate Changes the DIY Math
The DIY decision in Norfolk is shaped by more than the task itself. The local climate and the age of the housing stock mean that a door that looks fine can fail during a repair attempt in ways a homeowner doesn’t expect. Two realities matter most.
Corroded hardware that looks intact. Norfolk’s humid summers and winter temperature swings are hard on steel hardware, hinges, and cables. Surface rust is usually cosmetic, but hinge plates, cable ends, and roller stems can rot from the inside out. A homeowner who starts a repair on what looks like a solid hinge can have it shear off mid-task, sending a cable or spring loose with no warning. The failure isn’t gradual; it’s instantaneous. That’s why inspecting every load-bearing connection before touching anything is a non-negotiable step in any DIY job here.
Aging doors and outdated systems. A meaningful portion of Norfolk homes have original doors from the 1980s and 1990s, often with extension springs, worn rollers, and openers that predate modern safety standards. Those systems were designed for a certain kind of maintenance, and they don’t tolerate the same things a newer door does. The homeowner-friendly tasks still apply, but the margin for error on the older doors is narrower. The garage door installation conversation often comes up during repairs on a door that’s past its service life, and that’s a normal outcome, not a sales pitch.
We work across Clopay, Amarr, Wayne Dalton, and other brands common in Norfolk, and the pattern is consistent: the age of the door changes the DIY recommendation. A 5-year-old door with a stuck remote is a homeowner project. A 25-year-old door with a stuck remote is a diagnostic question, because the opener might be fine and the door might be the problem.
Inland Norfolk doesn’t get the salt-air corrosion that drives failures on doors closer to open water, so most of what you’ll deal with is humidity-driven rust and plain mechanical wear. That’s manageable. The trick is knowing which one you’re looking at, and that’s usually the reason a homeowner calls us after a half-finished repair attempt.
When a DIY Fix Voids a Warranty or Creates an Insurance Problem
The warranty and insurance angle is where the DIY question stops being about skill and starts being about money. A homeowner can be perfectly capable of a repair and still create a problem that costs more than the savings.
Manufacturer warranty exposure. Most garage door and opener warranties require installation and repair by a qualified professional. A homeowner who replaces a hinge, spring, or opener part and then has a later failure may find the warranty denied because the work wasn’t done by an approved installer. That’s especially true for openers, where the warranty often hinges on proper installation and the safety-reverse feature working correctly. A Clopay or Amarr door warranty on the panels themselves can be similarly narrow. The point isn’t to scare anyone off a weatherseal replacement; it’s to read the warranty before taking on a repair that could be denied later.
Homeowner insurance in Virginia. Virginia homeowner policies typically cover sudden and accidental damage, not damage from a repair that was done improperly. If a homeowner replaces a spring, the spring fails, and the door drops onto a car or a person, the claim can be denied on the grounds that the work was never done by someone with the training to do it safely. The same logic applies to a door that comes off its track after a DIY adjustment and damages the framing. The insurer will ask who did the work and whether it was done to standard. That’s a hard conversation to have after the fact.
The practical answer. Do the tasks the warranty allows a homeowner to do, and keep records. When the repair involves a load-bearing component, a spring, a cable, or the opener motor, use a technician. If a warranty claim ever depends on it, having a written record of professional work is what saves the claim. The Garage Door Repair Norfolk Pros service can provide that documentation for Norfolk homeowners when they need it.
Tools Every DIY-Curious Homeowner Should Own
The tools tell you a lot about whether a job is DIY-appropriate. If the task needs a spring winding bar, a cable tensioning tool, or a track reaming setup, it’s not homeowner work. If it needs a socket set and a can of lubricant, it is.
Tools that make the safe jobs easy:
- A socket and wrench set with the sizes for your door’s hinge bolts
- A can of garage-door-specific lubricant (not WD-40 for the moving parts)
- A level for checking track alignment before assuming the door is the problem
- Work gloves and safety glasses for any under-door or overhead work
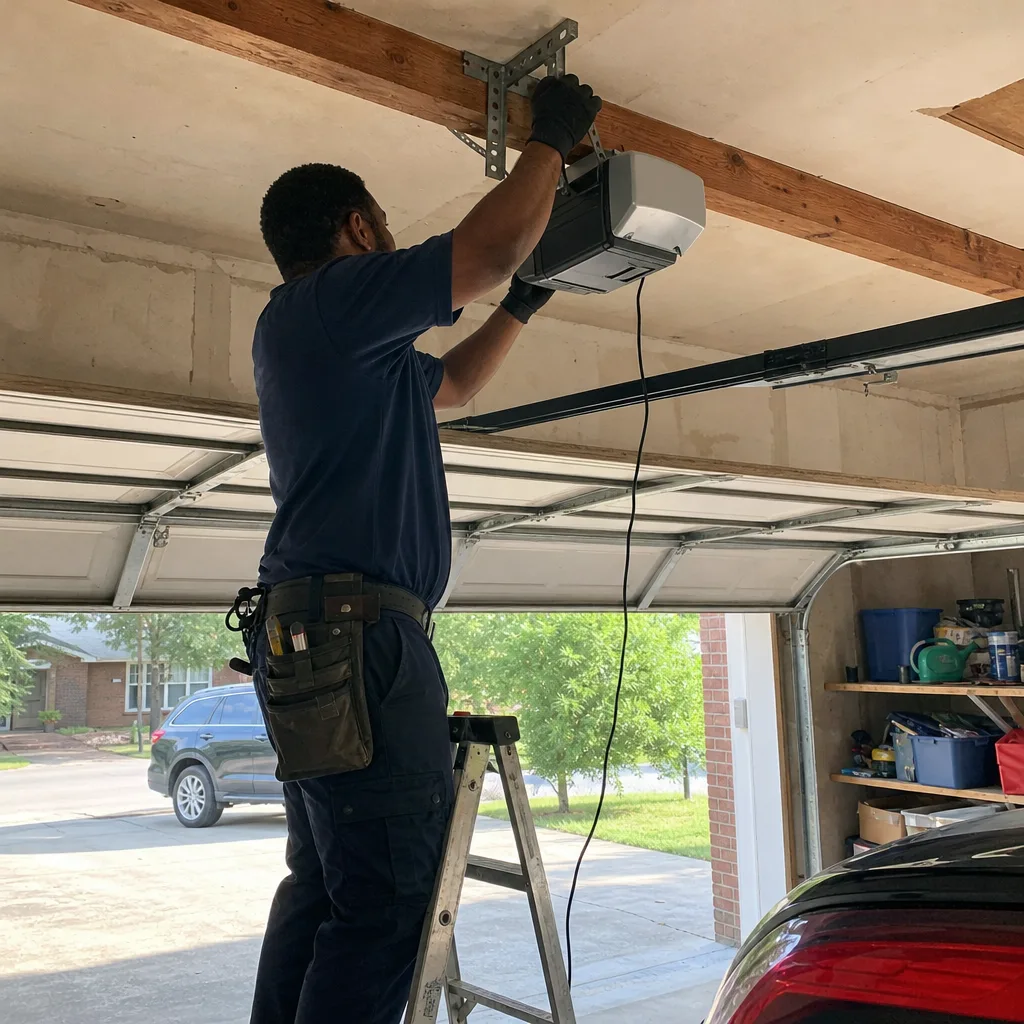
- A step ladder rated for overhead access to the opener unit
- A soft brush for cleaning photo-eye lenses and track channels
- The manual for your opener brand, kept somewhere you can find it
Tools that signal “call a technician”:
- Torsion spring winding bars
- Cable come-alongs or locking pliers sized for cable work
- A drill with a drum-winding adapter
- Anything that involves taking the door off its track
The safety gear matters as much as the tools. Gloves and glasses are obvious, but the biggest safety step is not working alone on anything overhead. A door that comes down while you’re working under it can’t be caught. If a task requires a second set of hands to be safe, that’s your signal to call someone who does it daily.
Our technicians have up to 15 years of experience and carry the tools and parts for jobs that cross the homeowner line. That’s the practical difference between a driveway DIY attempt and a service call: the right tool is already in the truck, and the diagnosis happens before any part is ordered.
A Step-by-Step Decision Checklist
If you’re not sure which side of the line a job falls on, walk through this checklist before you pick up a tool. It’s the same sequence we use when a homeowner calls and asks whether they should try a repair first.
- Identify the failing component. Is the problem the spring, a cable, the track, the opener, or a panel? If you can’t name the part, the job isn’t DIY-ready. That’s a diagnostic step, not a repair step.
- Check whether the task involves stored energy. Springs and cables hold tension. If the repair means releasing or re-tensioning either one, stop and call a professional.
- Inspect the hardware around the failure. Look for rust, cracks, or bent components. On an older Norfolk door, corrosion means the failure may have spread beyond the part you can see.
- Check the door’s balance. Disconnect the opener, lift the door halfway by hand, and let go. A balanced door holds position; an unbalanced door drops or rises. Unbalance usually points to a spring or cable issue, not a DIY fix.
- Match the task to the safe list. Lubrication, weatherseal, painting, remote programming, photo-eye alignment, and limit adjustment are the safe tasks. If it’s on the other list, call.
- Read the warranty. If the repair could void a manufacturer warranty, the savings are usually worth less than the protection you’d lose.
- Decide based on risk, not price. The cheapest option that ends with a safe, working door is the right choice, and it’s not always the DIY one.
That sequence takes about five minutes and eliminates most of the guesswork. The homeowner who runs it before starting a repair saves time, avoids injury, and rarely gets halfway through a job that should have been a service call.
Common Mistakes to Avoid
- Treating all repair tasks as equally dangerous. Some homeowners avoid perfectly safe maintenance out of fear, and others take on spring work out of overconfidence. The line is component-specific, not universal.
- Attempting a spring replacement without winding bars. A torsion spring requires the correct winding bars and the correct number of turns. Anything else is a serious injury risk, and the wrong tool is the most common cause of failure.
- Ignoring corrosion on older Norfolk hardware. A hinge plate that looks fine on the surface can fail mid-repair. If the door is more than 15 years old, inspect every connection before starting.
- Adjusting opener limits to fix a mechanical problem. If the door is binding, the limit adjustment only masks it. The door needs balancing, not more travel.
- Reprogramming a remote when the opener is failing. A remote that won’t hold a program often points to a weak opener capacitor or logic board, not a battery.
- Skipping the warranty check. A homeowner repair that voids a manufacturer warranty can cost more than the professional call would have.
- Starting a repair alone. Any overhead work needs a second person. A door that comes down while you’re under it can’t be stopped.
When to Call a Professional
Call a professional when the repair involves a spring, a cable, track realignment, panel replacement, or an opener motor or logic board. Those are the jobs where the stored energy, the weight of the door, or the diagnostic complexity makes a homeowner repair a poor bet. Call a technician immediately if the door is stuck open, if a spring has visibly failed, or if the door has come off its track and is hanging. Speed matters on those calls because a stuck door is a security issue as much as a mechanical one. Garage Door Repair Norfolk Pros offers free estimates in Norfolk – call (855) 522-0573. We’re open Sunday through Friday, 7am to 7pm, and closed Saturday. Emergency garage door service is part of our core offering for broken-door situations, and our technicians have up to 15 years of experience across the major brands.
Frequently Asked Questions
No. Torsion spring replacement should always be done by a trained technician because the spring stores enough energy to cause serious injury if it’s released improperly. A homeowner doesn’t have the winding bars, the correct turn count, or the ability to tension the spring safely. Call (855) 522-0573 for spring repair in Norfolk – estimates are free.
Lubricating hinges and rollers, replacing weatherseals, painting a steel panel, programming a remote, realigning photo-eyes, and adjusting opener limits are all safe for a capable homeowner. Those tasks don’t involve stored spring energy or heavy overhead parts. Anything that does, call a technician.
It can. Most manufacturer warranties require installation and repair by a qualified professional, and a homeowner repair can be the reason a later claim is denied. Read the warranty before starting any repair that could affect a covered component. If you’re not sure, call us and we’ll tell you whether the job is one you can do yourself.
Yes, for many broken-door situations. Emergency garage door service is part of what we offer, and a stuck or failed door can usually be addressed with same-day service. Call (855) 522-0573 and we’ll give you a clear answer on timing. We’re open Sunday through Friday, 7am to 7pm, and closed Saturday.
No. We’re open Sunday through Friday, 7am to 7pm, and closed Saturday. If a door fails over the weekend, call us and we’ll book the visit for Sunday.
Yes. We service LiftMaster, Chamberlain, Genie, Clopay, Amarr, Wayne Dalton, Craftsman, and Raynor, among others. That range means we diagnose the actual problem on your brand rather than pushing a single-brand replacement. Call (855) 522-0573 for an exact quote – estimates are free.
The Bottom Line
The DIY-versus-professional decision is component-specific, and that’s the whole answer. Lubrication, weatherseals, painting, remote programming, and photo-eye alignment are genuinely homeowner tasks, and a capable Norfolk homeowner should do them without hesitation. Springs, cables, track work, and opener motor failures are not, because the stored energy and the weight of the door make a mistake costly in ways that have nothing to do with money. Read the warranty, check the age of the door, inspect the hardware for corrosion, and call a professional when the task crosses the line. Our technicians have up to 15 years of experience, and we’re here for the jobs that shouldn’t be a Saturday project. Call (855) 522-0573 for a free estimate.
Written by the team at Garage Door Repair Norfolk Pros.
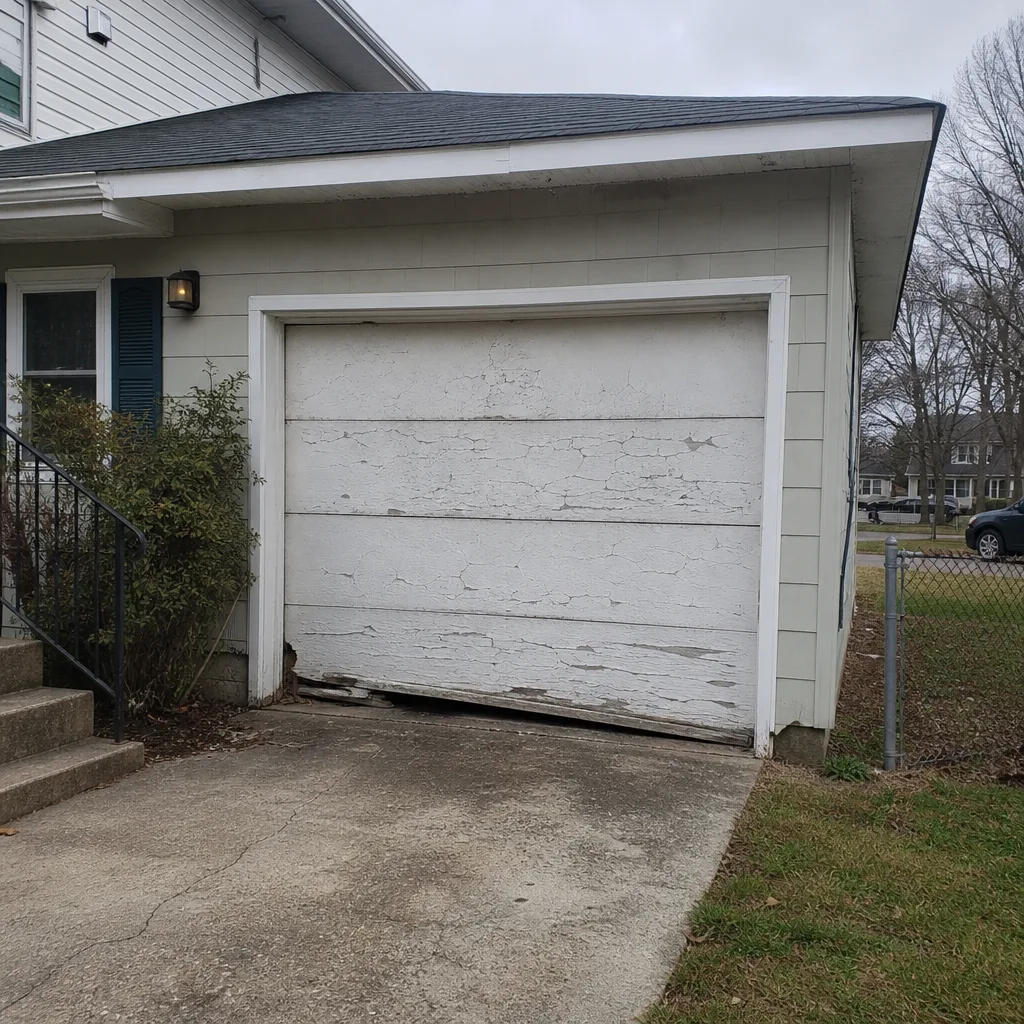
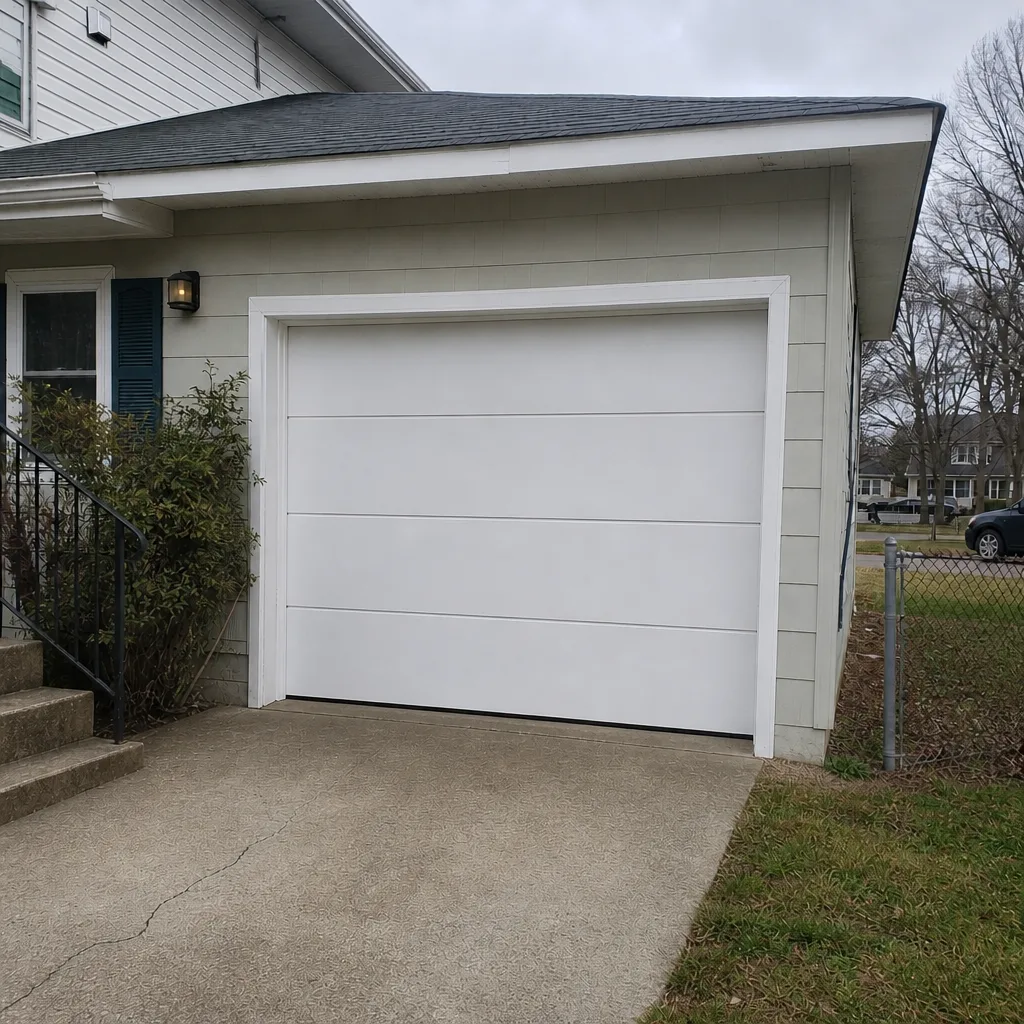
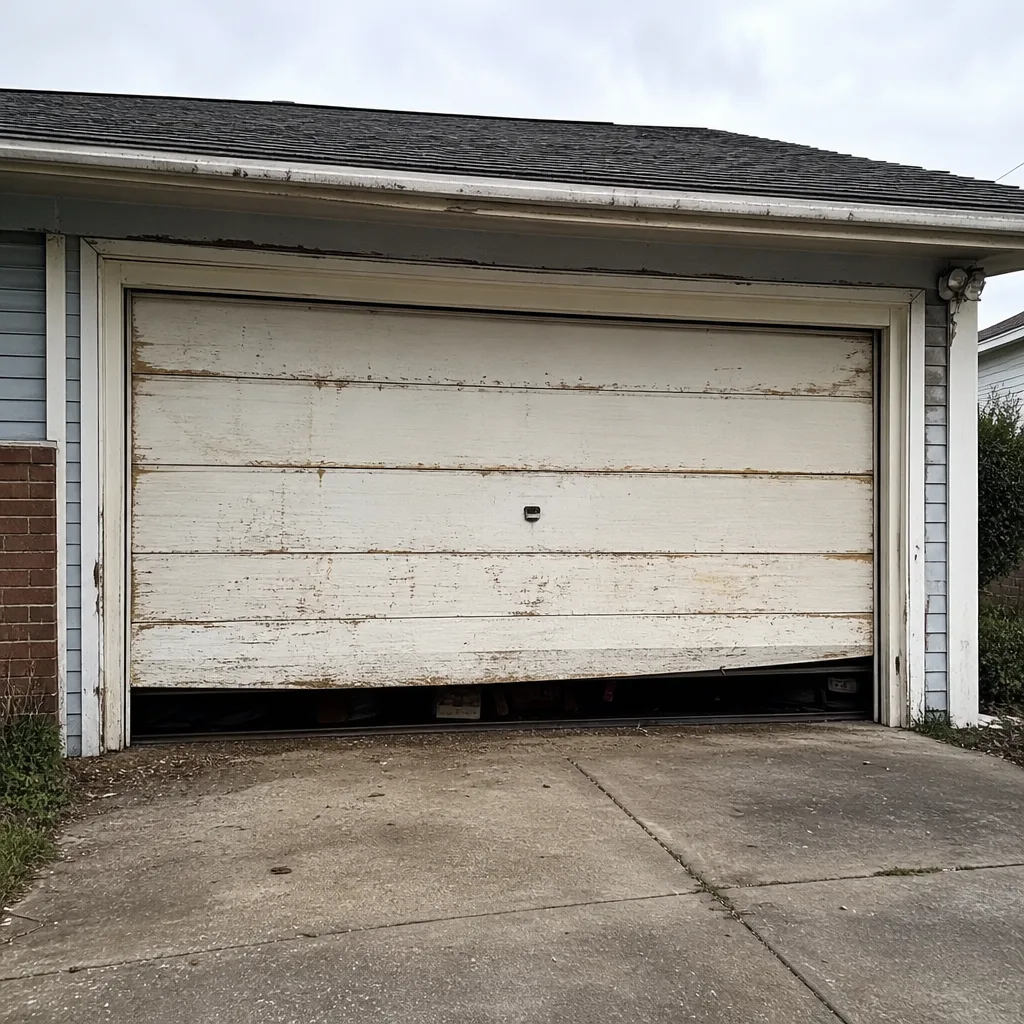
See the difference
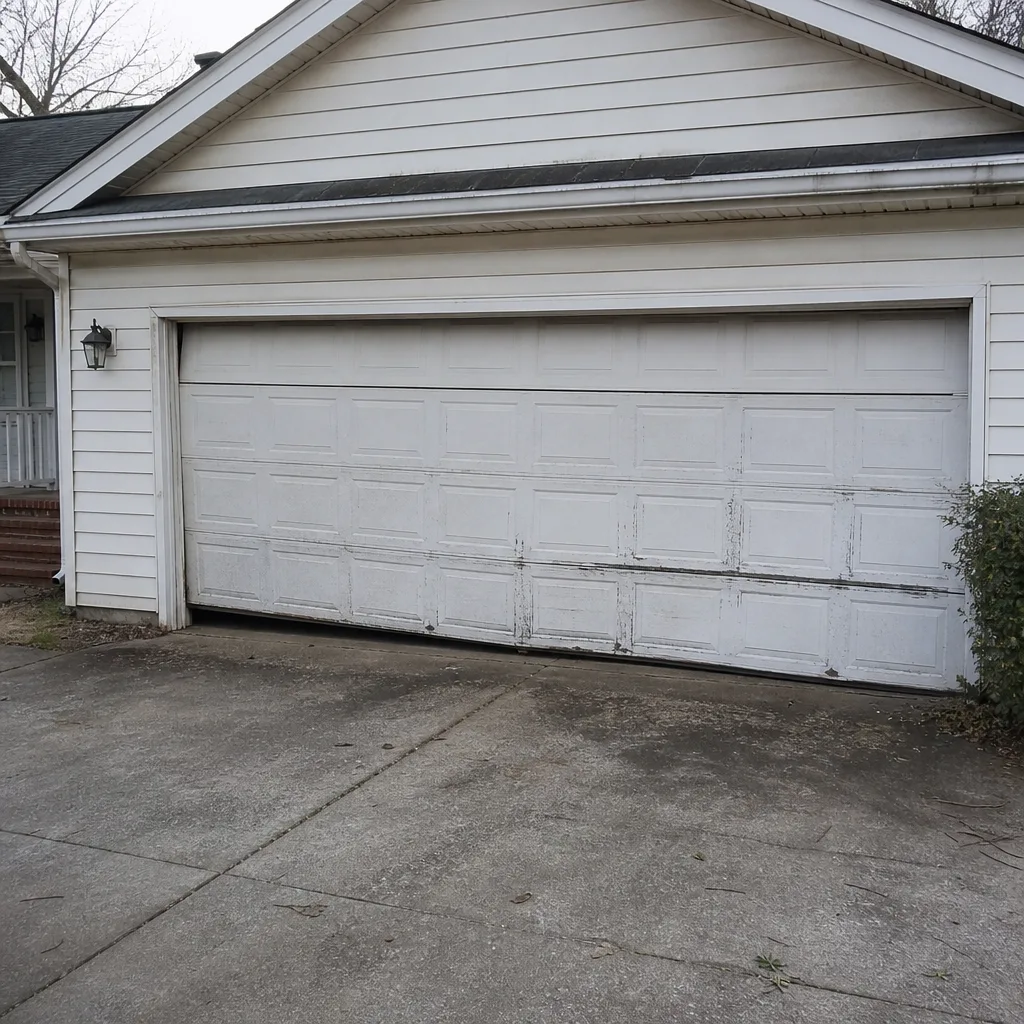 Before
 After
 Before
 After
 Before
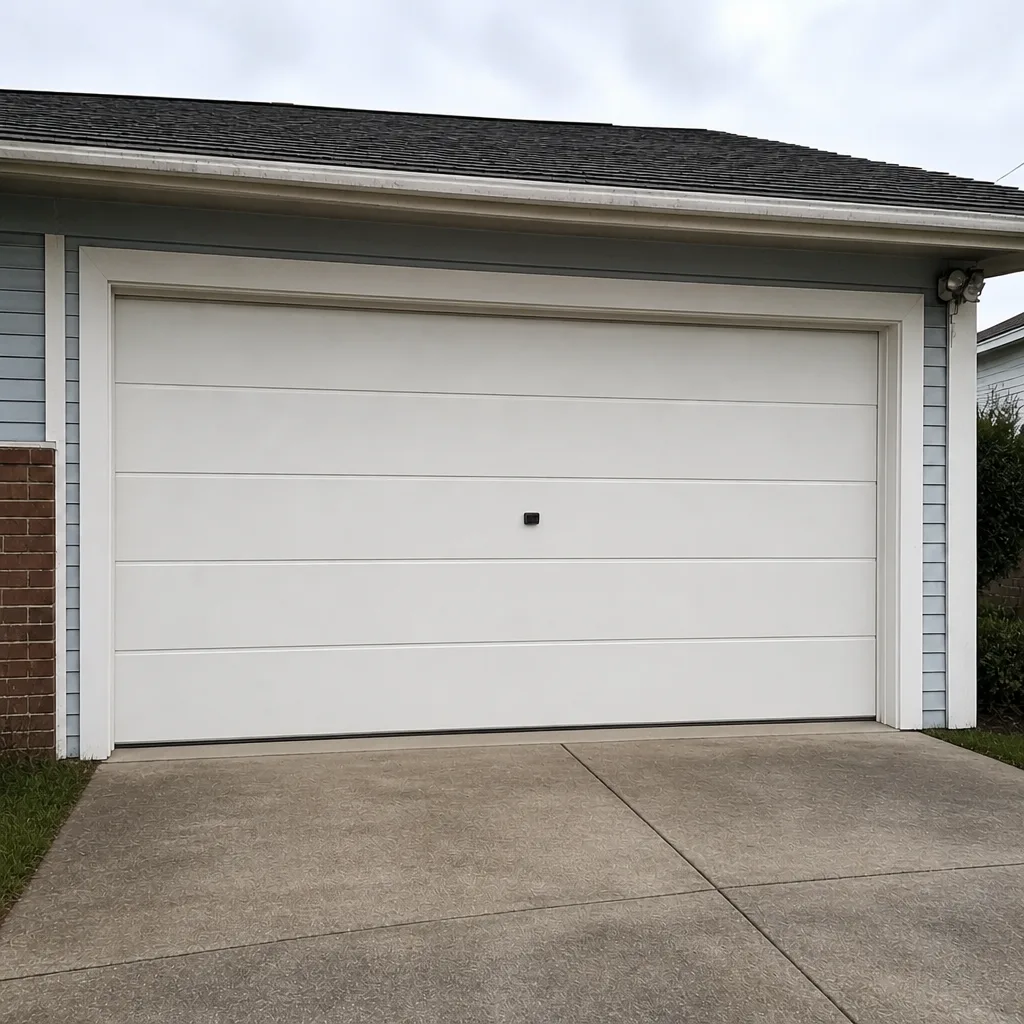 After