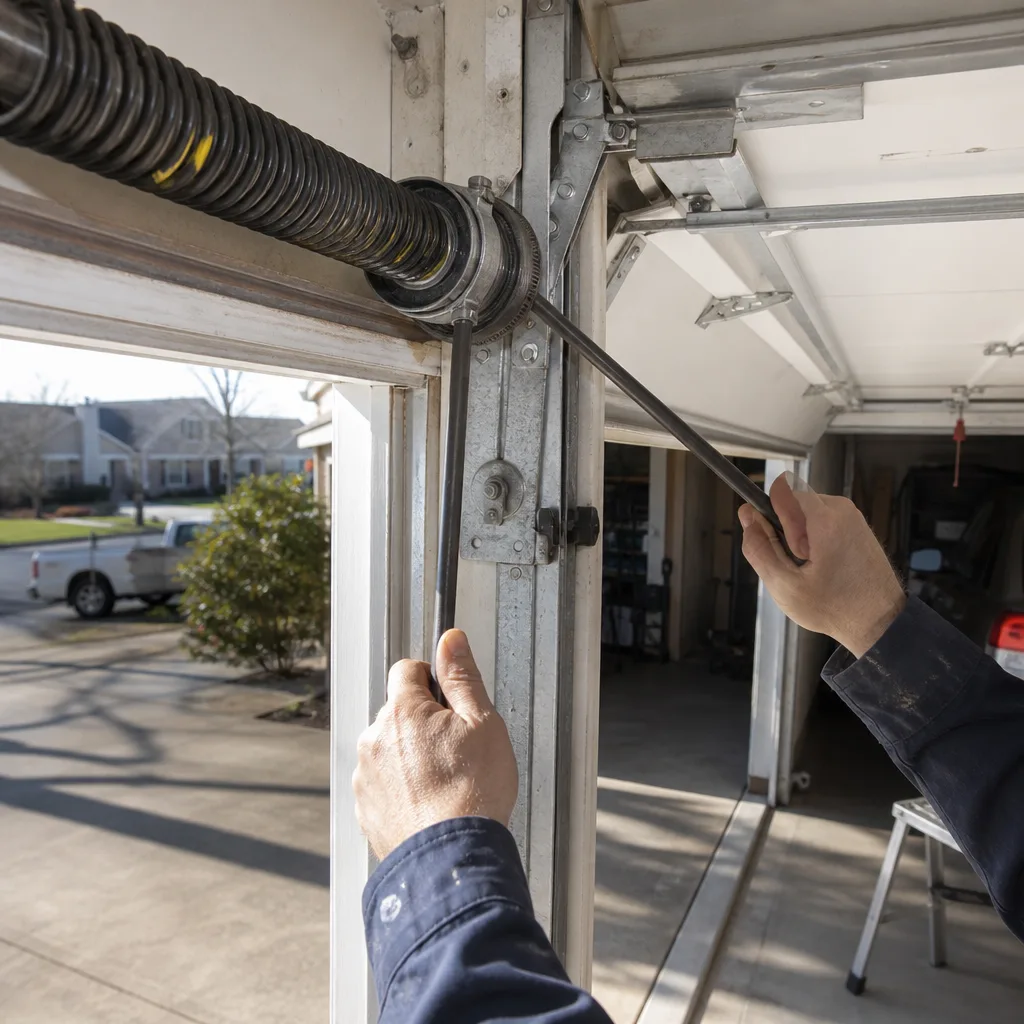
Last updated November 21, 2026
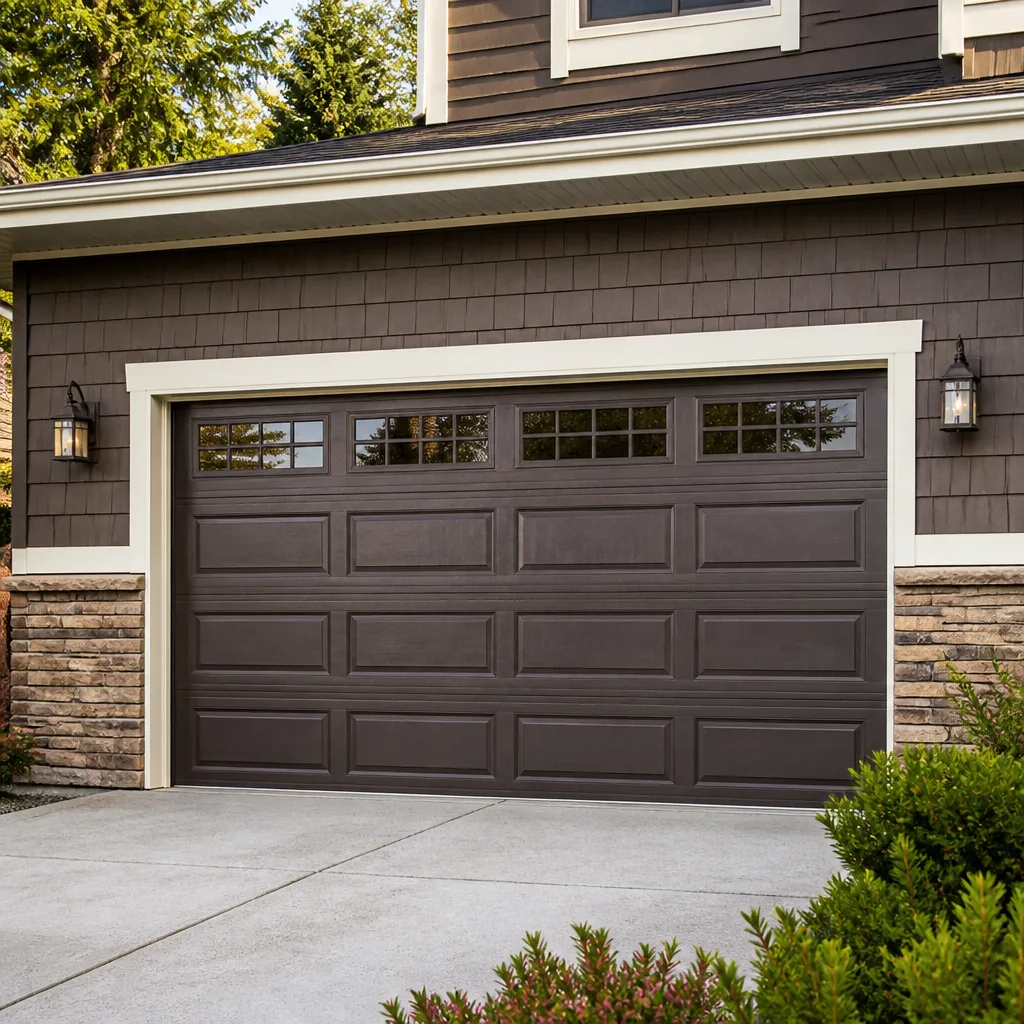 Raised-panel steel
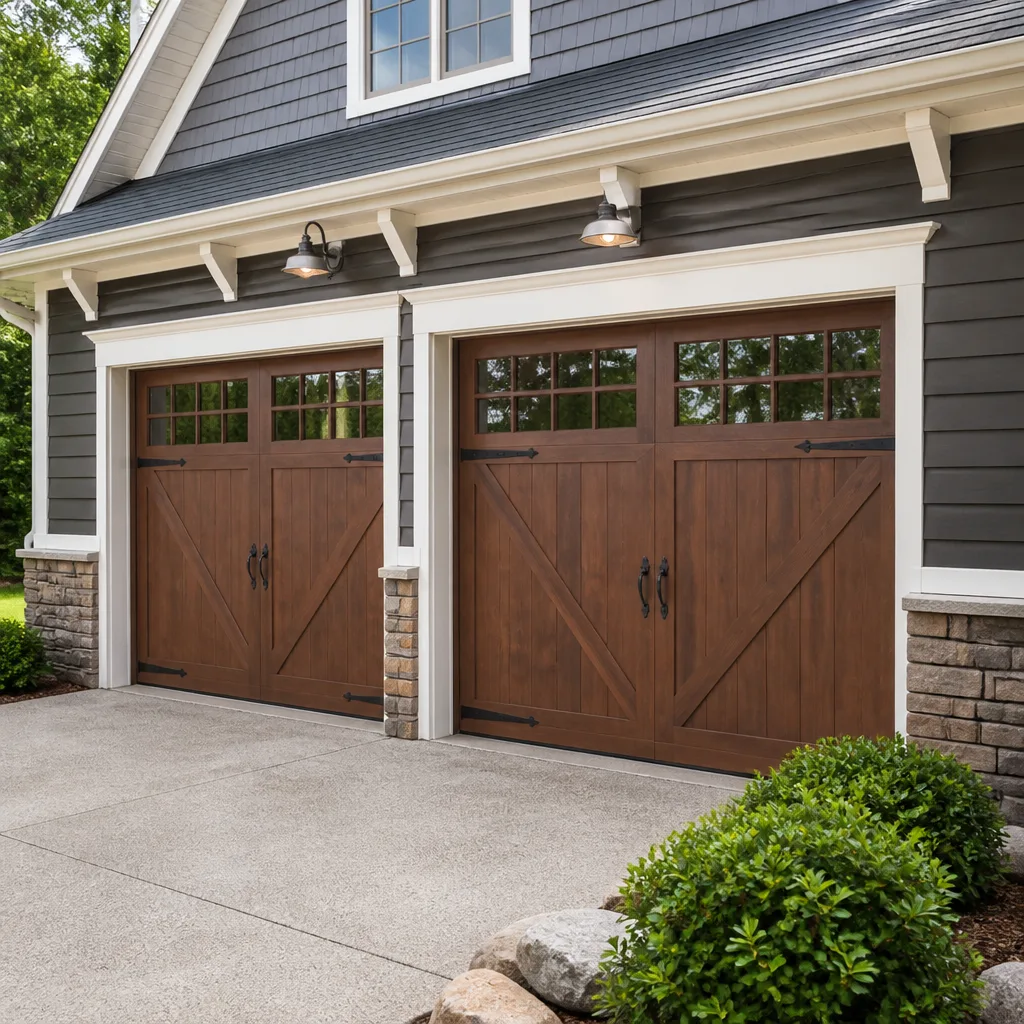 Carriage house
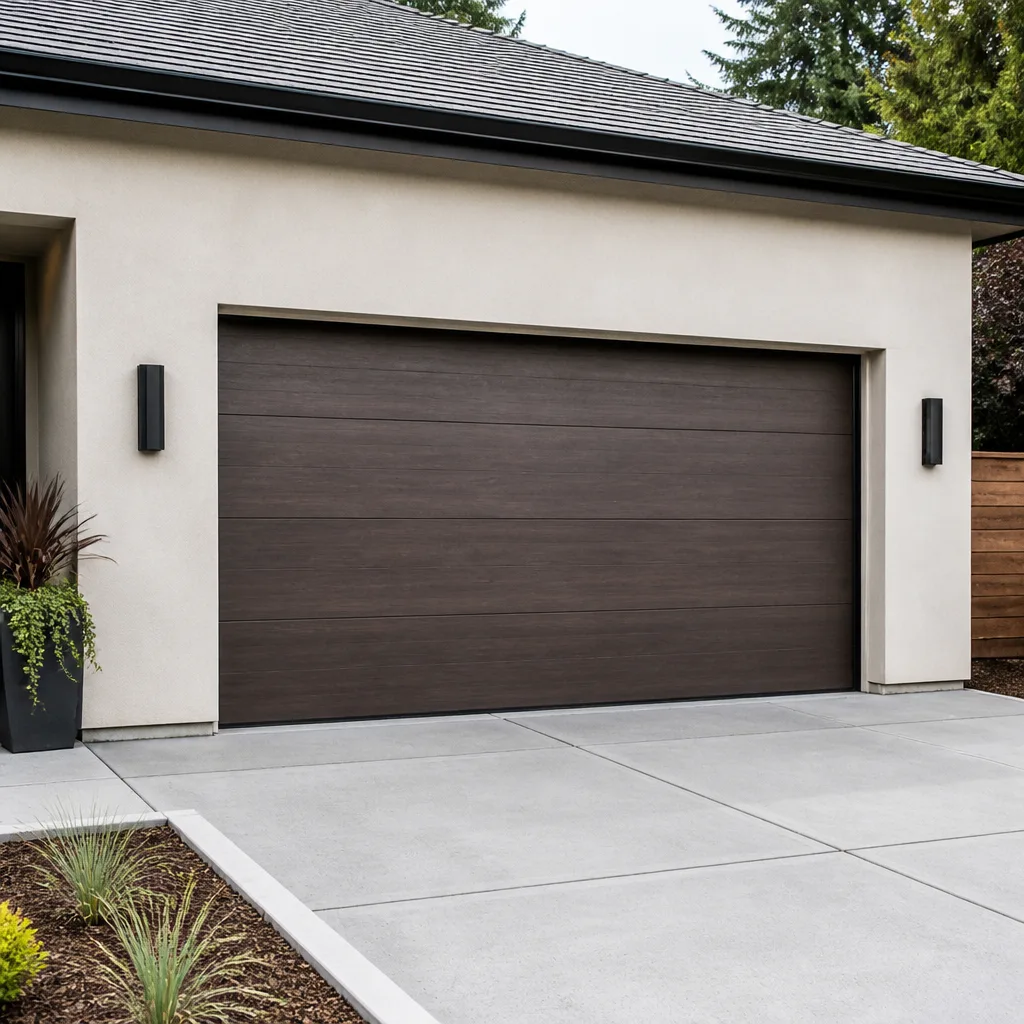 Modern flush
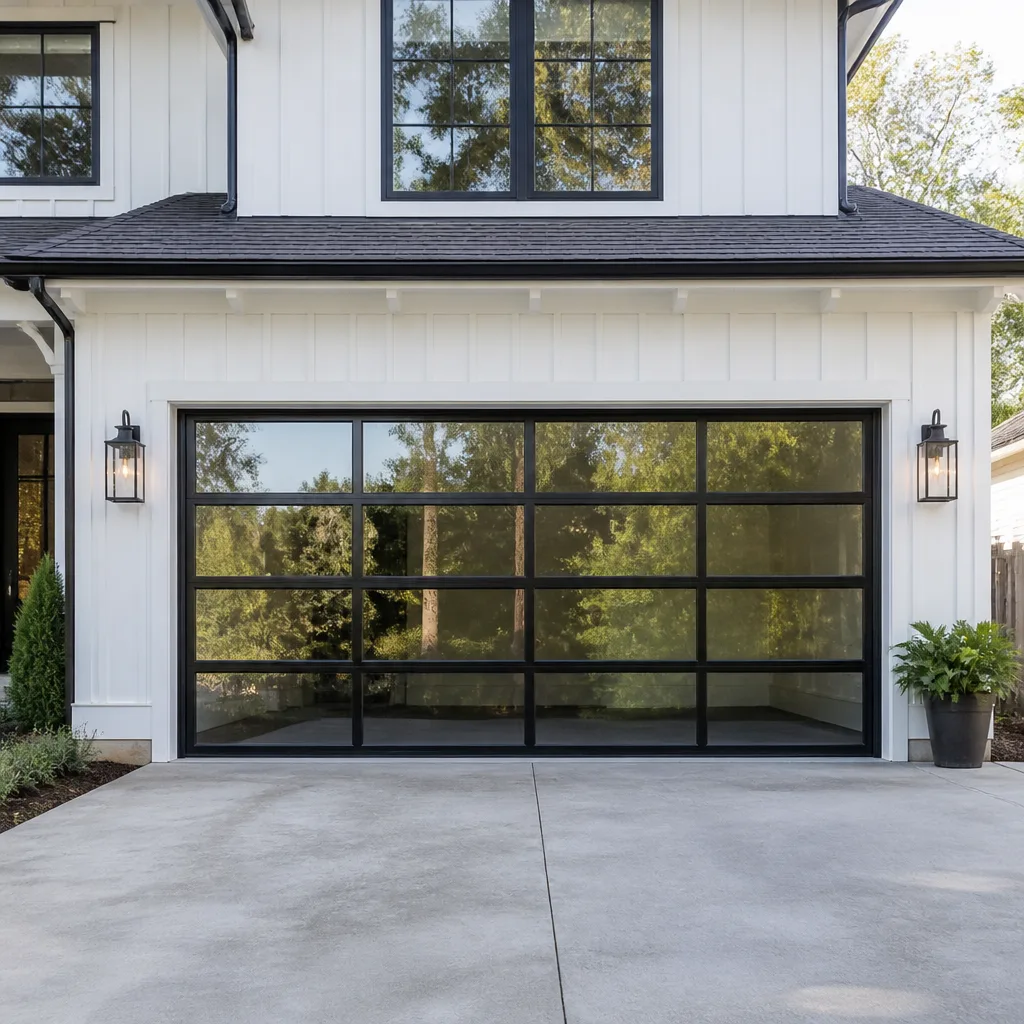 Full-view glass
 LiftMaster openers
 Chamberlain openers
Full 25-point door and opener safety check with every visit - springs, cables, rollers, tracks, and your LiftMaster or Chamberlain opener included
You get a price before we start. It does not change when the pro arrives.
Get your free estimateGarage Door Repair Maintenance Checklist for Norfolk Homeowners
If your maintenance checklist doesn’t mention checking for white corrosion on zinc-coated hardware after the first nor’easter of the season, it wasn’t written for a coastal Virginia home. Most garage door maintenance advice floating around online was built for dry, inland climates where rust barely registers as a concern. Norfolk is a different story. Between the humidity that hangs around most of the year, the wind-driven rain that comes with coastal storms, and the seasonal flooding that affects low-lying neighborhoods, a garage door here faces both mechanical wear and environmental decay at the same time. That changes what you inspect, how often, and in what order. This guide walks you through a maintenance sequence built specifically for Norfolk homes.
Quick Answer
A Norfolk garage door needs inspection every six months for mechanical parts like springs, rollers, and cables, but coastal environmental checks should happen more frequently: every three months for corrosion and seals. The biggest local risk isn’t just worn springs or a tired opener – it’s moisture-driven corrosion on hinges, rollers, and anchor plates, plus seal failure that lets water and pests into the garage. If your door is more than a few years old and has never had a corrosion check, start there.
Styles & brands we work with
- Raised-panel steel
- Carriage house
- Modern flush
- Full-view glass
- LiftMaster openers
- Chamberlain openers
Table of Contents
- Why Norfolk Doors Corrode Faster Than the Manual Says
- Where Corrosion Hides: Hinges, Rollers, and Anchor Plates
- Choosing the Right Lubricant for Coastal Humidity
- Track Alignment After Storms and High-Wind Events
- Bottom Seal and Threshold Seal Inspection
- Realistic Inspection Intervals for Norfolk vs. Manufacturer Recommendations
- Springs and Cables: What to Check, Never What to Fix
- Brand-Specific Maintenance Notes
Why Norfolk Doors Corrode Faster Than the Manual Says
Walk through any older Norfolk neighborhood – Ghent, Larchmont, Colonial Place, or Park Place – and you’ll notice that garage doors on blocks closest to the water and lowest in elevation tend to show surface rust on hardware faster than doors on higher ground. That’s not a coincidence. Manufacturer maintenance schedules assume a generic climate. Norfolk sits in a humid subtropical zone with muggy summers, frequent morning dew, and storm patterns that push moisture into garages that aren’t perfectly sealed. Standing water in the garage or a wet floor drain from seasonal flooding accelerates corrosion significantly.
The parts that suffer first are almost always zinc-plated. Hinges, roller stems, the torsion bar brackets, and the anchor plate that holds the spring assembly. That thin zinc coating is designed to be a sacrificial layer. Once it’s gone, the steel underneath starts to oxidize. A door that would get five years out of its hardware in a drier market might start showing pitting in two or three in Norfolk.
What Coastal Damage Actually Looks Like
- White powdery residue on zinc-coated parts – this is the first visible sign of galvanic corrosion, before any red rust appears.
- Hinge creaking that returns within weeks of lubrication – a sign the pin is corroded, not just dry.
- Rollers that drag or bind even after you’ve cleaned and greased them.
- Pitting on the spring anchor plate – critical, because this plate holds the tension of the entire spring system.
- Discolored track hardware – bolts and brackets that look stained.
In our experience across Norfolk neighborhoods, homes within a few streets of the Lafayette River or in low-lying areas near the Elizabeth see these signs earlier than homes on higher elevation. If your garage takes on water even slightly during a heavy rain event, treat every piece of hardware as high-risk.
Where Corrosion Hides: Hinges, Rollers, and Anchor Plates
A generic visual inspection of the door from the driveway won’t catch coastal corrosion. You need to look at specific attachment points, and the check needs to be a real one – a flashlight and a cloth, not a glance. Here’s the sequence we recommend working through once every three months in Norfolk.
Step-by-Step Corrosion Inspection
- Hinges first. Open and close the door a few times to identify any hinge where the creak returns immediately after lubricating. Wipe each hinge with a clean rag and look for white or reddish residue at the pin. Corroded hinge pins cause rollers to bind and eventually cause the door to come off track.
- Roller stems and bearing plates. Look for rust-colored streaks running down from where the roller stem enters the hinge. The stems are plated steel and they’re the part of a roller that fails from corrosion first, usually before the nylon roller itself wears out.
- Spring anchor plate and center bearing plate. This is the plate that bolts to the wall behind the spring. Look for discoloration, pitting, or rust-colored streaks. Any significant corrosion here is a stop-use condition – that plate takes the full load of the torsion spring, and if it fails, the spring releases uncontrollably.
- Track brackets and lag bolts. Rusted brackets can tear out of the wall or allow the track to shift. Check the bolt heads and the wall surface around the bracket for staining.
- Bottom brackets at the roller corners. These carry the cable tension at the bottom of the door. Corroded brackets at the cable attachment point are a safety concern.
- Opener rail and chain. Openers like LiftMaster and Chamberlain use steel rails that can develop surface rust on the underside where moisture collects. Wipe with a rag and check for pitting.
If you find any of these points actively corroded, we’d suggest having a technician evaluate them. Grinder work and rust converters on safety-critical hardware are not a homeowner fix, and the parts are usually cheaper to replace than repair.
Choosing the Right Lubricant for Coastal Humidity
Standard lithium grease is the wrong choice for a Norfolk garage door. It’s what most manufacturer manuals recommend, and it works fine in the dry climates those manuals were written for. In Norfolk’s humidity, standard lithium grease attracts dust and salt particles suspended in the air and turns into a gummy paste that actually accelerates wear on rollers and hinge pins. Once that paste dries out, it hardens and can bind rollers so badly they need to be replaced rather than cleaned.
What to Use Instead
- Silicone-based spray lubricant for the torsion springs, rollers, hinge pins, and the opener chain. It doesn’t attract dust and won’t hold moisture against the metal.
- White lithium grease only on the opener’s screw drive if you have a screw-drive opener. It’s the one location where the thicker lubricant is appropriate because the screw is enclosed and doesn’t attract dust the same way.
- Dry PTFE lubricant for rollers with sealed bearings, if the manufacturer calls for it. It goes on wet and dries to a film, which is ideal for the humid Norfolk climate.
- Never WD-40 as a substitute. It’s a penetrating oil and water displacer, not a long-term lubricant. It’ll quiet a squeak for a day, then leave the hinge drier than before.
- Never grease on torsion springs. Standard grease on the tightly wound spring coils traps moisture in the coil stack. It looks protected but it’s actually holding water against the steel.
A good rule of thumb for Norfolk: if the product says “marine” or “coastal” on the can, it’s probably a better choice than what the manual recommends. And if you’re not sure whether your opener’s manufacturer specifies a particular lubricant, check with whoever services your opener brand – Genie and LiftMaster have different recommendations for their drive systems.
Track Alignment After Storms and High-Wind Events
Norfolk’s high-wind events don’t just threaten the door panels – they push lateral pressure against the door while it’s closed, and that load transfers into the track, brackets, and hinge points. After any significant storm event, the first thing to check is whether the door still runs smoothly and sits flush in the opening. If the door drags on one side, the door itself is usually fine and the track has been pushed slightly out of plumb.
How to Check Track Alignment
- Open the door fully and inspect both vertical tracks. They should be parallel to each other and plumb to the wall. A 2-foot level held against the track face will reveal a tilt.
- Look for track separation. The vertical and horizontal tracks are connected at an angle bracket near the ceiling. Storm pressure sometimes opens a small gap there that lets rollers pop out.
- Check for bends in the vertical track flange. Even a small dents or twist at roller height causes the door to bind.
- Run the door and watch the rollers. Rollers should stay quiet inside the track. If any of them scrape, jump, or hang on a section transition, the track needs adjustment.
- Check the track lag bolts into the wall. A bracket that has backed out of the wall after a storm is the beginning of track misalignment.
Track adjustment is not a DIY job if it requires bending the track back to square. Once the steel flange is bent past a certain point, bending it back weakens it. Call a technician instead – garage door repair in Norfolk during storm season often includes a track realignment visit, and it’s cheaper than repairing a door that drops off track and takes out a panel or the opener arm.
If you notice the door is off track entirely and you can’t move it safely, treat it as an emergency service call. Emergency garage door service exists exactly for that situation.
Bottom Seal and Threshold Seal Inspection
Flooding risk is a real consideration in Norfolk, and the garage seal is the first line of defense against it. Most homeowners only ever look at the rubber bulb seal on the bottom of the door. That’s half the picture. The threshold seal – the raised rubber strip on the concrete floor where the door lands – is the other half, and it’s the one most homeowners never check.
What to Check on Both Seals
- Bottom seal: Look for tears, flattening, or a gap between the seal and the floor when the door is closed. Place a piece of paper on the floor and close the door on it. If you can pull the paper out easily, the seal has compressed and needs replacement.
- Threshold seal: Check that it’s still adhered to the concrete and hasn’t pulled up at any point. A threshold seal that’s lifted by a half inch lets water in during even moderate rain.
- Where the two meet: The bottom seal should compress firmly against the threshold seal. If the bottom seal contacts the concrete but not the threshold, the threshold needs to be replaced or re-secured.
- Side and top weatherstripping: Storm-driven rain doesn’t just come in at the bottom. Check the side jambs and the top seal – a warped top seal during a nor’easter is a common source of water intrusion.
- Water staining on the floor and door bottom edge: This tells you where water has been getting in even if the seal looks OK today.
Seal integrity isn’t just about water. Norfolk’s summer mosquito season makes an unsealed garage a breeding and entry point, and rodents use bottom-seal gaps as a doorway. If you’ve replaced the bottom seal in the last couple of years and it’s already flattened, the threshold may be holding water against it. That accelerates seal degradation and eventually the door’s bottom panel as well.
Realistic Inspection Intervals for Norfolk vs. Manufacturer Recommendations
Most garage door manufacturer manuals recommend an inspection every six months and lubrication once a year. That’s the standard guidance built for a national average climate. In Norfolk, the humidity and storm-driven moisture mean the useful intervals are tighter – not because the door is worse, but because the environment attacks it faster. Here’s what we tell Norfolk homeowners.
Recommended Schedule for a Norfolk Garage Door
- Every 3 months: Corrosion check on hinges, rollers, and brackets, plus a visual check on both seals.
- Every 6 months: Full lubrication of springs, rollers, hinges, and opener chain with a non-greasy product, plus a closing-force and balance test.
- After every named storm or high-wind event: Track inspection and door operation check.
- Once a year: Full safety inspection including spring cycle check, cable check, and a look at the opener’s force settings and safety sensors.
- Any time the garage floods: Seal replacement, hardware inspection, and a general drying-out of the track and hinges.
Compare that to the generic manufacturer recommendation of “twice a year.” Norfolk doors are essentially getting double the inspection frequency on the parts that fail fastest. If your door has been problem-free for years but you’ve never done a corrosion check, your six-month cycle hasn’t been enough – the mechanic parts may still be fine while the enclosure has been quietly degrading.
For homes that have had an opener die recently, the annual interval is also a good time to have the opener checked on older LiftMaster and Craftsman units, since opener motors built 10 years ago often have gear wear that doesn’t show up until they fail.
Springs and Cables: What to Check, Never What to Fix
Torsion springs and extension springs are the highest-risk component on any garage door, and no maintenance guide should suggest a homeowner adjust them. A torsion spring under normal in-service tension stores enormous energy, and releasing that energy accidentally can cause life-altering injury. Cables carry the same load. Here’s what a homeowner can safely check and what to leave alone.
What You Can Safely Check
- Visual condition of the spring: Look for gaps, elongation, or a winding cone that has moved. A torsion spring that has separated into two halves is already broken, and the door should not be operated.
- Broken cable strands: Look at the cables running along the vertical track. Fraying or kinked cable means the door should not be used until a technician has seen it.
- Spring color code: Spring color paint runs around the coil. If the paint is worn away, technicians use the wire gauge and inside diameter to identify the replacement.
- Balance test: Close the door, disconnect the opener, and lift the door to about half-open. If it drifts down, the springs have lost tension or the door needs adjustment.
What Never to Attempt
- Loosening or tightening a winding cone.
- Removing a torsion bar or spring anchor plate.
- Cutting or replacing a cable.
- Adjusting a bottom bracket.
If a spring breaks, the door must not be operated – and for a door that’s blocking a car or a security gap, that’s an emergency. Our team handles garage door spring repair as a dedicated service for exactly this reason. It’s the repair that most needs a trained hand, and it’s the one where shortcuts cause the most damage.
Brand-Specific Maintenance Notes
Different manufacturers use different hardware, drive systems, and materials, and the maintenance schedule that’s right for your door depends on what you have. We work with the leading brands – LiftMaster, Chamberlain, Genie, Clopay, Amarr, Wayne Dalton, Craftsman, and Raynor – and the maintenance notes below are the ones that come up most often in Norfolk homes.
LiftMaster and Chamberlain Openers
Both brands are belt-driven or chain-driven in most Norfolk installations. Belt drive is common for attached garages because it runs quieter. On chain-drive units, the chain should be lubricated with a silicone spray every six months, and the chain tension checked – it shouldn’t sag more than about half an inch below the rail. LiftMaster and Chamberlain openers often include smart features (myQ) that show up in force-error codes when the door binds. If you get recurring error codes, the door is usually the cause, not the opener.
Craftsman and Genie Openers
Craftsman openers built on the Chamberlain platform have the same maintenance needs. Genie screw-drive openers require white lithium grease on the screw, and the grease needs to be inspected for drying out – in Norfolk humidity, a screw drive can go from adequately greased to dry within a season. Genie’s belt-drive units want the same silicone lube treatment as the LiftMaster and Chamberlain belts.
Clopay, Amarr, Wayne Dalton, and Raynor Doors
Clopay and Amarr produce a lot of the steel and insulated doors used in Norfolk homes, and the panel and finish maintenance is important: touch up any scratches or chips in the paint before they become corrosion sites on the steel skin. Wayne Dalton doors often use proprietary spring systems that need manufacturer-specific parts – if you’re doing an inspection and the spring system doesn’t look like the standard torsion setup, that’s worth noting. Raynor doors tend to have sturdier track and hinge hardware, which holds up better in coastal humidity, but the hinge pins still need the tri-annual corrosion check.
Service across all of these brands is part of what we do – which means when a specific brand needs a specific fix, we don’t have to substitute a generic repair. If your opener repair comes back with a diagnosis, it’s for your actual opener, not the workaround that happens to be on the shelf. If you want a second look at what your door actually needs, our garage door repair team can come out and give you a straight assessment.
Common Mistakes to Avoid
- Using standard lithium grease on everything. It works in dry climates but in Norfolk humidity it attracts dust and holds moisture against hinge pins and roller stems. Use silicone or dry PTFE on those parts instead.
- Skipping the corrosion check because the door “still works.” The door can operate smoothly with a half-corroded hinge until the pin seizes and the door comes off track. The check is the point.
- Checking only the bottom seal and ignoring the threshold. In a Norfolk garage that’s seen any seasonal flooding, the threshold seal is the part that fails first, and it takes the bottom seal with it.
- Adjusting springs or cables yourself. No. This is the mistake that changes people’s lives. If the door won’t balance or a spring has broken, call a technician.
- Waiting until storm season to inspect the tracks. Norfolk’s high-wind events do the damage during the storm. The inspection should happen after, not before – and any tight, dragging, or scraping door after a storm means the track has shifted.
- Treating the manual’s six-month interval as gospel. Manufacturer schedules assume an average climate. Norfolk’s humidity and storm pattern demand the three-month corrosion check, even if the manual doesn’t say so.
- Painting over rust instead of removing it. On door panels, rust needs to be ground back and treated before paint, or it comes back within a season. On hinges and brackets, rust means replacement, not painting.
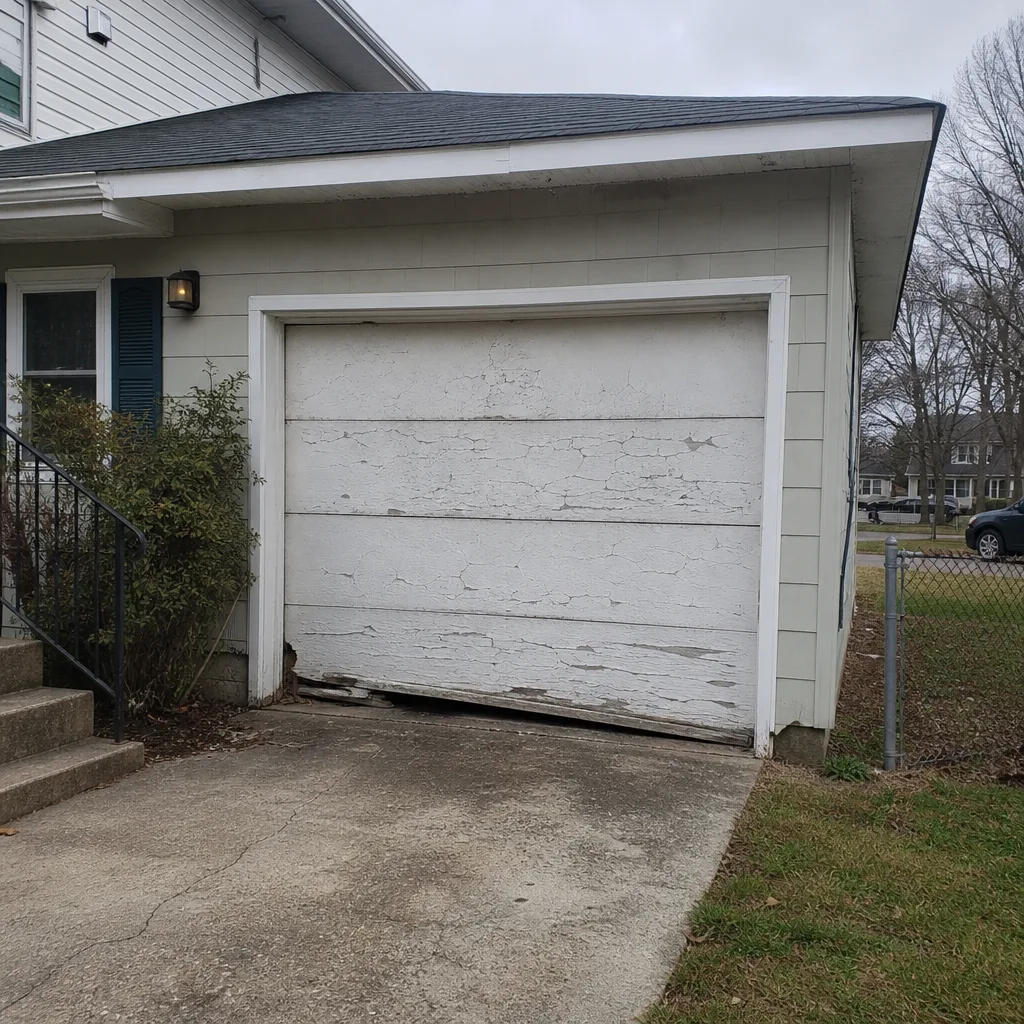
See the difference
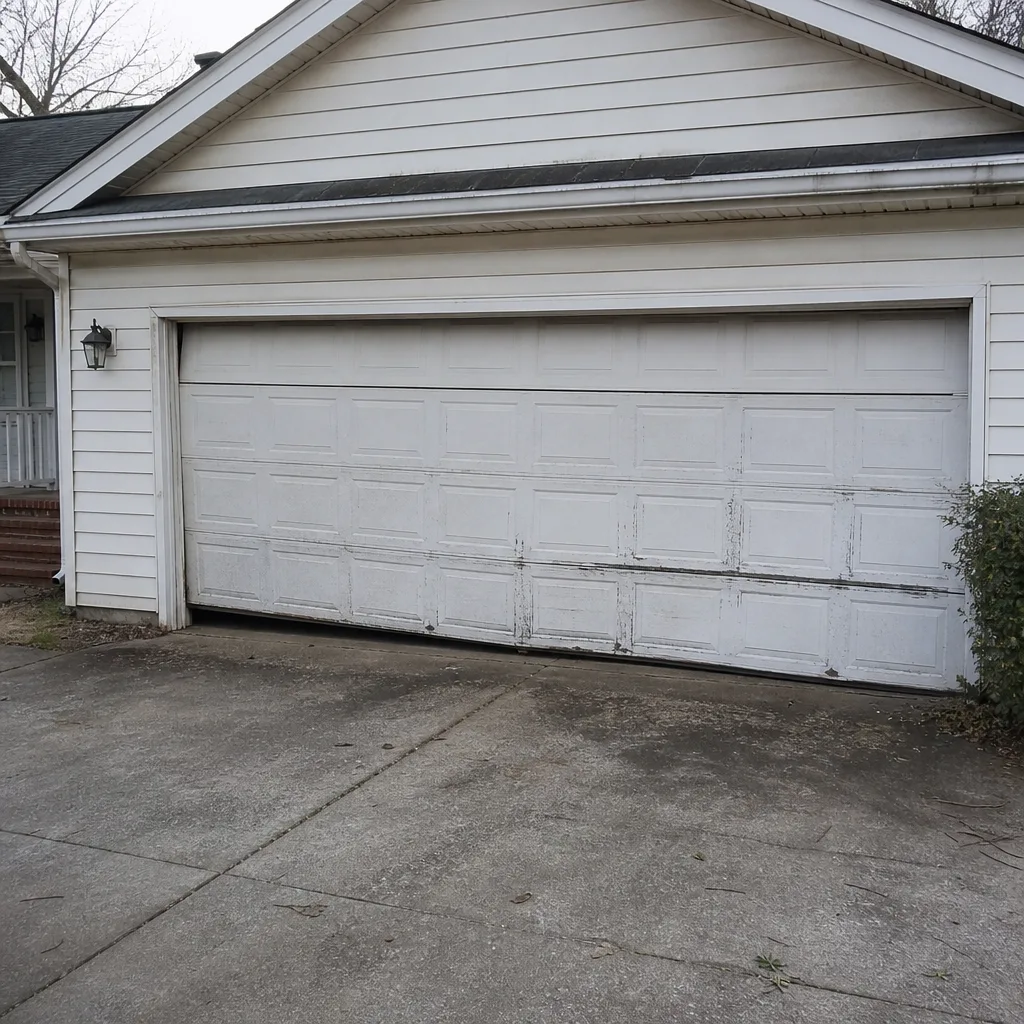 Before
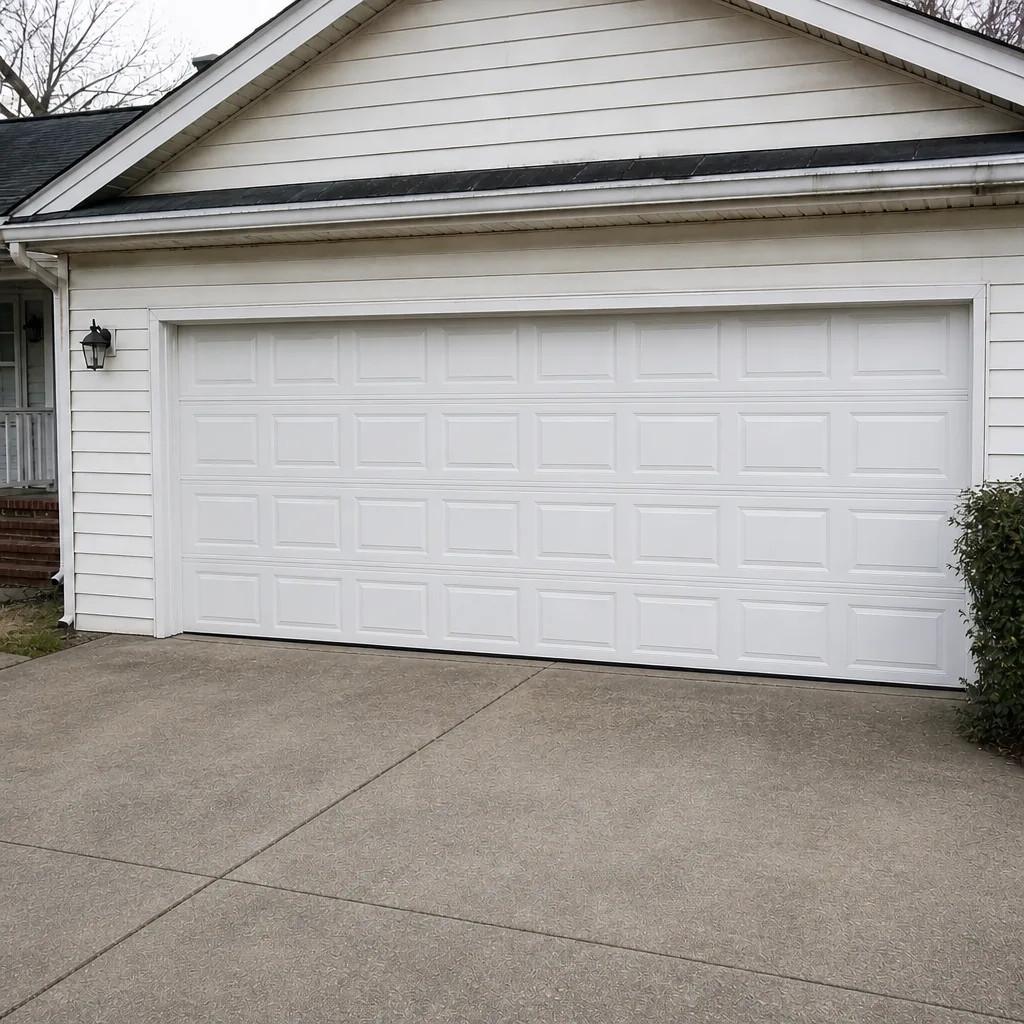 After
 Before
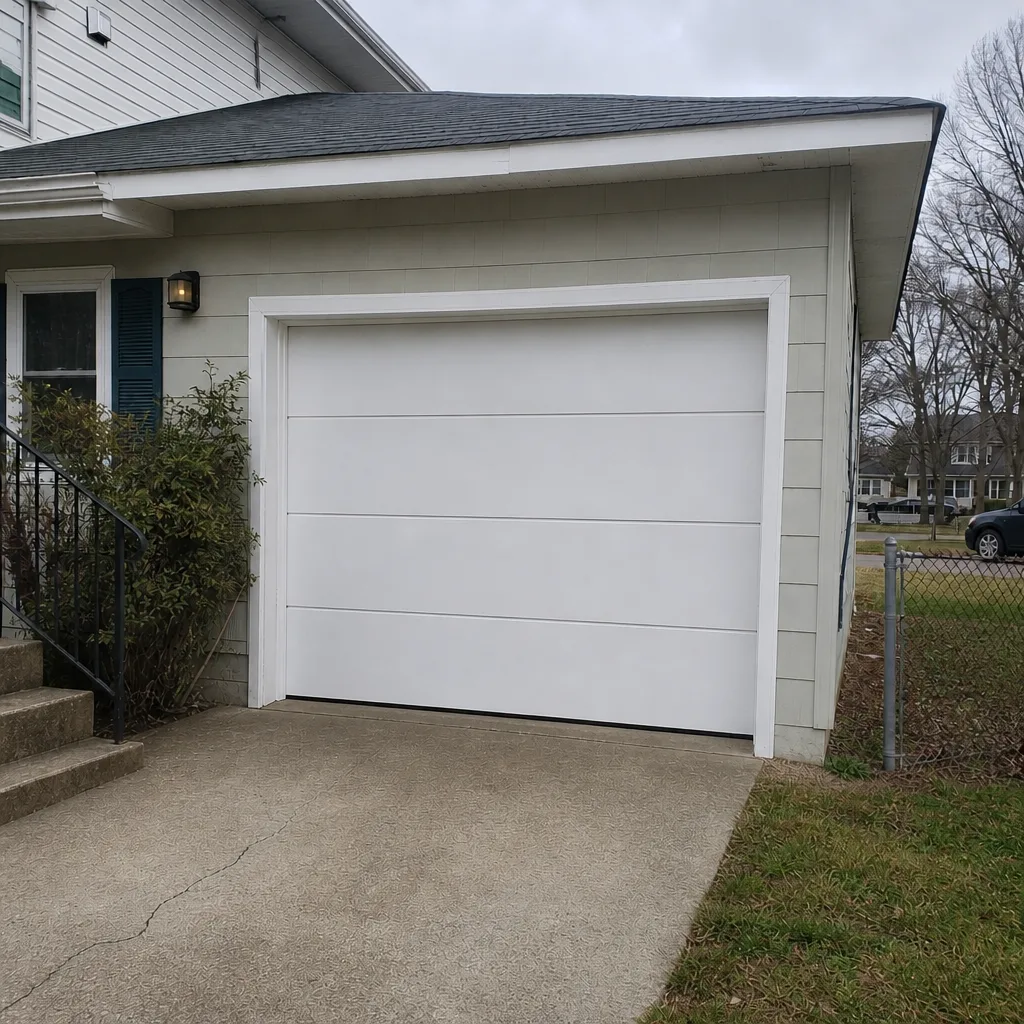 After
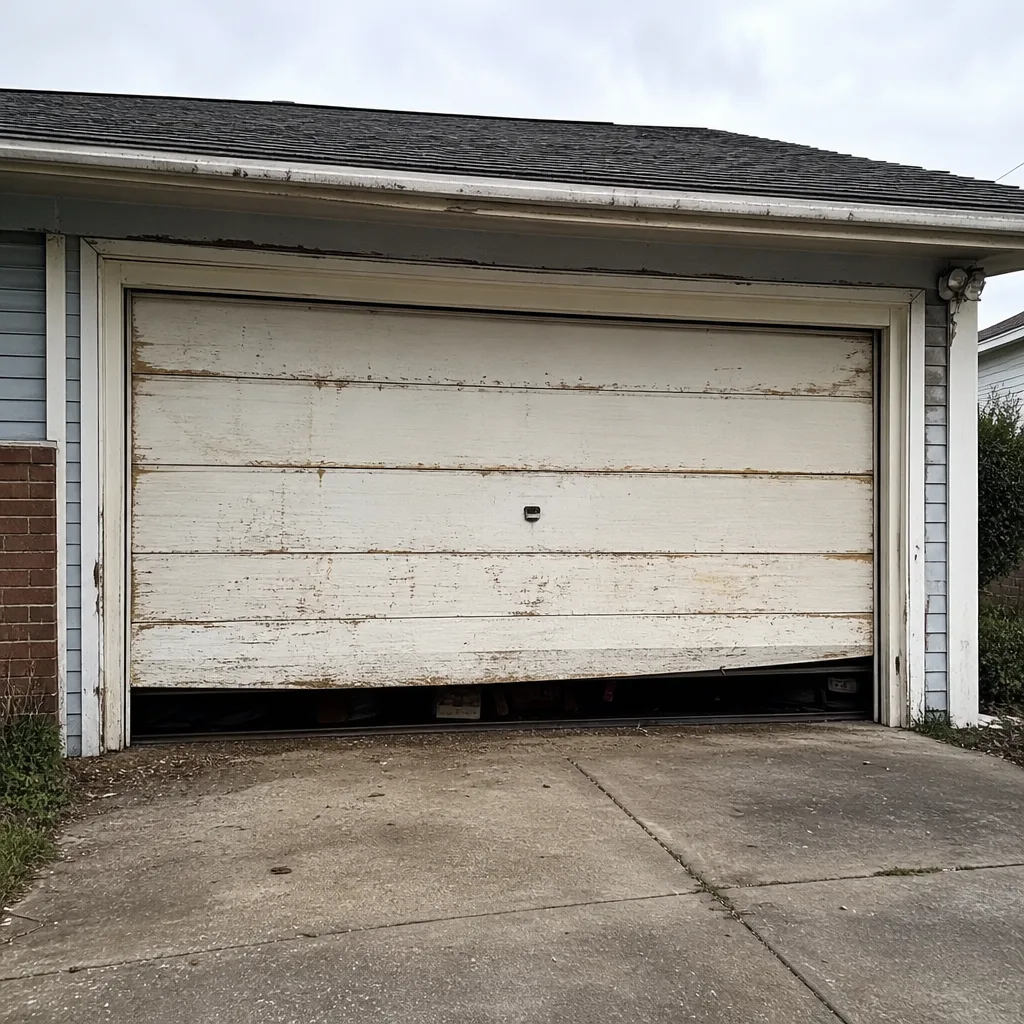 Before
 After
When to Call a Professional
Some maintenance items can be handled with a rag and a can of silicone spray. Others need a trained hand. Call a professional if you notice a broken spring (any spring with a visible gap or a separated coil), a frayed or kinked lift cable, a door that’s come off track or won’t close flush, a bent or cracked panel after a storm, an opener that has stopped responding or shows a force-error code you can’t clear, or a spring anchor plate with visible rust pitting. Also call if the door balance test fails – a door that drifts down when you lift it to half-open needs service before you use it again. Garage Door Repair Norfolk Pros offers free estimates in Norfolk – call (855) 522-0573 to set one up. Our technicians have up to 15 years of experience, and the estimate is written before any work starts, so you know the price before we touch the door.
Frequently Asked Questions
Every three months for corrosion and seals, and every six months for full lubrication and a balance test. The three-month corrosion check is a Norfolk-specific interval – manufacturer manuals that call for only a twice-yearly inspection were written for inland climates where hardware doesn’t corrode as fast. Call (855) 522-0573 if you’d rather have a technician handle the first inspection and show you what to look for.
Use a silicone-based spray lubricant on springs, rollers, hinge pins, and opener chains. Avoid standard lithium grease on these parts because it traps moisture and dust in humid climates. The one exception is a Genie screw-drive opener, which takes white lithium grease on the screw. When in doubt, call a technician who services your opener brand and can tell you what the manufacturer actually specifies.
Yes, and it damages the hardware faster than the door panels in most cases. Zinc-coated hinges, roller stems, and spring anchor plates are the first to show white powdery corrosion, and once that sacrificial coating is gone, the steel underneath rusts. Doors that sit low or take on water during seasonal flooding are highest risk. A three-month corrosion check catches it before the hardware needs to be replaced. Call (855) 522-0573 if you’re seeing white residue on brackets or hinges.
Yes, after any significant high-wind event in Norfolk. Storm lateral pressure pushes against the closed door and can nudge the tracks out of plumb, open a gap at the angle bracket, or back out a lag bolt. If the door drags, scrapes, or jumps a roller after a storm, have it inspected before you run the opener again. Call (855) 522-0573 for a track alignment inspection.
No. Torsion and extension springs store enormous energy even under normal in-service tension, and releasing it accidentally causes serious injury. Replacing a spring, adjusting a winding cone, or cutting a cable are all jobs for a trained technician with the right tools. If you have a broken spring, we handle spring repair as a dedicated service. Call (855) 522-0573 – estimates are free.
Every six months, lubricate the chain or belt with a silicone spray, check chain tension (chain drives shouldn’t sag more than about half an inch), and run the safety sensor test. On older LiftMaster, Chamberlain, Genie, and Craftsman openers, annual inspection of the gear assembly catches wear before it becomes a failure. If the opener itself is failing, call (855) 522-0573 for a diagnosis on your specific brand before considering replacement.
The Bottom Line
Norfolk garage doors face two problems at once: ordinary mechanical wear from use, and accelerated corrosion from the region’s humidity, storm-driven moisture, and seasonal flooding. A maintenance checklist that only accounts for one of those leaves half the door unprotected. The practical fix is to shorten the environmental check interval to three months while keeping the mechanical lubrication and balance test at six. Inspect hinges, roller stems, and spring anchor plates for white corrosion every quarter. Use silicone or dry PTFE lubricant, not standard grease. Check both the bottom seal and threshold seal together after any flooding. And leave spring, cable, and any safety-critical hardware repair to a trained technician. If you’d like a professional baseline inspection with a written price before any work starts, we can help.
If your door is due for its first inspection or something on this checklist came up short, call Garage Door Repair Norfolk Pros at (855) 522-0573 for a free estimate. We handle repair, opener repair, spring repair, and full installation across the major brands, and we’re available for emergency garage door service when a door fails suddenly. You can also garage door opener repair service details or read about full garage door installation if the inspection turns up a door that’s reached the end of its service life. Learn more about our full service offering at Garage Door Repair Norfolk Pros.
Written by the team at Garage Door Repair Norfolk Pros.