Last updated November 21, 2026
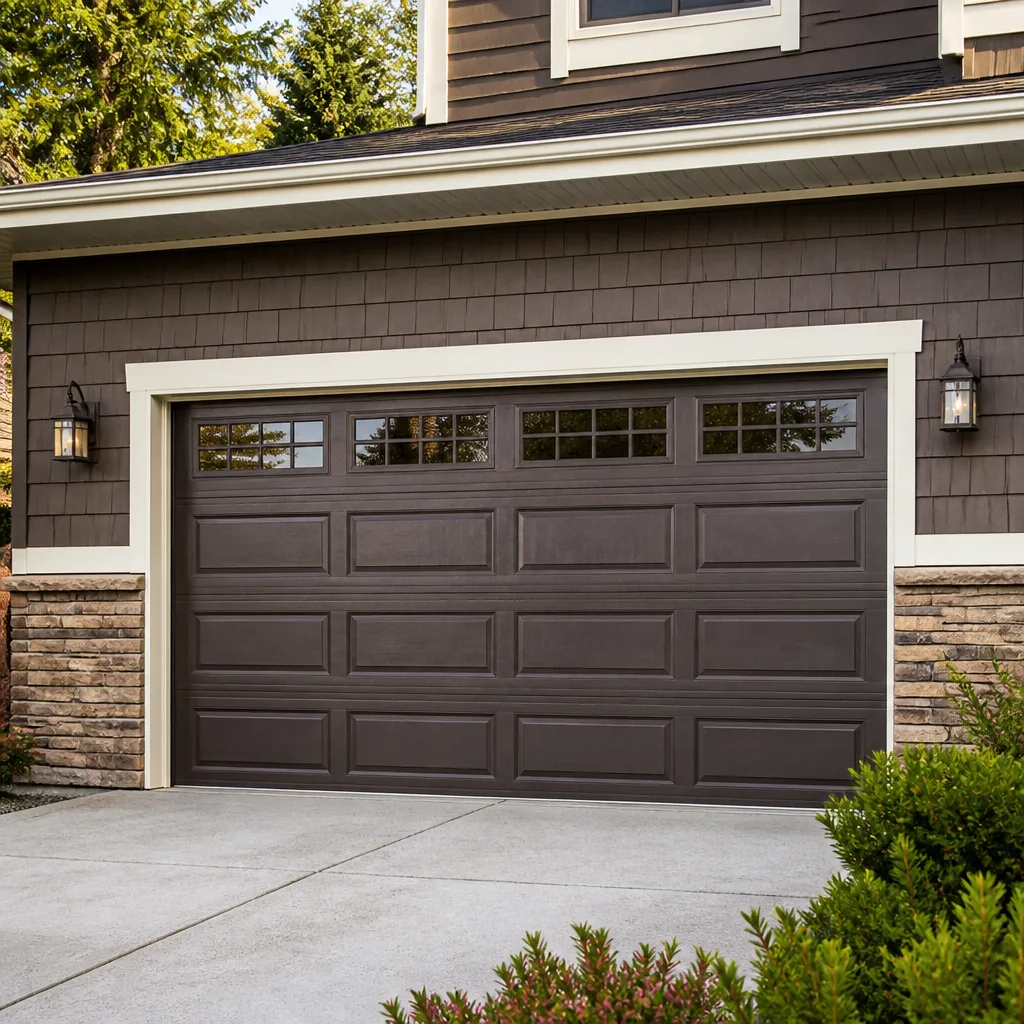 Raised-panel steel
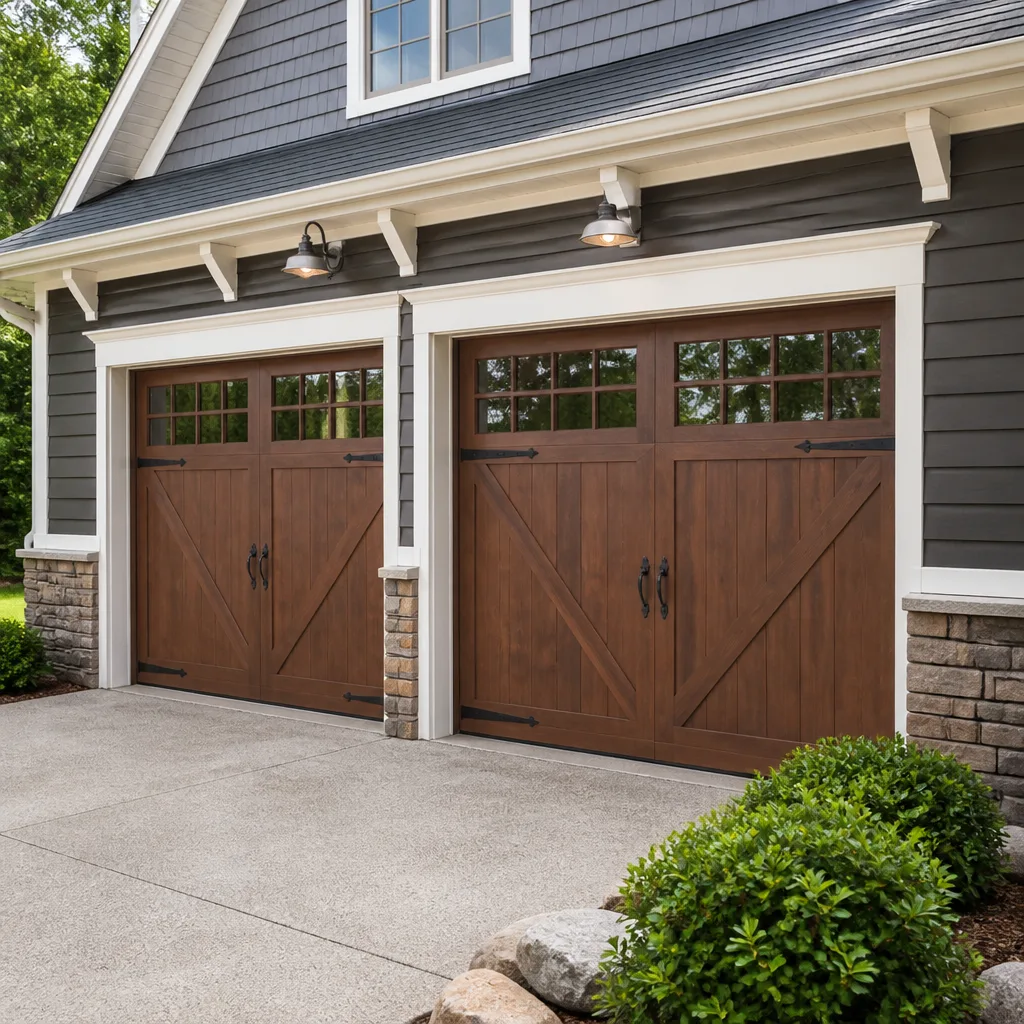 Carriage house
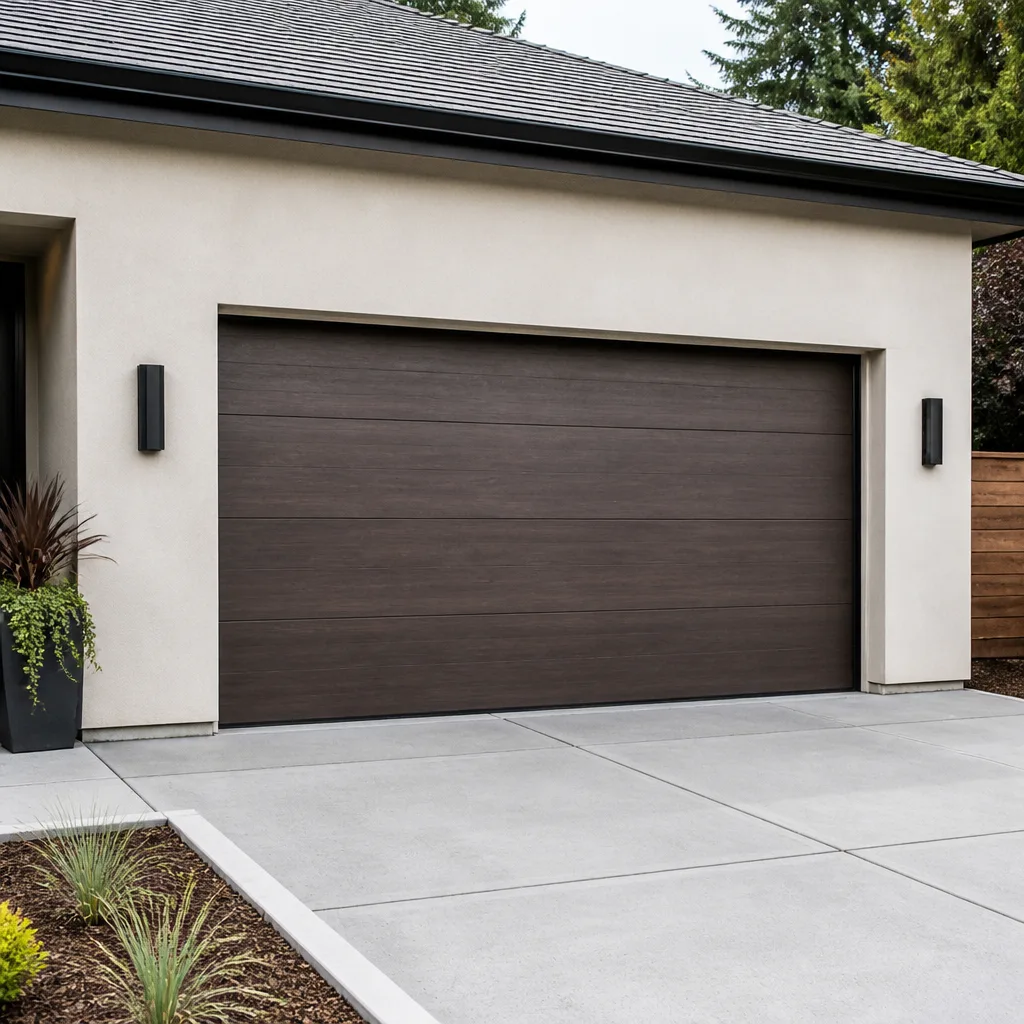 Modern flush
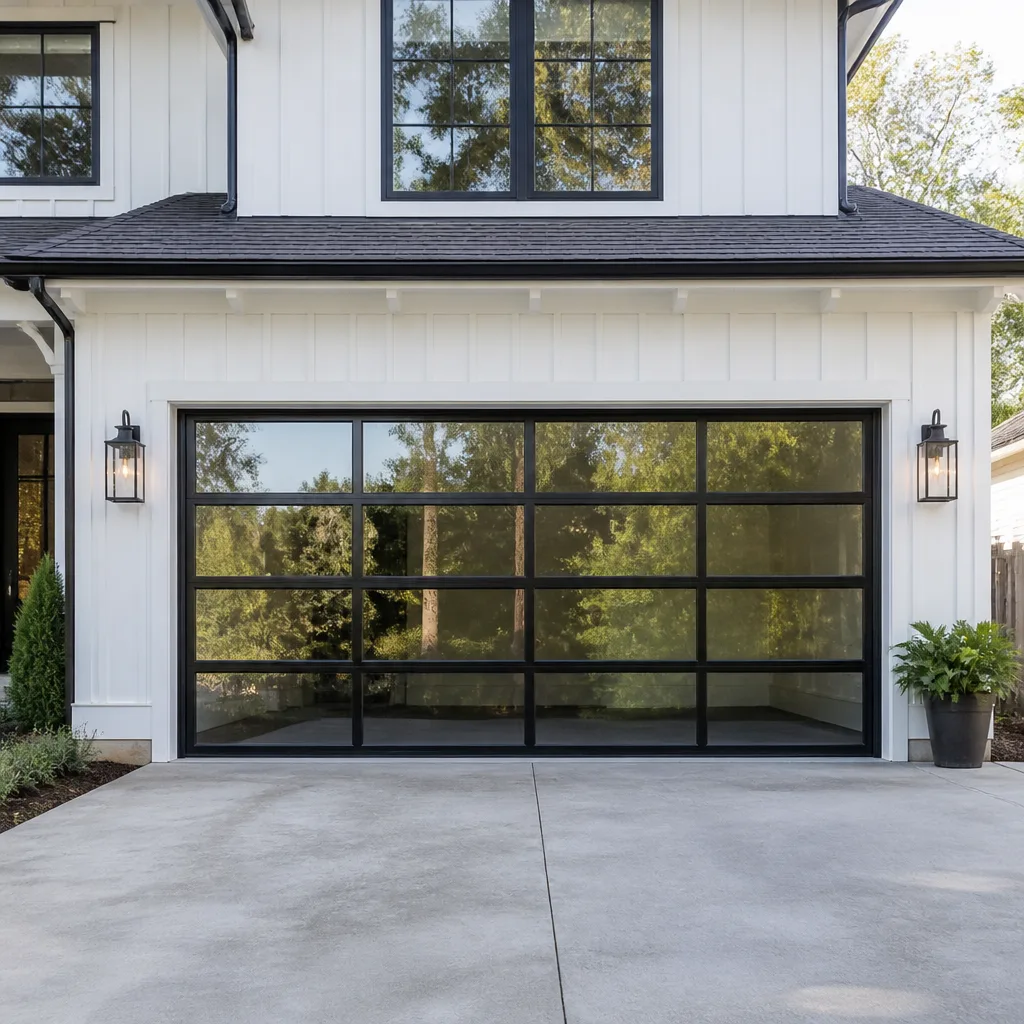 Full-view glass
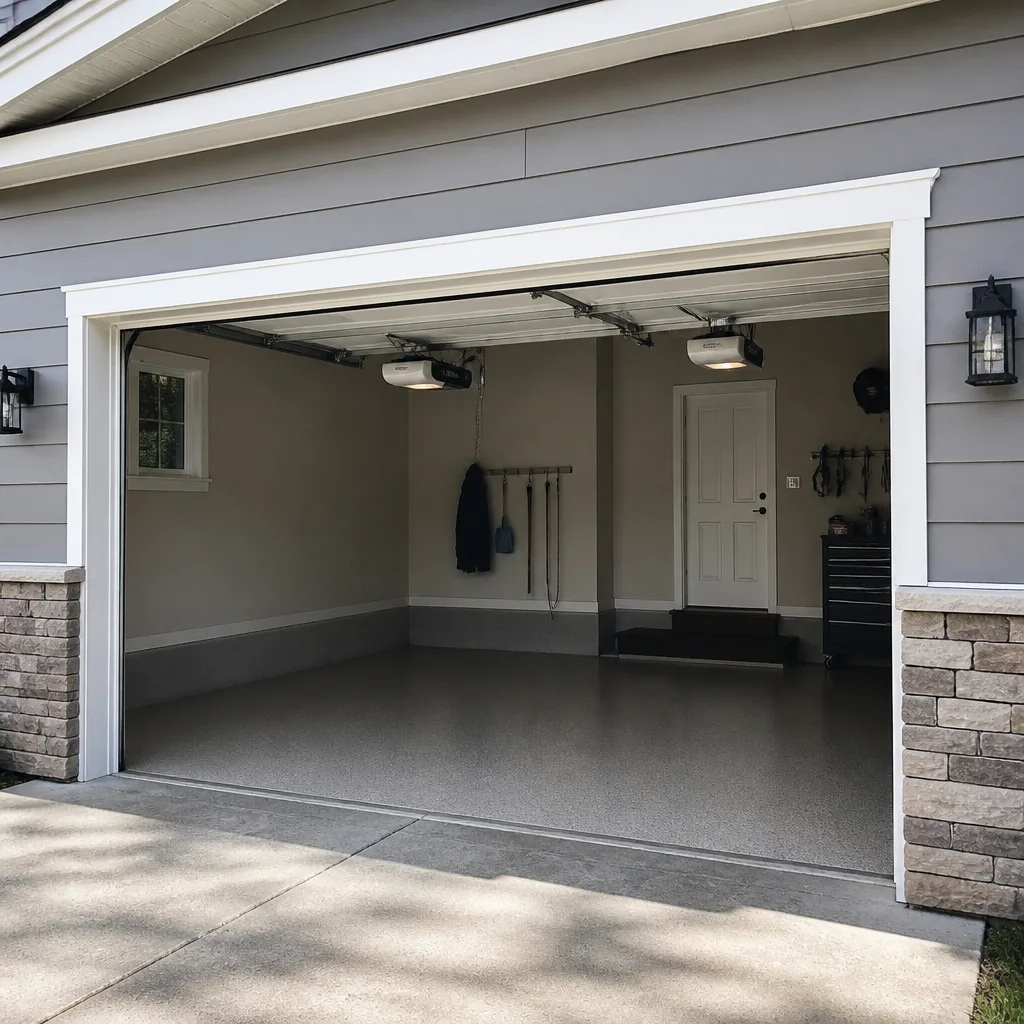 LiftMaster openers
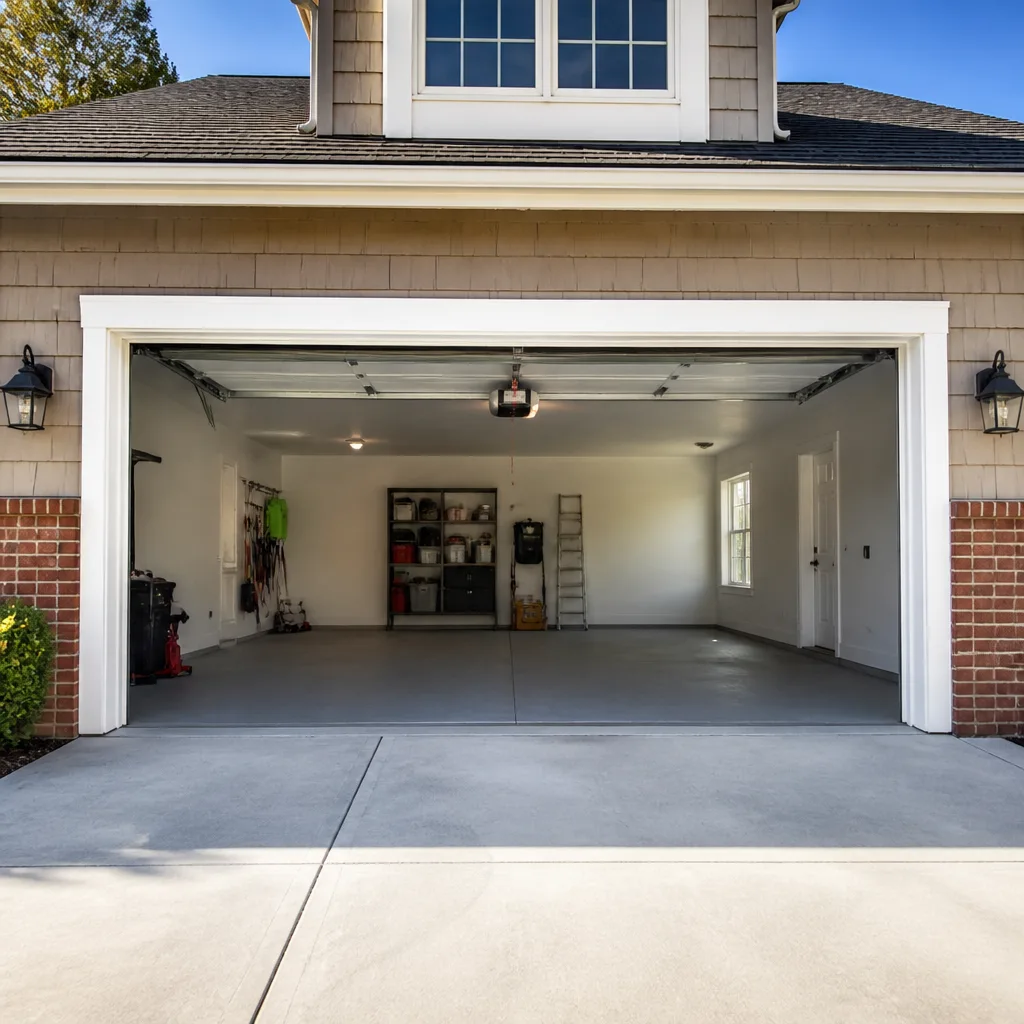 Chamberlain openers
Full 25-point door and opener safety check with every visit - springs, cables, rollers, tracks, and your LiftMaster or Chamberlain opener included
You get a price before we start. It does not change when the pro arrives.
Get your free estimateGarage Door Repair Troubleshooting in Norfolk: Common Problems and How to Fix Them
A door that won’t open could mean two very different things. It might be a dead remote battery, which takes under a minute to sort out. Or it might be a snapped torsion spring, which needs a trained technician before the door moves again. The trouble is that both failures produce the same outward symptom: the door stays put. Homeowners across Norfolk treat those two situations the same way all the time, and that’s how people get hurt or turn a cheap fix into an expensive one. This guide is built around a different idea. Instead of chasing symptoms, we teach you to diagnose by system – springs, cables, tracks, opener, and panels – so you know exactly which category you’re dealing with before anything is touched. You’ll learn what’s safe to check yourself, what to leave alone, and how Norfolk’s humid air quietly changes which parts fail first.
Quick Answer
Most garage door problems trace back to one of five mechanical systems: springs, cables, tracks, the opener, or the door panels themselves. The fastest way to troubleshoot in Norfolk is to identify which system is failing rather than reacting to the symptom, because a door that “won’t open” could be an opener issue you can test with a remote or a broken spring that requires a professional.
If the door is stuck open, hanging off a track, or you can see a broken spring or a slack cable, stop and call a technician. Everything else you can usually diagnose without touching a tool.
Styles & brands we work with
- Raised-panel steel
- Carriage house
- Modern flush
- Full-view glass
- LiftMaster openers
- Chamberlain openers
Table of Contents
- Why You Should Diagnose by System, Not by Symptom
- The Five Systems That Cause Nearly Every Garage Door Failure
- Touch or Don’t Touch: A Safe Decision Tree
- How Norfolk Humidity Accelerates Specific Failures
- Noise Diagnostics: What Grinding, Squealing, Popping, and Banging Actually Mean
- Multi-System Failures: When One Break Causes Secondary Damage
- The Safe Checks You Can Run in Five Minutes
- What a Professional Repair Involves
Why You Should Diagnose by System, Not by Symptom
Symptom-based troubleshooting is how most homeowners get stuck. The door makes a noise, you search the noise, and you find a dozen answers that don’t fit your actual hardware. The problem is that one noise or one failure can come from several systems at once. A loud bang from the garage might be a spring breaking, a panel cracking, or a torsion tube shifting in its bearing plate. Searching the sound tells you almost nothing useful.
When you diagnose by system, the picture sharpens. Each system has a specific job, a specific set of failure modes, and a specific way it announces trouble. Springs store and release the lifting force. Cables keep the door level as it travels. Tracks guide the rollers. The opener supplies the drive. The panels form the door itself. If you can trace a symptom to the system that’s misbehaving, you can usually tell within a couple of minutes whether it’s something you can handle or something that needs a technician with the right tools.
We do this with every service call. Before we touch anything, we look at the door as a set of mechanical systems and work out which one has failed. That’s also how we choose parts. A door running a LiftMaster opener and a Raynor door gets checked against the actual hardware in front of us, not against whatever happens to be most familiar. Brand-specific diagnostics mean the right fix for your system instead of a generic workaround. For a fuller picture of what each repair involves, see our garage door repair page.
The Five Systems That Cause Nearly Every Garage Door Failure
Before we get into symptoms, meet the cast. Every call we run in Norfolk comes down to at least one of these five systems, and knowing their jobs makes the rest of this guide click into place.
- Springs. Torsion springs sit on a steel shaft above the door; extension springs run along the sides. Both store the energy that lifts the door. A broken spring is the single most common serious failure, and it’s also the most dangerous to handle.
- Cables. Steel cables run from the bottom corners up through the spring system or along the tracks. They keep the door balanced and level as it rises and falls. A worn or snapped cable lets the door hang crookedly.
- Tracks. The vertical and horizontal tracks guide the rollers. Bent or misaligned tracks cause grinding, binding, and a door that wanders off course.
- The opener. The motor and rail system push and pull the door. This is where LiftMaster, Chamberlain, and Genie platforms live, and brand matters for diagnostics because each has its own logic board, safety sensors, and remote behavior.
- Panels. The door sections themselves. Dents, cracks, and hinge failures weaken the panel and affect how the whole door balances.
Every troubleshooting decision in this guide starts with matching a symptom to one of these five. If you’re not sure which one is failing, don’t guess. Treat the door as unsafe and call.
Touch or Don’t Touch: A Safe Decision Tree
The first job in any troubleshooting session is deciding what you’re allowed to touch. Get this part right and you avoid the majority of injuries in this trade. Get it wrong and a $200 fix turns into an emergency room visit.
Don’t touch these under any circumstances. High-tension torsion springs, cables under load, and anything holding the door’s weight up are off-limits. High-tension garage door springs and cables can cause serious injury in an instant, and that’s true whether the door works or not. A snapped spring left with its tension half-released can kick without warning. A slack cable can whip. If you can see a broken spring, a cable hanging free, or the door sitting at an angle off its track, don’t try to move the door and don’t try to “help” it. Call a trained professional.
Safe to check yourself. These diagnostics use no tools and no force:
- Whether the wall switch or the remote moves the door at all
- Whether the opener’s light flashes or the safety sensors respond
- Whether the emergency release cord will pull (only when the door is fully closed and not under load)
- Whether hinges look tight and rollers sit properly in their tracks
- Whether you can hear the opener’s motor run without the door moving
Judgment calls. Visual inspection is fine. Touching, lifting, or bending anything under stress is not. If a check involves shifting weight, removing a part, or holding tension, it’s a professional job. Our garage door opener repair team handles the electronics and the sensors; the mechanical checks in this section are the ones you can safely run before you call.
How Norfolk Humidity Accelerates Specific Failures
Norfolk’s humid summers change the failure pattern in ways that inland troubleshooting guides never mention. When warm, humid air sits in a closed garage for months, it corrodes the parts that move most and the fasteners that hold everything together. Most of the driveways we’re called out to are concrete with a lot of standing moisture at the threshold. That moisture travels into the garage on the door’s bottom edge every time it opens. Over a few seasons, the corrosion shows up in the same places again and again.
What we see most often:
- Cable drums and bearing plates. These are the components humidity hits first. Rust builds on the drum, the cable starts to bind, and the wear concentrates in one spot. In a drier climate, a cable might last years in the same garage. Here, the drum corrosion shortens that window noticeably.
- Track hardware and hinge pins. Rusted hinge pins and fasteners freeze in place. Grinding and stiff operation follow.
- Spring tension. Springs don’t rust the way steel cables do, but the humidity accelerates wear on the shaft and the bearing plates that the spring depends on.
- Bottom weather seals. The seal takes the greatest moisture exposure. A worn seal lets water into the panel’s bottom edge, and that’s where panel rotting begins.
This isn’t a reason to panic. It’s a reason to know what to look for. When you’re troubleshooting a door in Norfolk, check the drum, the bearing plates, and the hinge pins first. A rusted drum explains a lot of mysterious grinding that a symptom-first guide would blame on the opener.
Noise Diagnostics: What Grinding, Squealing, Popping, and Banging Actually Mean
Noise is the most underused diagnostic tool in this trade. Most homeowners hear the sound and file it under “door needs fixing.” But each noise maps to a specific system, and you can usually narrow it down before you pick up the phone.
Grinding. Grinding almost always points to the tracks. A roller is dragging against a bent section, a hinge has seized, or the track has shifted just enough to pinch the door’s travel. If the noise is new and comes from one side, suspect the track on that side.
Squealing. Squealing is metal-on-metal friction. Common causes are dry rollers, worn hinges, or a stiff torsion shaft. It’s a warning noise more than a failure – a door that squeals is usually crying out for lubrication or a part swap before it breaks.
Popping. A single loud pop from over the door often means a torsion spring has lost tension or a hinge has finally given out under stress. Popping combined with a door that suddenly won’t open is a spring failure until proven otherwise. Don’t try to lift the door.
Banging. Banging usually points to the opener’s rail or the door’s travel limit. The opener keeps pushing after the door has reached the floor, or the rail has loosened from its bracket. On a Chamberlain or LiftMaster system, the travel limits need to be set. On our calls we see a lot of banging that turns out to be a simple limit issue.
Two noises to treat as urgent: a bang followed by the door hanging crooked (spring or cable), and a grinding that gets louder within a single cycle (track or roller failure). In either case, stop operating the door and call.
Multi-System Failures: When One Break Causes Secondary Damage
Here’s what most troubleshooting guides leave out: failures rarely happen alone. When a spring breaks or a cable lets go, the door’s weight redistributes in a fraction of a second. That force travels through every other system, and the secondary damage is often worse than the original break.
The common sequence in Norfolk:
- Spring breaks. The door’s counterbalance is gone, and the full weight drops onto the cables, the opener, and the travel rails.
- Opener keeps trying to lift. If the operator runs without the spring, it pulls against the door’s full weight. The rail takes the stress, the logic board may burn out, and the opener’s gear wears faster. Opener repair often follows a spring break rather than causing one.
- Cables stretch or snap. The cable on the broken-spring side takes a shock load and often fails next.
- Tracks bend at the pivot points. The door drops a little off level, the rollers stress the track, and a bend that was minor becomes a visible kink.
The lesson is simple: when one system fails, expect to check all five. A contractor who only replaces the spring and never inspects the cables, tracks, and opener settings has left secondary damage in place. That’s how a small repair turns into a return visit. When we quote a repair in Norfolk, we check the whole system and tell you what’s failing and what’s merely worn.
The Safe Checks You Can Run in Five Minutes
You can learn a lot about a failing door in five minutes without touching a tool. Run these checks in order. Stop the moment you reach one that requires moving the door under load.
- Look at the springs. Stand inside the garage and look at the torsion shaft above the door. A torsion spring will have a clear gap if it’s broken. Extension springs sag or hang loose when they break. If you see a break, stop here and call.
- Test the wall switch and each remote separately. If the wall switch works and the remote doesn’t, the problem is with the remote or the receiver, not the door. If neither responds, check the opener’s power and its light.
- Watch the safety sensors. Most openers have sensors at the bottom of the tracks. If the opener light flashes and the door won’t close, the sensors are usually misaligned or dirty. This is the single most common opener complaint, and it’s usually a quick fix.
- Listen as the door cycles. Use the noise maps above. A grinding door is a track issue. A popping door is a spring. A banging door is a limit issue.
- Check the balance. If the door is fully closed and you feel safe, disconnect the opener with the emergency release cord and gently lift the door about a foot. Then let go. A balanced door should stay roughly in place. If it drops or slams, the springs are failing or the door is out of balance. Stop and call.
These five checks handle the vast majority of calls we see. If you get to the end and everything looks fine but the door still fails, that’s a sign the opener or its logic board is the problem. Our garage door opener repair service is where that check leads. For households looking at a door that’s failing beyond repair, our garage door installation page covers what a new door involves.
What a Professional Repair Involves
Once the diagnosis points to a system you shouldn’t touch, the repair process is straightforward from the homeowner’s side. The first visit is a diagnostic and measure. For a spring, cable, track, or opener failure, most repairs are completed the same day in Norfolk because the parts are mechanical hardware, and nothing is ordered in advance. For a door or opener replacement, the first visit produces a free measure and a written price, and the parts are ordered against that measurement before a scheduled install.
The technician walks through the door system in the same five categories this guide uses. Spring repair gets prioritized first because it’s the highest-risk component. From there, we check cables, track alignment, and the opener’s performance. Brand-specific checks matter at this stage – a Genie opener and a Chamberlain opener have different sensors and different limit-adjustment procedures, and a repair only holds if it’s done against your system. Our technicians have up to 15 years of experience, and the diagnostic-first approach is the part that separates a quick fix from a fix that lasts.
We handle repairs on Raynor and LiftMaster doors alike. The written estimate you receive before any work starts sets the final price. Nothing happens without your agreement first.
Common Mistakes to Avoid
- Forcing a door that won’t open. If the door is stuck, forcing it puts the load on the opener rail and the track. That’s how a spring repair becomes a spring-and-opener repair.
- Assuming the opener is the problem. On most calls, the opener is the symptom, not the cause. A popped spring or a tightened track will make an opener fail to lift the door even though it’s working perfectly.
- Replacing a single spring of a matched pair. Torsion springs are matched sets. If one has broken, the other has seen the same cycles and is usually close to failing. A matched pair is replaced together because a half-replaced system will break again.
- Buying a new opener before confirming the door’s mechanical systems are sound. A new opener on a broken door or a failed spring will strain the opener’s motor. Opener repair is far cheaper than opener replacement when the door is the problem.
- Ignoring rust on the drum or hinge pins. In Norfolk’s humidity, rusted hinge pins and bearing plates are the leading cause of grinding. A door that grinds for a week will wear through rollers fast.
- Adjusting the down-travel limit to “make it close.” This masks the real issue – usually a sensor misalignment – and drives the door into the floor, stressing the panels and the door frame.
- Calling a single-brand dealer for a multi-brand system. A door from one manufacturer on an opener from another needs a technician who works on both. Look for brand coverage, not brand loyalty.
See the difference
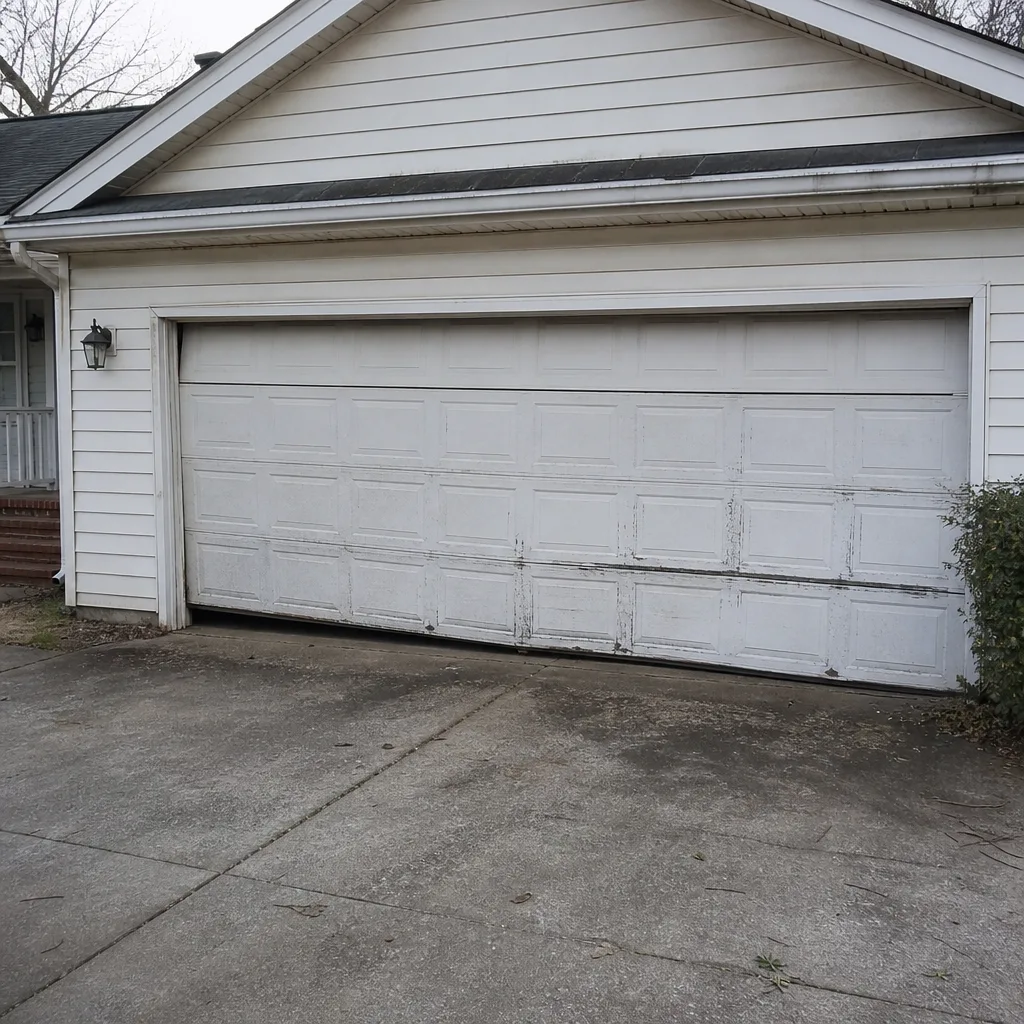 Before
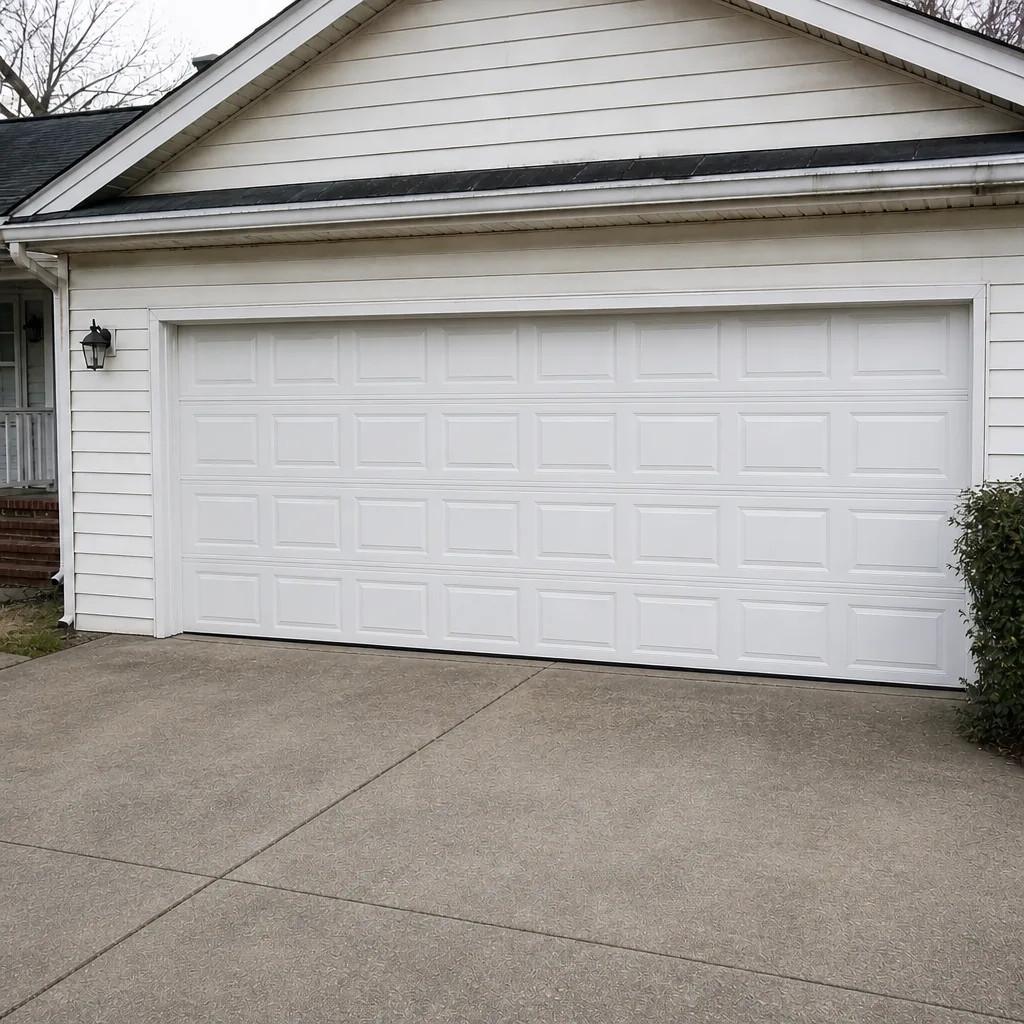 After
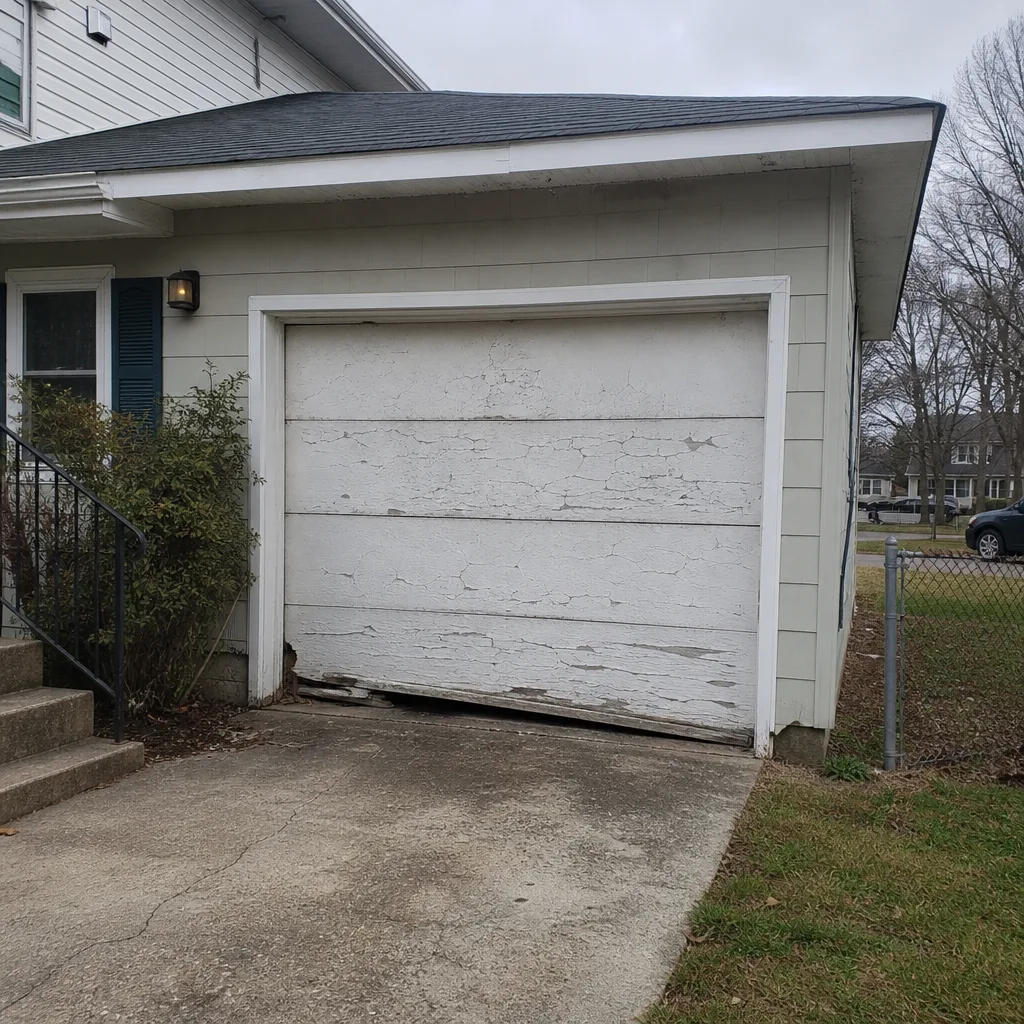 Before
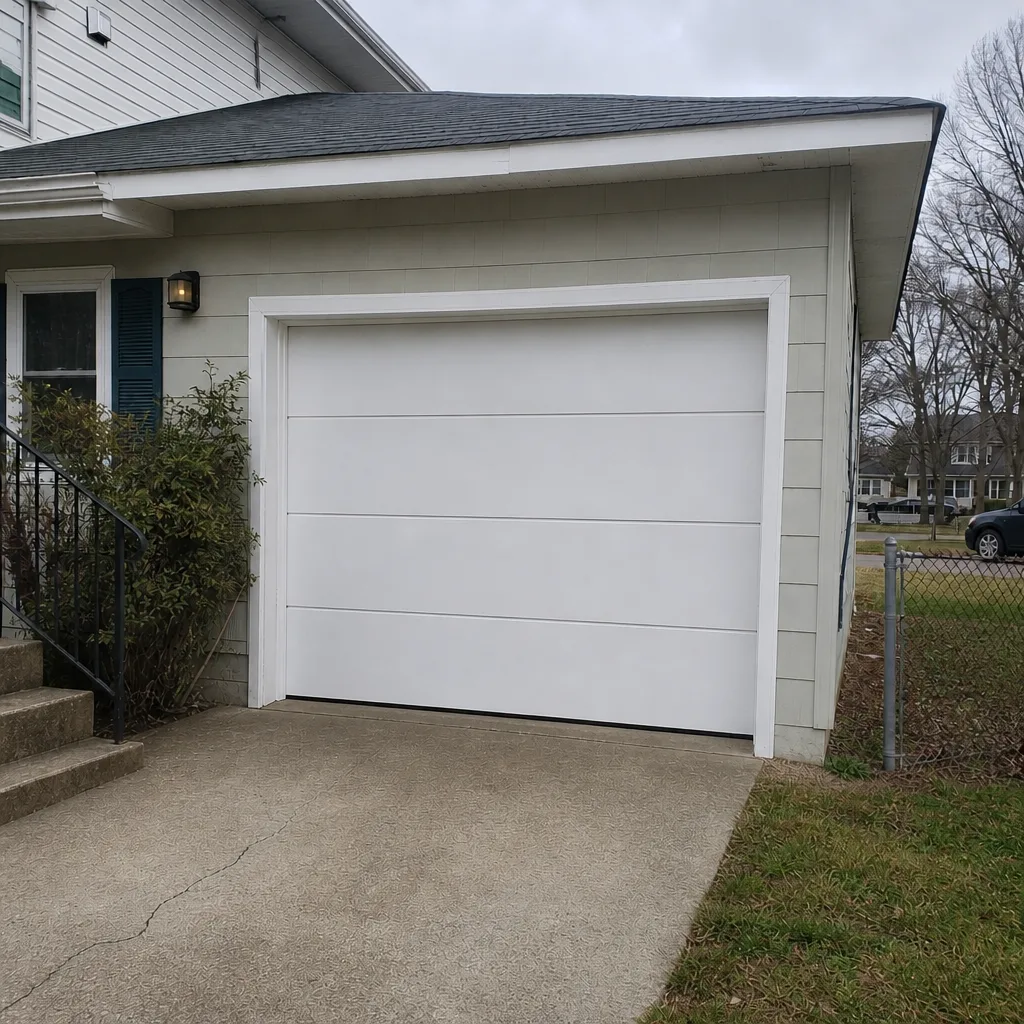 After
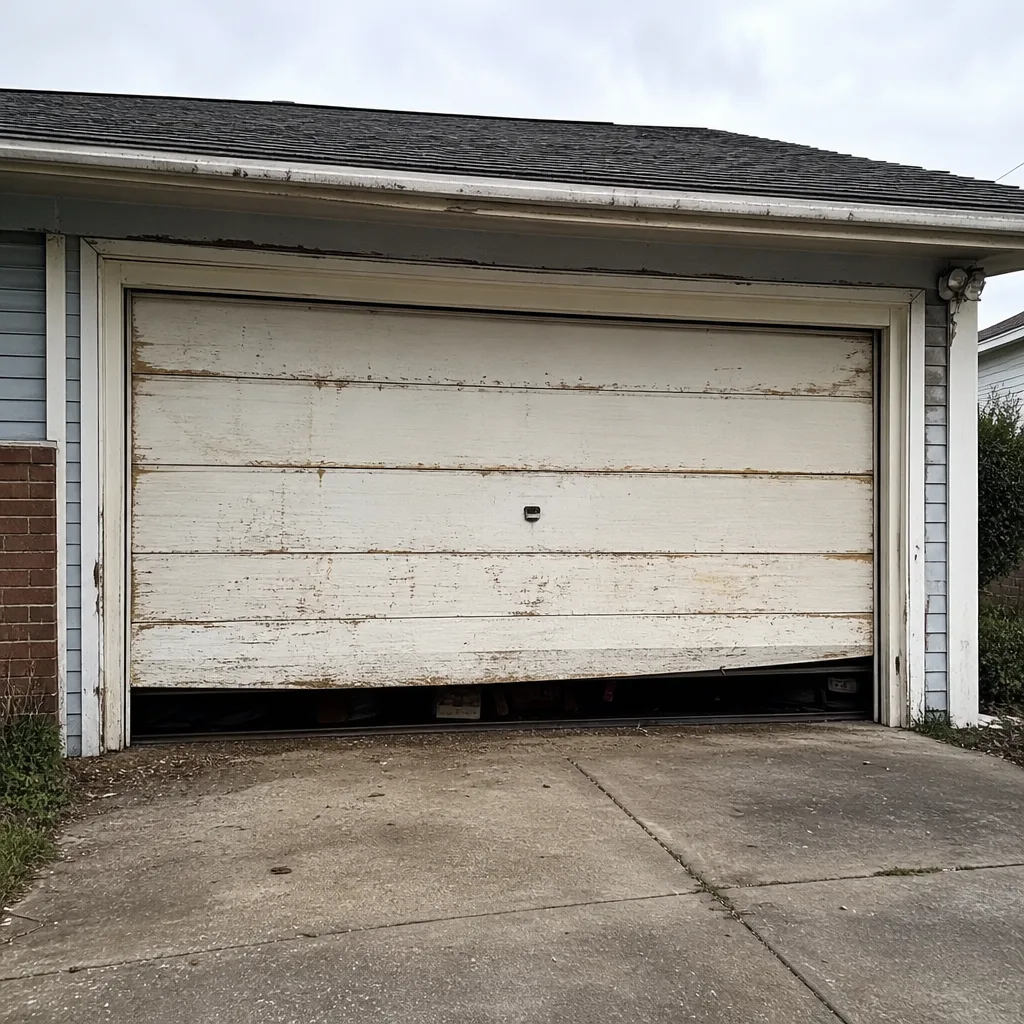 Before
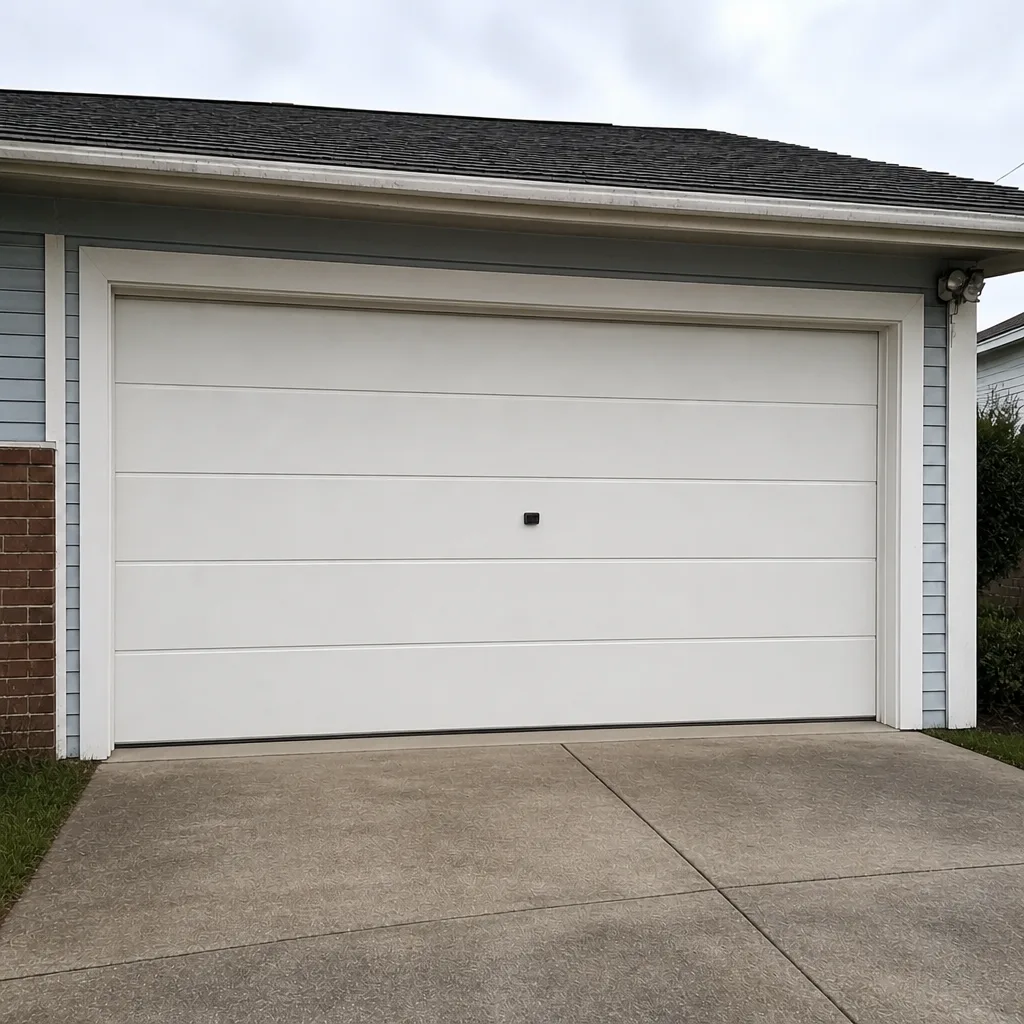 After
When to Call a Professional
Call a professional when the door is stuck open, hanging off a track, sitting at an angle, or you can see a broken spring or a slack cable. Call when the door won’t stay closed, when the opener’s light flashes without explanation, or when a grinding or popping noise gets worse on the second cycle. Don’t call for a misaligned sensor or a remote that’s lost its pairing; those are easy checks. If you’ve run the safe checks above and the door still fails, that’s the line. Garage Door Repair Norfolk Pros offers free estimates in Norfolk – call (855) 522-0573. Emergency garage door service is part of what we handle, so a door that fails at 7 AM doesn’t have to wait all day. Our team works on LiftMaster, Chamberlain, Genie, Clopay, Amarr, Wayne Dalton, Craftsman, and Raynor hardware, so the odds are good we know your system.
Frequently Asked Questions
Garage door repair in Norfolk typically runs $150 to $450, depending on the system involved. An opener sensor fix or a roller replacement sits at the lower end. A torsion spring replacement sits higher. A cable or track repair falls in between. The written estimate sets the final price, so what you agree to is what you pay. Call (855) 522-0573 for an exact quote – estimates are free.
Yes. Stand inside the garage and look at the torsion shaft above the door. A broken torsion spring will have a visible gap in the coil. Extension springs look fine if they’re still coiled; a sagging or loose extension spring is the tell. If you see either, don’t operate the door. Call a professional.
That’s usually a safety sensor or a limit switch problem, not a spring. The opener starts to lift, the door reaches the up-travel limit, and the motor stops because the limit is set too low. Safety sensors out of alignment can cause the same behavior on a closing door. Check the sensor lights and clean the lenses first. If the door still stops short, call for an opener repair.
No, but you do need one who works across brands. A door from Clopay on a Chamberlain opener is common, and the technician has to know both systems. Brand-specific diagnostics mean the right fix for your system instead of a generic workaround. We service LiftMaster, Chamberlain, Genie, Clopay, Amarr, Wayne Dalton, Craftsman, and Raynor hardware.
Yes. Humid air sitting in the garage corrodes cable drums, bearing plates, and hinge pins. That corrosion is the leading cause of grinding and stiff door travel in Norfolk, especially on driveways with heavy moisture at the threshold. Check the drum and hinge pins at the start of summer, and replace weather seals that have worn through.
No. The written estimate you get before any work starts is the price you pay. If the technician finds secondary damage from a spring or cable failure, they explain what they found and add it to the quote before touching anything. You approve the full number first. Call (855) 522-0573 for a free estimate.
The Bottom Line
The fastest way through any garage door problem in Norfolk is to diagnose by system. Identify whether springs, cables, tracks, opener, or panels are failing before you touch anything. Run the safe checks – remote test, sensor check, noise map, balance test – and stop the moment a check requires moving the door under load. High-tension springs and cables are a professional job, always. Our technicians have up to 15 years of experience diagnosing these systems and know Norfolk’s specific failure patterns. We handle emergency, same-day, and scheduled work under one roof. From opener remote to full door installation, the whole system is in scope. If you’re ready to get a real diagnosis, call Garage Door Repair Norfolk Pros at (855) 522-0573 for a free estimate. For the full range of what we do, visit our Garage Door Repair Norfolk Pros home page.
Written by the team at Garage Door Repair Norfolk Pros.