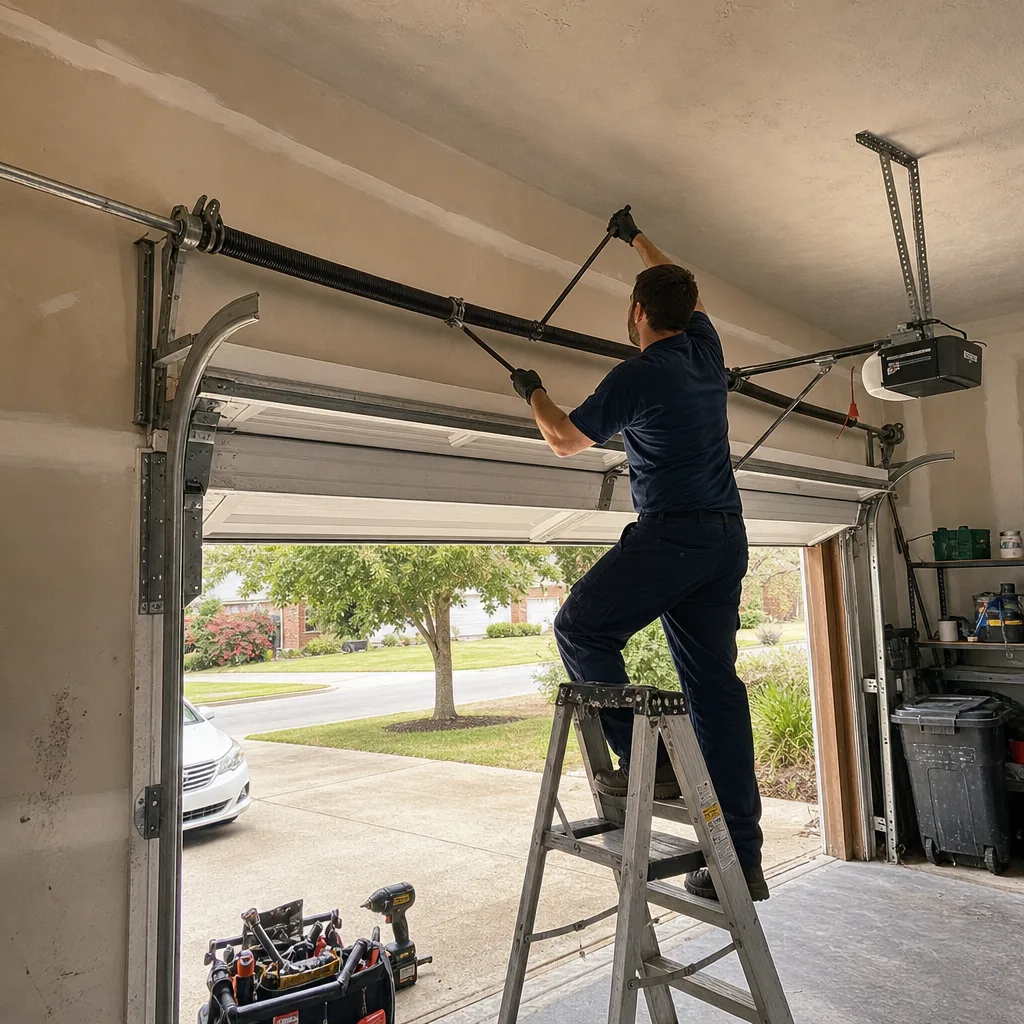
Last updated November 21, 2026
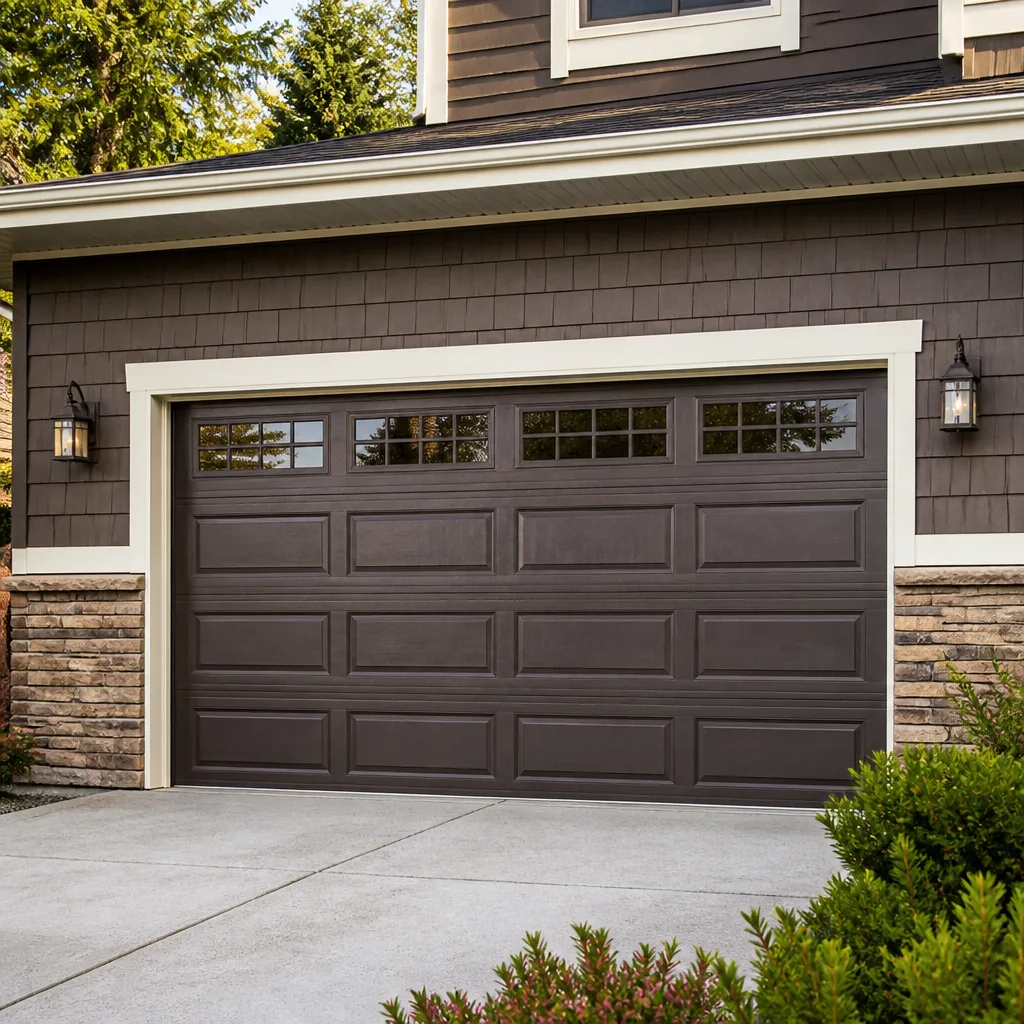 Raised-panel steel
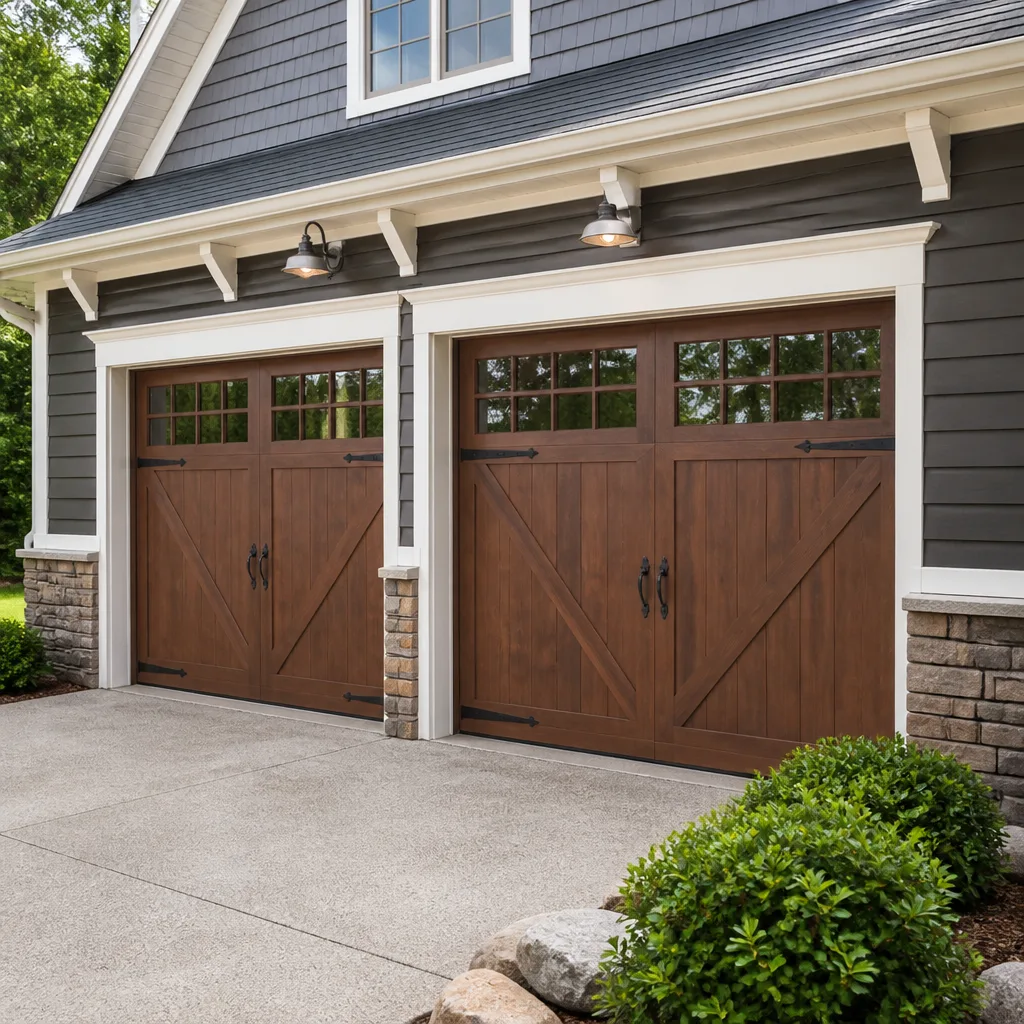 Carriage house
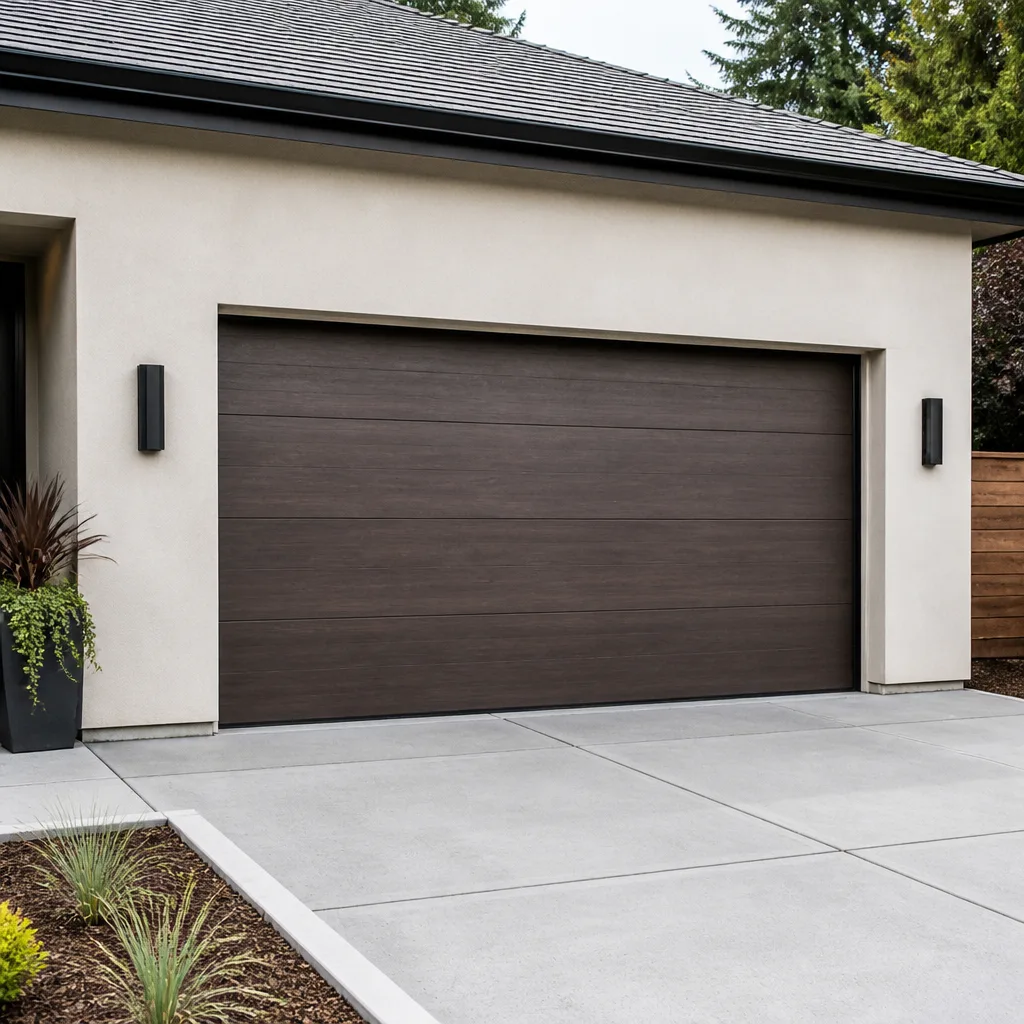 Modern flush
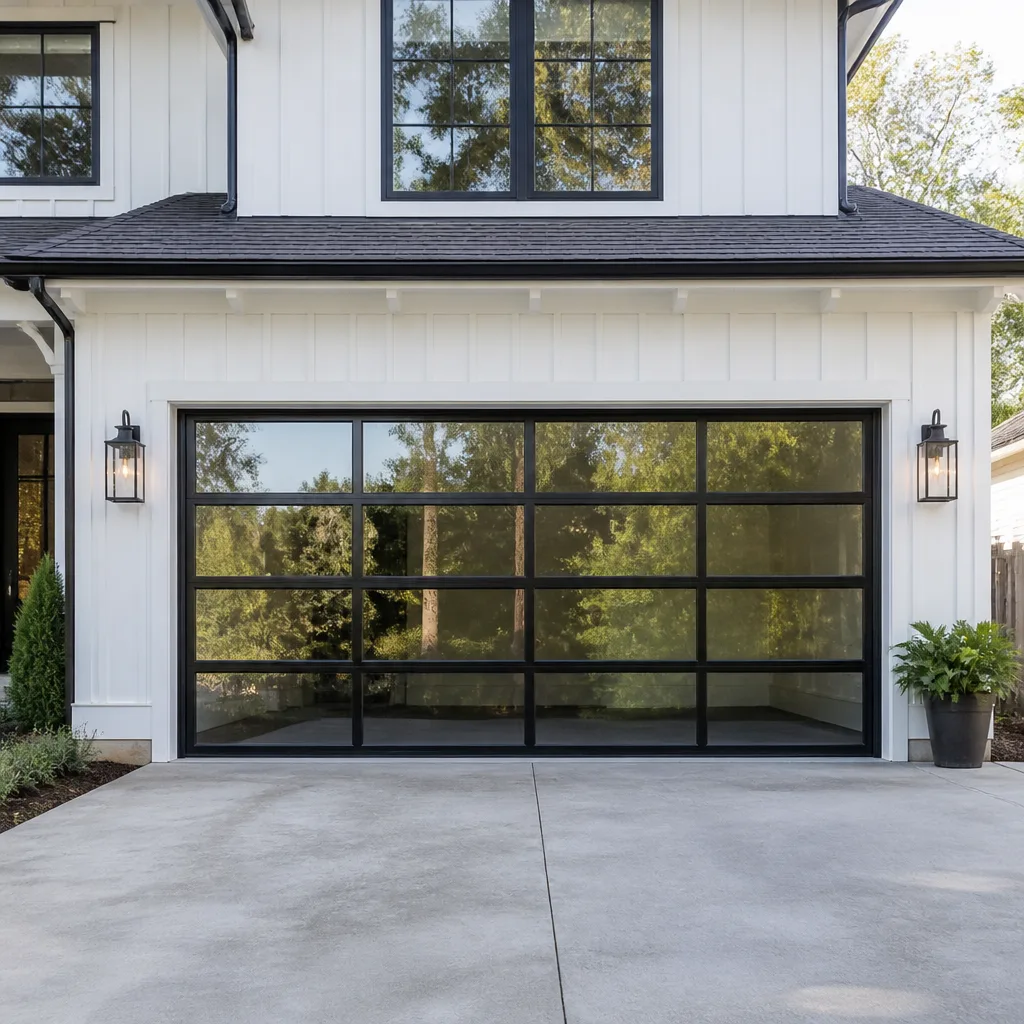 Full-view glass
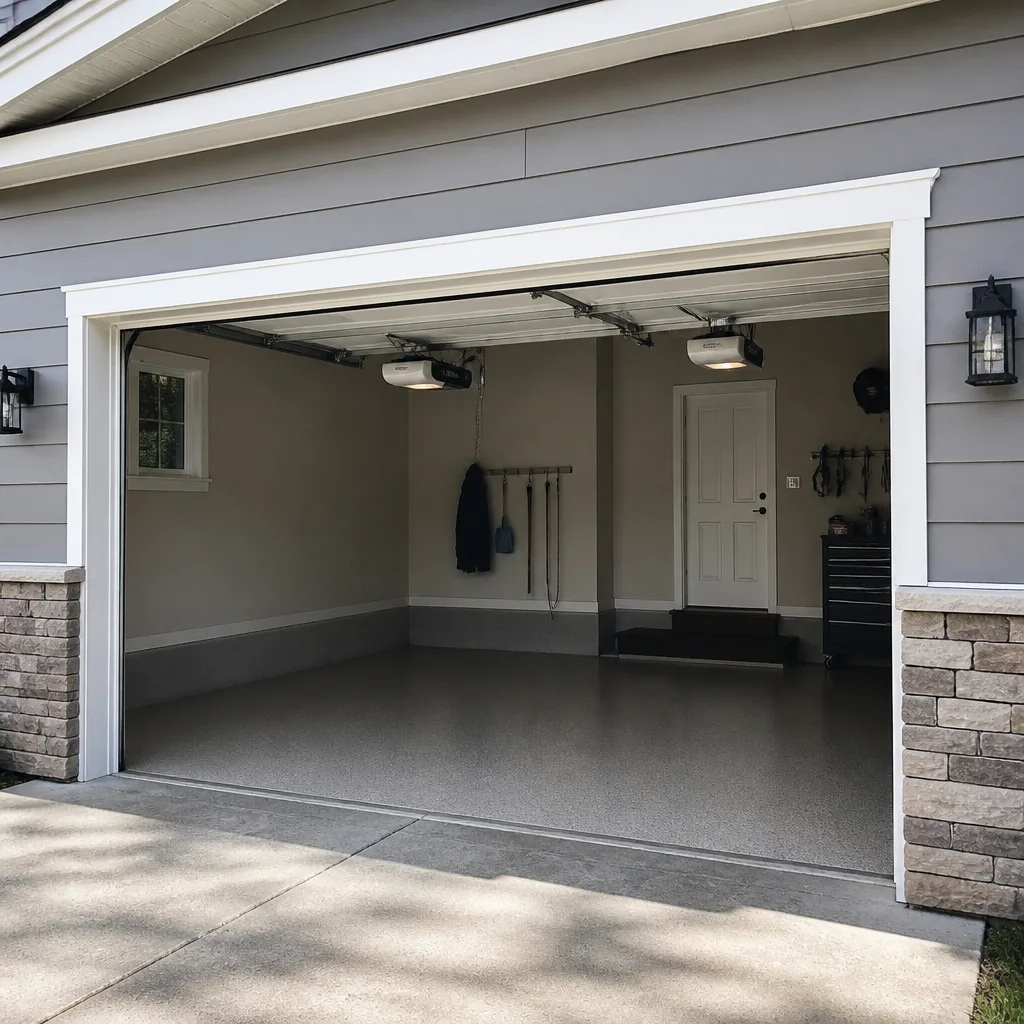 LiftMaster openers
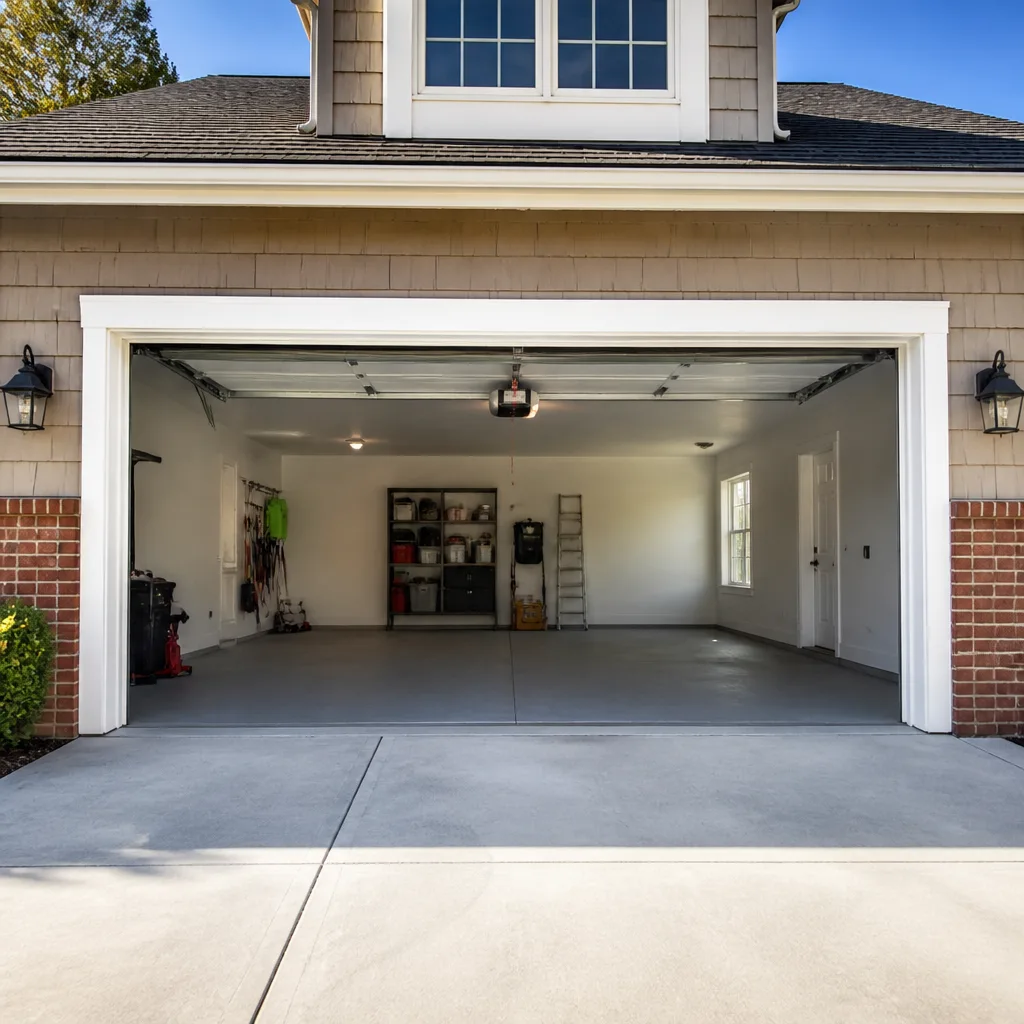 Chamberlain openers
Full 25-point door and opener safety check with every visit - springs, cables, rollers, tracks, and your LiftMaster or Chamberlain opener included
You get a price before we start. It does not change when the pro arrives.
Get your free estimateGarage Door Warning Signs: A Norfolk Homeowner’s Reference Guide
Most warning-sign guides read like a symptom checklist for a doctor’s office: door won’t open, door makes noise, call someone. That approach fails in Norfolk because the same symptom can come from three completely different failure points. A door that hesitates on the way up isn’t automatically a spring problem. In plenty of Norfolk homes, it’s a track alignment issue tied to pier settling, and swapping the spring without addressing the track just puts the new spring under stress it was never built to handle. This guide works backward from symptoms to the actual mechanical cause, so you can describe the problem accurately before anyone arrives.
Quick Answer
Before you call anyone, match each symptom to one component: spring failure produces sudden loud noise and a door that won’t move or feels weightless by hand; cable failure shows as a crooked door with visible slack or fraying; opener failure leaves the motor running (or clicking) while the door stays put. Track misalignment from foundation settling causes uneven travel and gap patterns at the weatherstripping. Accurate diagnosis before the service call prevents unnecessary part replacement.
Styles & brands we work with
- Raised-panel steel
- Carriage house
- Modern flush
- Full-view glass
- LiftMaster openers
- Chamberlain openers
Table of Contents
- How to Tell Spring, Cable, and Opener Failures Apart
- Norfolk-Specific Warning Signs: Corrosion at Hinges, Rollers, and Tracks
- Foundation Settling Indicators That Show Up as Door Symptoms
- Opener Motor and Logic Board Warning Signs
- The Quarterly Safety Reversal Test
- A 5-Minute Visual and Auditory Audit
- Why Brand-Specific Diagnostics Matter
- What Repair Typically Costs in Norfolk
How to Tell Spring, Cable, and Opener Failures Apart
Three components cause most “door won’t work” complaints, and each one leaves a distinct signature. You can identify which one failed using only your eyes and ears, without touching the door. That distinction matters because the repair path, the risk level, and the cost differ significantly between them.
Spring failure. Torsion springs sit on a shaft above the door; extension springs run along the sides. When a spring breaks, you usually hear a sharp, echoing report that sounds like a gunshot in the garage, followed by silence. Afterward, the door becomes extremely heavy to lift by hand and may not stay up at all. On a torsion system with a broken spring, the door might rise a few inches and stop hard. Look at the coil above the door: a clean gap in the winding is unmistakable.
Cable failure. Cables wind around drums at each end of the torsion shaft and run down the sides. A failing cable shows as a door that hangs crooked, with one side lower than the other, or a visible fray or slack section near the drum. If the cable has snapped entirely, the door will hang at an angle and refuse to travel straight. Do not run the opener when you see this: a loose cable can whip dangerously.
Opener failure. This is the one where people misdiagnose most often. If the motor runs but the door doesn’t move, or the motor clicks and nothing happens, the springs and cables may be fine and the trouble is in the opener itself: a stripped gear, a failed capacitor, a snapped chain or belt, or a logic board issue. A dead remote or wall switch points to the opener’s electronics, not the door’s mechanics.
One quick check before you call: pull the emergency release (the red handle) to disconnect the opener from the door, then try lifting the door by hand with the opener out of the picture. If it lifts evenly and easily, the door hardware is sound and the problem lies with the opener. If it’s heavy, crooked, or catches, the door itself is the issue.
Norfolk-Specific Warning Signs: Corrosion at Hinges, Rollers, and Tracks
Norfolk’s humidity and coastal influence accelerate corrosion on garage door hardware faster than most homeowners expect. The warning signs are subtle at first and become mechanical failures if ignored. Here are the specific culprits to watch for.
- White powder on hinges. A chalky white or grayish residue on hinge plates and roller brackets is oxidized zinc or aluminum. It means the protective coating is breaking down, and the hinge will eventually seize.
- Stiff or noisy roller movement. Rollers should spin freely by hand. If they drag, squeal, or feel gritty, grit and oxidation have worked into the bearings. Seized rollers load the opener and stress the tracks.
- Rust-track binding. When the track accumulates surface rust, the rollers can’t glide smoothly, and the door will catch and hesitate at the same spot on every cycle. Run a hand along the inside of the vertical track (with the door down and the opener off) to feel for rough patches.
- Weatherstripping hardening. The bottom seal and perimeter weatherstripping on Norfolk doors dry out and crack with humidity swings, letting in drafts, water, and insects. A cracked bottom seal is easy to spot with the door fully open.
- Painted panels flaking at the bottom. Panel corrosion typically starts low, where moisture collects. Bubbling paint or powder near the bottom panel edge signals it’s worth a closer look.
Left alone, corrosion turns a cheap hinge or roller swap into a track replacement. A yearly inspection and a light lubrication schedule (a silicone or lithium-based lubricant on hinges, rollers, and springs, not grease) keep these components working. If you’re already seeing multiple corrosion points, a full garage door repair assessment is the cheaper path than waiting for a cascade of failures. If the door is old enough that panel corrosion and worn tracks are both present, we can be honest about whether repair or replacement makes more sense.
Foundation Settling Indicators That Show Up as Door Symptoms
Garage doors are one of the first places a homeowner sees foundation movement, because the door frame and the tracks must stay perfectly square to each other. Norfolk has pockets of expansive clay soil and older homes where pier settling is a real factor. When the slab or piers shift even slightly, the door frame distorts and the hardware has to compensate.
Foundation settling often reaches the door before the homeowner notices the house itself. Three patterns tell the story:
- Gap patterns in the weatherstripping. If the door meets the bottom seal, but a gap opens at one top corner, or a gap appears along one side only, the frame has shifted out of square. Look at the door from inside the garage: a visible wedge of daylight at an angle means movement.
- Uneven travel speed. If the door speeds up and slows down at the same point in every cycle, the track has drifted out of parallel with the other side. The opener pushes through the bind, which is why the motor heats up or reverses.
- Recurring track misalignment. If a tech adjusts the track and it drifts back within months, the underlying frame is still moving. Re-adjusting the track repeatedly without addressing the settling is a losing cycle, and it puts premature wear on the torsion spring.
This is where diagnosis order matters. A door with a slightly out-of-square frame can often be corrected by re-aligning the tracks and adjusting the spring tension to rebalance, provided the springs themselves are sound. If you replace a spring on a door with a misaligned track, the new spring works harder than it should and wears out early. Before you approve any garage door opener repair, ask whether the tech checked track alignment and frame squareness. If the opener keeps reversing, dragging, or running hot and the springs look fine, uneven travel is the more likely root cause than a dead motor.
Opener Motor and Logic Board Warning Signs
Openers wear out gradually, and the warning signs usually arrive months before a total failure. The trick is separating a quick sensitivity adjustment or reset from a genuine end-of-life signal. Here’s how to read it.
Signs of a correctable issue (adjustment, not replacement):
- The door reverses immediately after touching the floor: usually a travel-limit setting or force-sensitivity adjustment.
- The opener won’t respond to one remote but works from the wall switch: a remote battery, a rolling-code re-pair, or a remote issue, not the motor.
- Brief hesitation at the start of travel: often a lubrication or binding issue in the door hardware, putting load on an otherwise healthy opener.
- Lights flash and the door reverses with no obstruction: the safety sensors are misaligned or dirty, an easy fix.
Signs of end-of-life trouble (replacement territory):
- Loud grinding or a rhythmic clunking from the motor housing: a worn gear, common on older chain-drive units.
- The opener trips the breaker or gets hot and cuts out during a normal cycle: failing capacitor or motor windings.
- The motor runs but the chain, belt, or screw doesn’t move: a stripped gear or snapped drive component that’s usually not worth repairing on an aging unit.
- Random operation or the door opening on its own: a logic board issue, which is typically a replacement call on older units.
Norfolk homes often have older Craftsman or Genie units from the days before smart openers, and these are exactly the models where a logic board fault means it’s time to consider what’s next. If the opener is the culprit, we can also look at new options during a garage door installation conversation, so you’re not scheduling two separate visits.
The Quarterly Safety Reversal Test
The safety reversal test confirms the opener will stop and reverse when it meets an obstruction. It’s the single most important check a homeowner can run, and it takes about two minutes. Run it every three months, and any time the door has been adjusted or the opener replaced.
- With the door fully open, place a solid object (a 2×4 laid flat is standard) on the floor in the door’s path.
- Press the wall switch or remote to close the door.
- The door should contact the object and reverse to the fully open position within about two seconds.
- Repeat with the sensors: block one sensor lens with your hand or a box while the door is closing. The door should reverse immediately.
What a failed test actually means. If the door doesn’t reverse on contact, the force-sensitivity setting is too high, meaning the opener pushes harder than it should before reversing. That’s a mechanical calibration that protects people and objects in the door’s path. If the door doesn’t reverse when a sensor is blocked, that’s a sensor alignment, wiring, or logic fault. A door that fails the reversal test and gets ignored is a door that can crush something or someone in its path. Do not run the opener while a test is failing. In our experience, most failures trace back to misaligned sensors or force settings that drifted over time, both of which a trained technician resolves quickly. A qualified tech also checks the balance and travel limits that set safe reversal behavior in the first place.
A 5-Minute Visual and Auditory Audit
Most failing garage doors announce themselves before they fail completely. This audit requires no tools beyond a flashlight. Do it monthly, or before you leave on any extended trip.
- Stand inside the garage and look at the door. Is it straight? Crooked is a cable or track signal.
- Look at the springs as the door moves. A broken spring is visually obvious (a gap in the coil). A spring that looks fine but the door feels too heavy may be losing tension.
- Listen through one full cycle. Squeaks, squeals, pops, and grinding each point to different hardware (rollers, hinges, cables, or opener gears).
- Watch the track contact. Rollers should stay centered. A roller riding up on a track edge means misalignment.
- Check the bottom seal and weatherstripping for gaps and cracks. A gap is light, water, and heat loss.
- Test the reversal. Run the quarterly safety test above if you haven’t recently.
Any single finding isn’t automatically a call to a pro. But two or more signals (a crooked door plus a grinding opener, or stiff rollers plus a gap at the top corner) usually point to a root cause that affects multiple parts.
Why Brand-Specific Diagnostics Matter
Garage door systems don’t diagnose the same way across the industry. Opener behavior, force calibration, and even the way limit switches feel during adjustment vary between LiftMaster, Chamberlain, Genie, and Craftsman platforms. Door panels and framing tolerances differ between Clopay, Amarr, and Wayne Dalton products. A technician who only knows one brand tends to misread symptoms on another, or worse, recommends a replacement because the fix falls outside their familiarity.
Accurate diagnostics means knowing the brand on the door and the opener before diagnosing the symptom, not after. Our technicians work across all the major garage door and opener brands, so a skipping Chamberlain doesn’t get treated like a Genie, and a Wayne Dalton panel issue isn’t read as an Amarr one. Our technicians have up to 15 years of experience, and that experience includes reading a symptom against the specific system it came from.
When a repair starts to look like it’s chased around the same component, the diagnostic should shift to the whole system: door balance, track alignment, spring tension, and opener calibration together. Treating each as an isolated part just means the next failure is already on its way.
What Repair Typically Costs in Norfolk
Every job is quoted before work starts, so any number below is a typical estimated range, not a final price. The written estimate you receive sets the final price, and if the diagnosis reveals a larger problem, we tell you before we do the work.
- One torsion spring replacement: typically $180 – $340. A matched pair is replaced together and costs about twice a single spring, so budget roughly $360 – $680 for the pair.
- One extension spring: typically $140 – $260 per spring.
- Cable replacement (per cable): typically $120 – $220.
- Roller or hinge replacement: typically $10 – $30 per roller or hinge in a set, quoted as a job.
- Opener repair (gear, capacitor, or logic board): typically $150 – $350 depending on the part.
- Track alignment or replacement: typically $130 – $450 depending on whether the track is adjusted or replaced.
- Full opener replacement: typically $250 – $400 for the unit plus installation, quoted as a job.
None of these require touching the hardware yourself, which is the point: spring and cable replacement is the highest-risk repair in the trade, and a wound torsion spring carries lethal stored energy. When a spring or cable is the cause, a trained technician handles it. If you’re not sure which of these applies, call and describe the symptom; the price gets quoted and agreed before any work starts.
Common Mistakes to Avoid
- Assuming every heavy door is a spring problem. A seized roller, a bent track, or a failing cable can all make a door feel heavy. Misdiagnosis wastes money on a spring that wasn’t the fault.
- Touching a torsion spring without training. Springs are under extreme tension, and the winding process is dangerous enough to cause serious injury. Do not attempt to adjust or replace one yourself.
- Replacing a spring on a misaligned track. Norfolk homes with shifting foundations can have out-of-square frames. The new spring won’t fix the track, and both will wear early.
- Ignoring a door that reverses randomly. Every random reversal is a force setting or sensor that’s drifting. Unaddressed, a safety reversal can fail when it matters most.
- Skipping lubrication because the door “works fine.” In Norfolk’s humidity, stiff rollers and hinges multiply wear on the opener. A light lubrication schedule prevents this. Use silicone or lithium-based lubricant, never grease.
- Running the opener on a broken door. A door that hangs crooked (a broken cable or spring) should never be run. The opener can twist the door or snap the remaining cable.
- Assuming a single-brand dealer can diagnose any system. Fluency across LiftMaster, Chamberlain, Genie, Clopay, Amarr, Wayne Dalton, Craftsman, and Raynor means a correct fix, not a generic workaround or an unnecessary replacement.
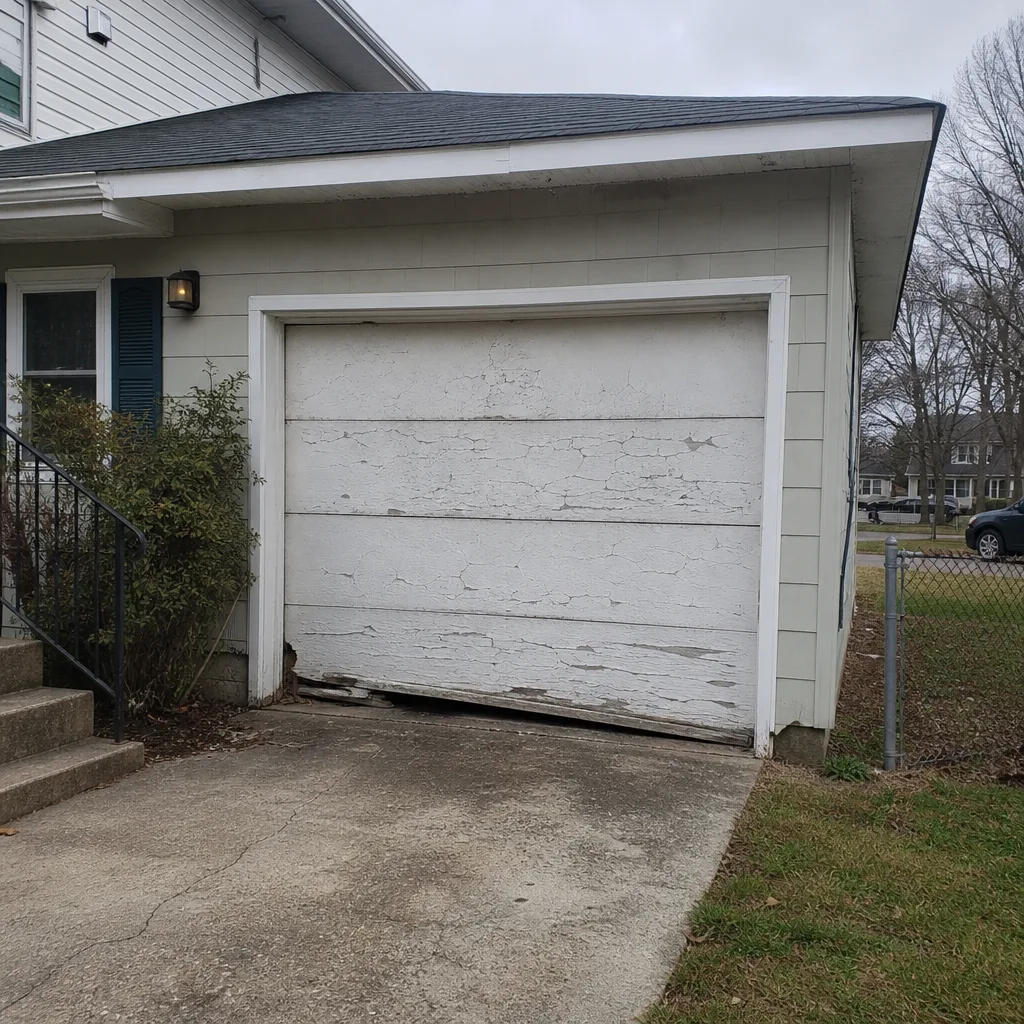
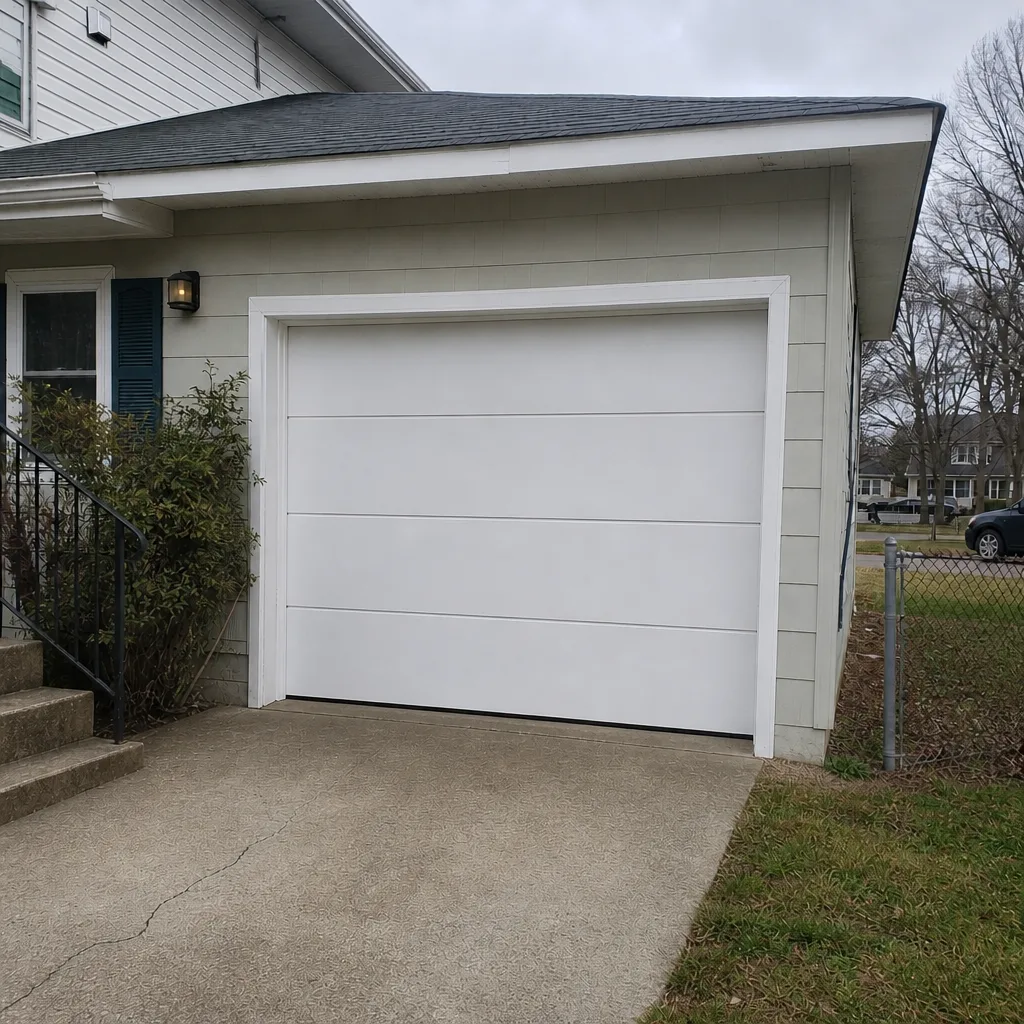
See the difference
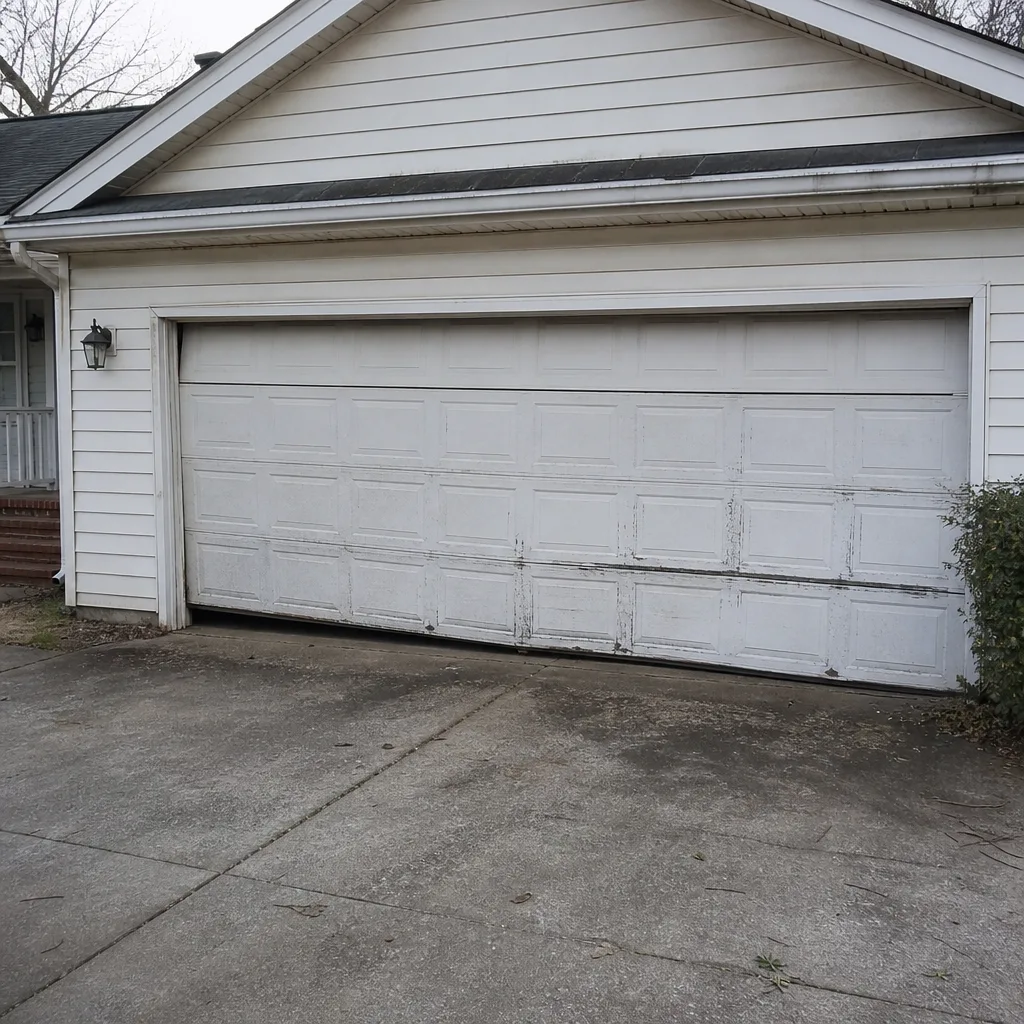 Before
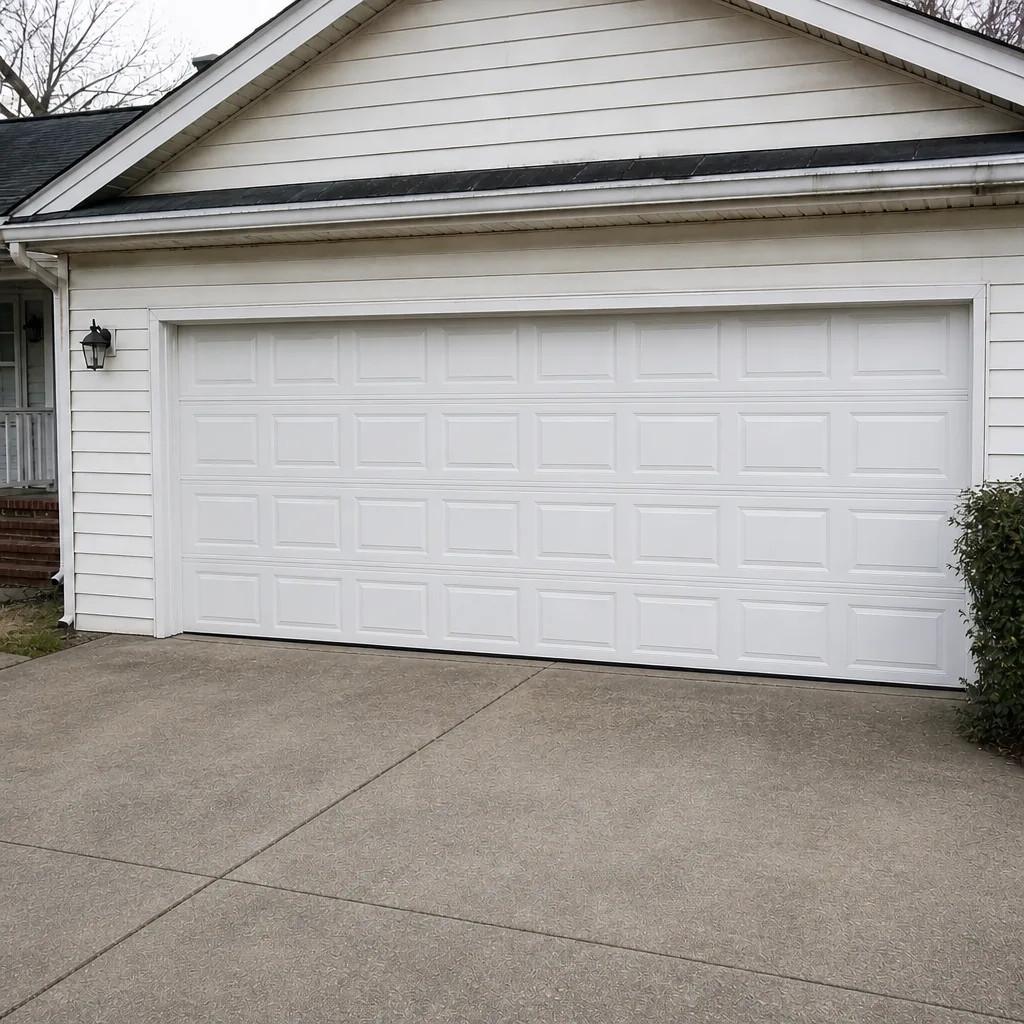 After
 Before
 After
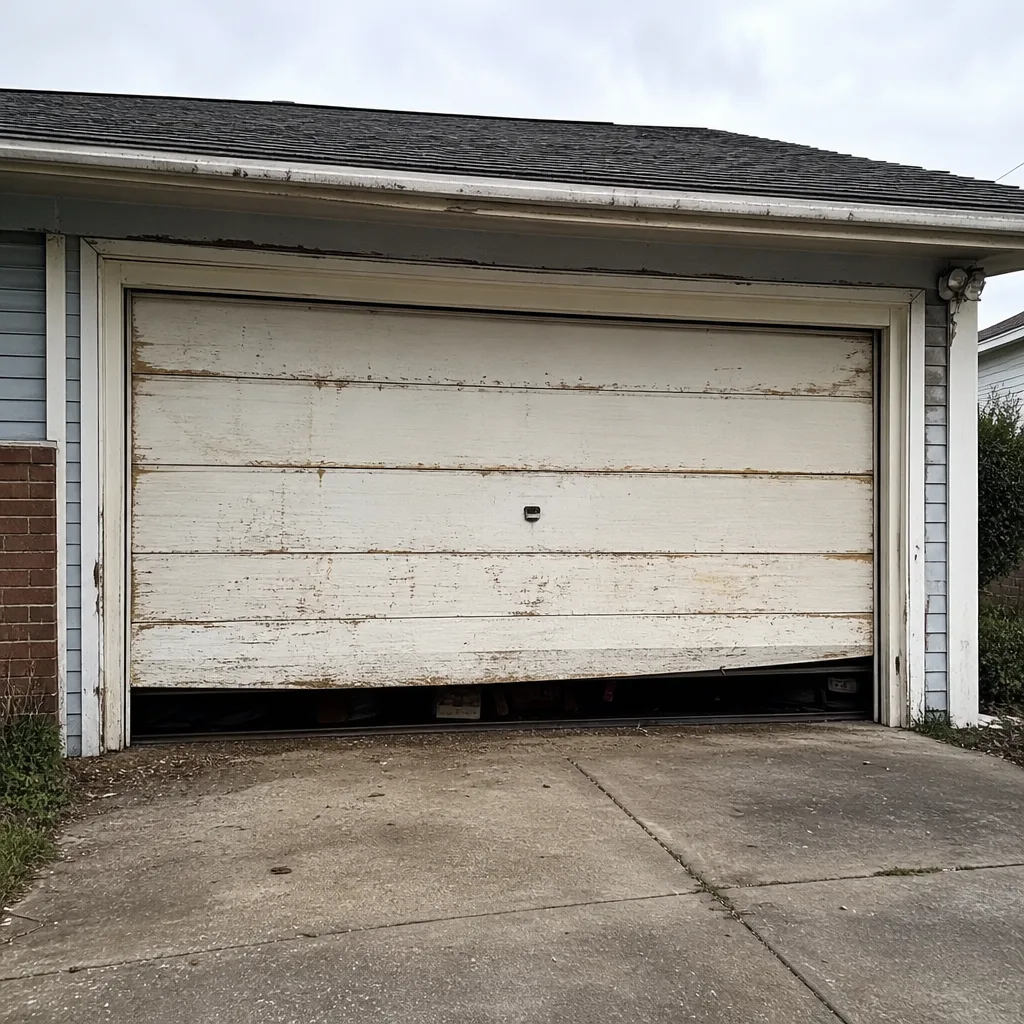 Before
 After
When to Call a Professional
Call a professional when the door moves crooked or hangs at an angle, when a spring snaps, when a cable is frayed or slack, when the door reverses for no reason, or when the opener grinds, clicks, or gets hot. Do not cycle a door with a broken spring or cable: the opener will work harder and can cause further damage. If you’re not sure what you’re seeing, a quick phone call with a description often settles it. Call (855) 522-0573. We can look at symptoms over the phone, tell you what’s urgent, and set a free estimate. If the door is stuck open at night, call anyway; a garage door left open is a security problem and one worth deciding on promptly. Garage Door Repair Norfolk Pros connects Norfolk homeowners with trained local technicians for repair, spring work, opener repair, and full replacement.
Frequently Asked Questions
A loud, echoing snap followed by a door that won’t lift or feels extremely heavy is the classic spring failure. A clean gap in the torsion coil above the door confirms it. Before that, the door may sound slightly louder, run slower, or lift a little harder than it used to. Call (855) 522-0573 for an exact quote; estimates are free.
Pull the emergency release to disconnect the opener, then try lifting the door by hand. If it’s heavy or crooked, the door hardware (a spring or cable) is the problem. If it lifts easily and evenly, the opener is the likely culprit. Either way, a call gives you a real diagnosis: (855) 522-0573.
Often we can. Broken springs, stuck doors, and opener failures are common same-day emergencies, and we handle them across all the major brands we service, including LiftMaster, Chamberlain, Genie, and Craftsman. The price is quoted and agreed before any work starts, so you’ll know the cost upfront. Call (855) 522-0573 to book a visit.
The local professionals we connect you with are state-licensed and insured as required, and they work across the major garage door and opener brands, from Clopay and Amarr doors to LiftMaster, Chamberlain, Genie, and Craftsman openers. We also handle Wayne Dalton and Raynor systems. Call (855) 522-0573 for an estimate.
No. The written estimate sets the final price, and any change is discussed with you before work starts. If the diagnosis reveals additional work, you approve it before we proceed. Call (855) 522-0573 for a free estimate.
Every three months. Humidity swings and seasonal temperature changes can shift sensor alignment and force settings over time, and a quarterly test catches a failing reversal before it matters. If a test fails, stop using the opener until a technician checks the force setting and sensor alignment. Call (855) 522-0573 with the test result.
The Bottom Line
Warning signs are only useful when they point to the right component. A door that hesitates, hangs crooked, or reverses randomly can come from a spring, a cable, a track knocked out of square, corrosion on Norfolk hardware, or an opener reaching the end of its life. Diagnose before you replace. Never touch a spring or cable yourself. Lubricate hinges and rollers, run the quarterly reversal test, and treat every crooked or heavy door as a safety issue worth a phone call. For straightforward answers on what a Garage Door Repair Norfolk Pros team can check, call (855) 522-0573. We set the scope from the symptom, quote it before work starts, and only recommend replacement when repair isn’t the honest call.
Written by the team at Garage Door Repair Norfolk Pros.